 +1 855 796 4355
Dynamics 365 Retail Store CPOS Configurations
Introduction:
Dynamics 365 Operation Retail is providing CPOS. This Blog Describe you, how to configure CPOS in AX 7 Operation. CPOS is Online POS, Offline POS functionality does not support to CPOS. CPOS can be Open in Internet Explorer, chrome, Firefox browser. MPOS having Online and offline functionality.
In this blog for Demo Purpose, we are configuring CPOS for Huston store. And for CPOS, I am using Chrome browser.
Follow the Below Setup to Configure CPOS .
Before you Start:
Before you Start Configuration of CPOS. Go to the Retail and Commerce -> Headquarter setup -> Parameter -> Retail Shared Parameters
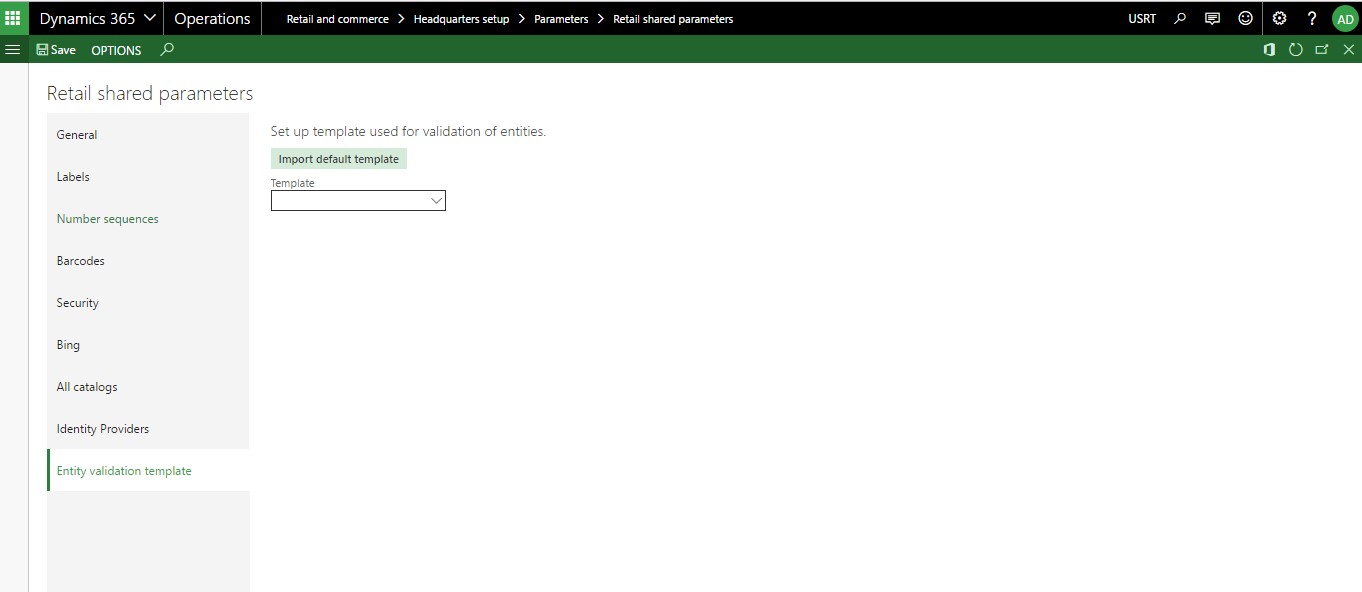
Select Entity Validation Templates. Click on Import Default template. After that Drill-down to template Option and select
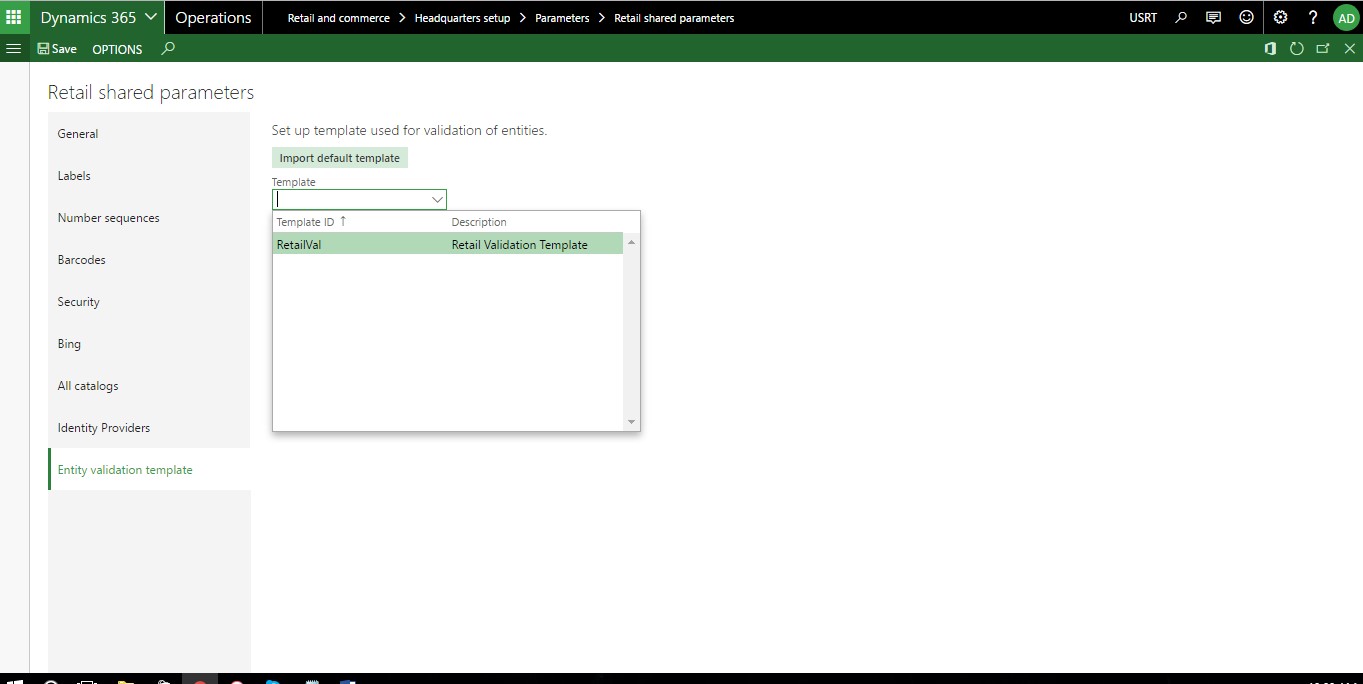
Select RetailVal and click on SAVE button.
Step 1:
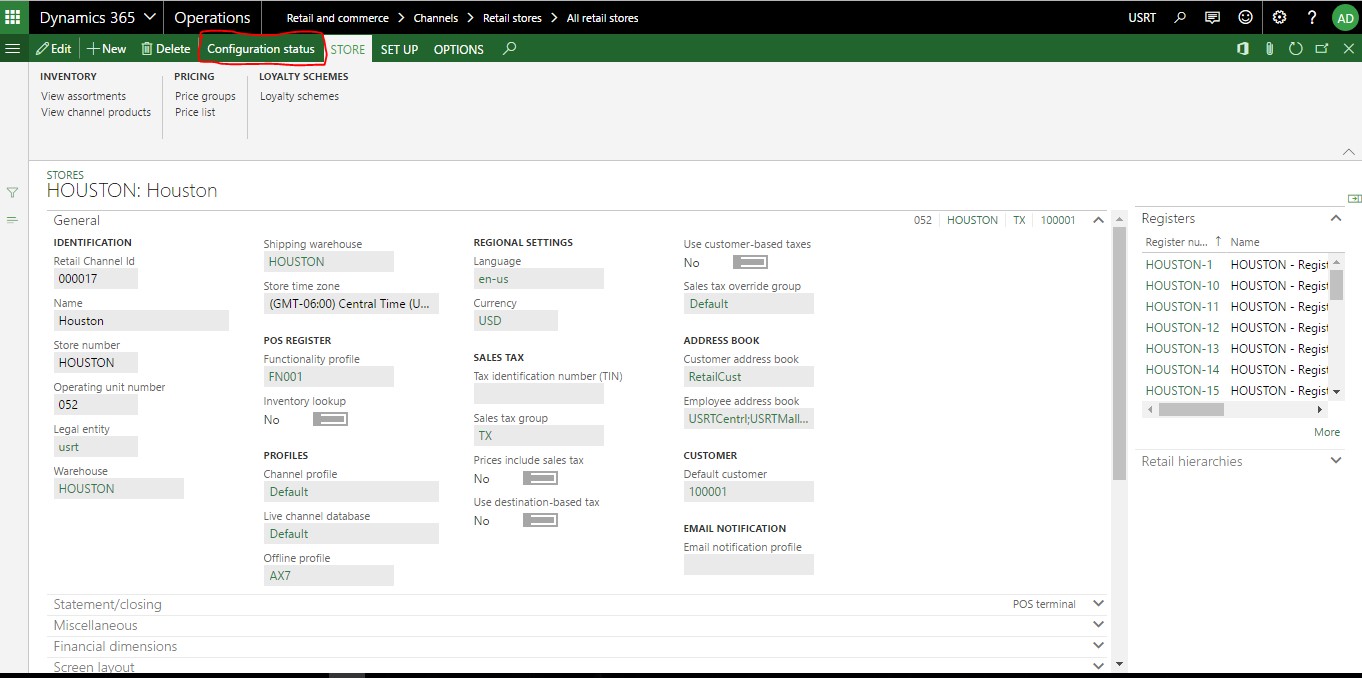
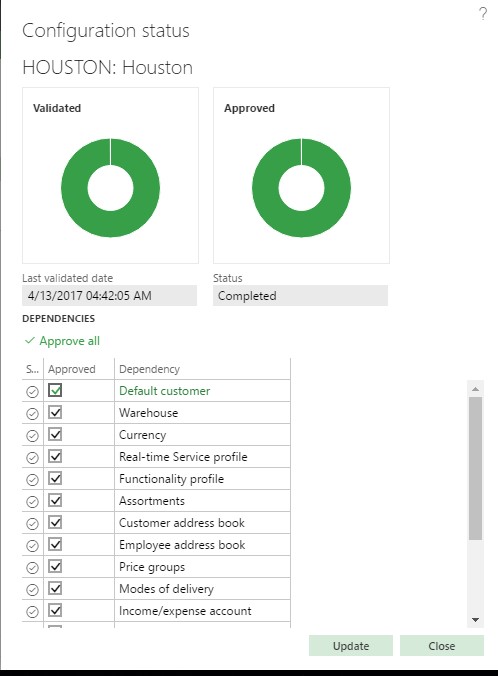
Go to the Retail and Commerce > Channels > Retail Store > All Store And select Houston Store. Click on Configuration Status. Select Approve All and click on Update Button.
Step 2:
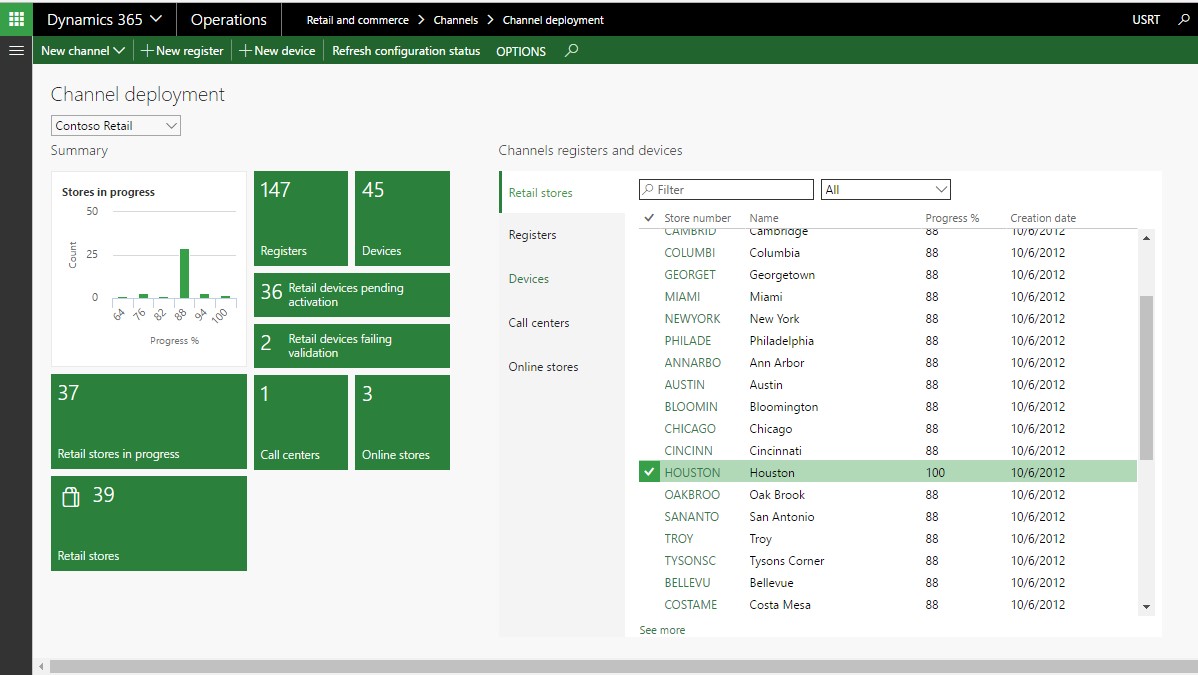
Go to Retail and Commerce > Channels > Channel Deployment
In Retail Store search for Houston Store. You will find that Progress for Houston store is 100%.
Step 3:
Click on Registers. Next to that you will see all the register which is created all stores. Put the filter on “HOUSTON” on Store Number. After that you can able to view list Houston Store Registers.
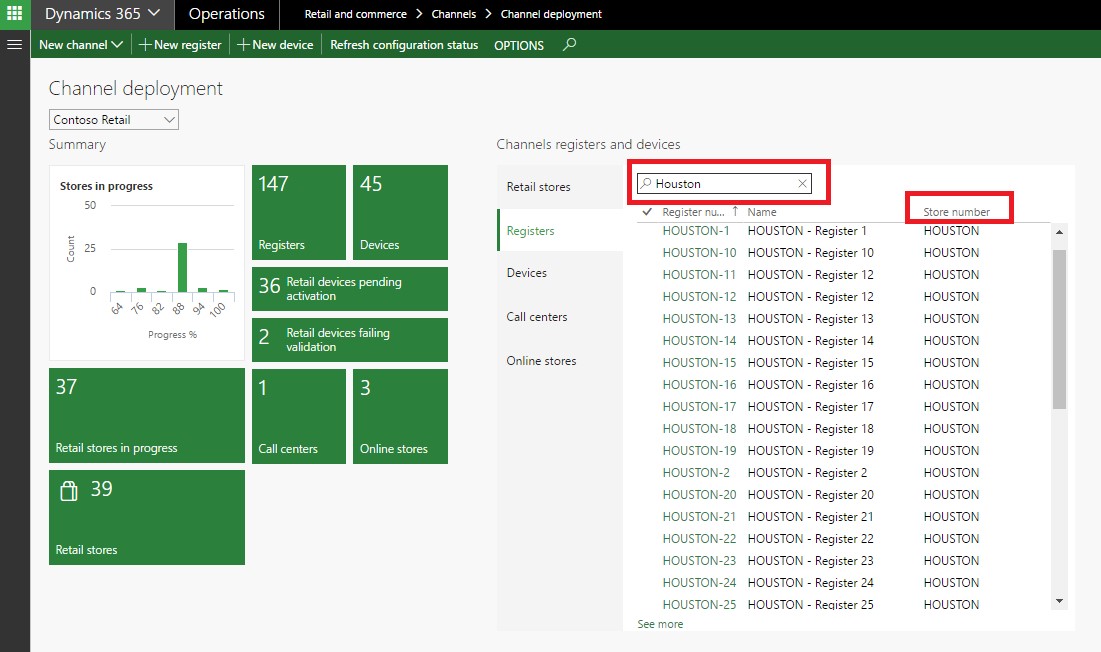
Select Registers Number “Houston-30” and Open it.
Click on configuration Status
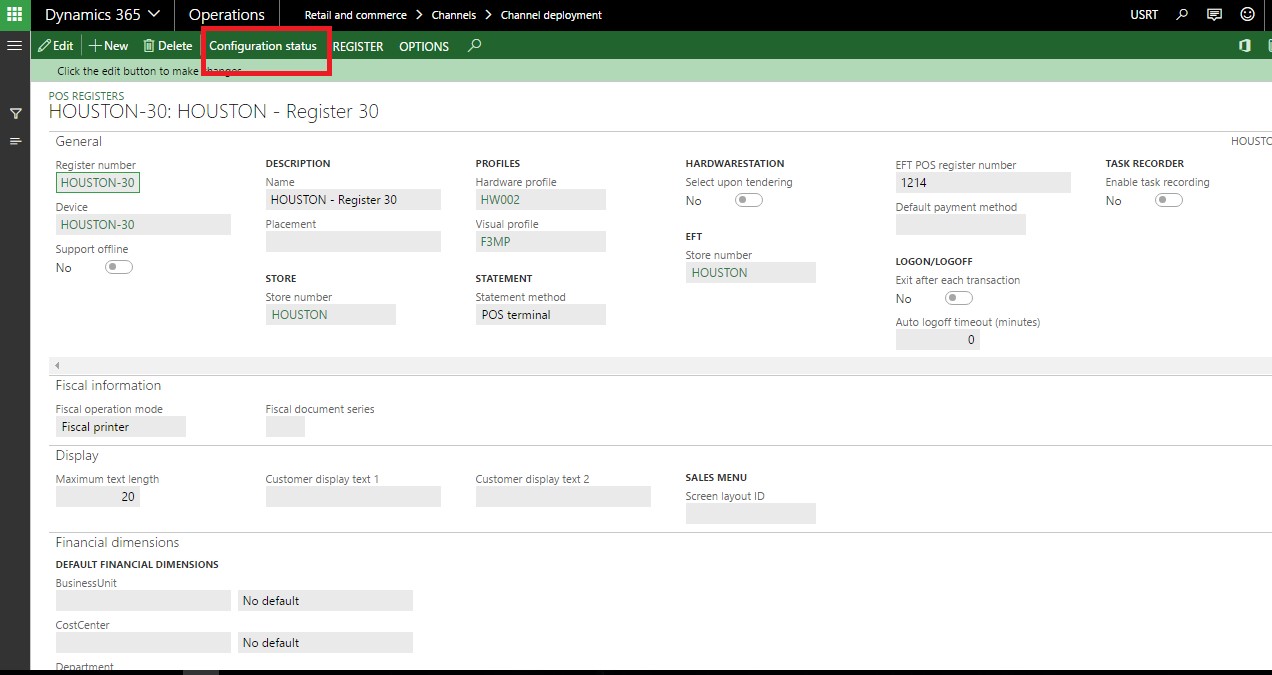
Click on Approve all and click on Update. Once you click on Update. Status will change to Completed.

Click on close button.
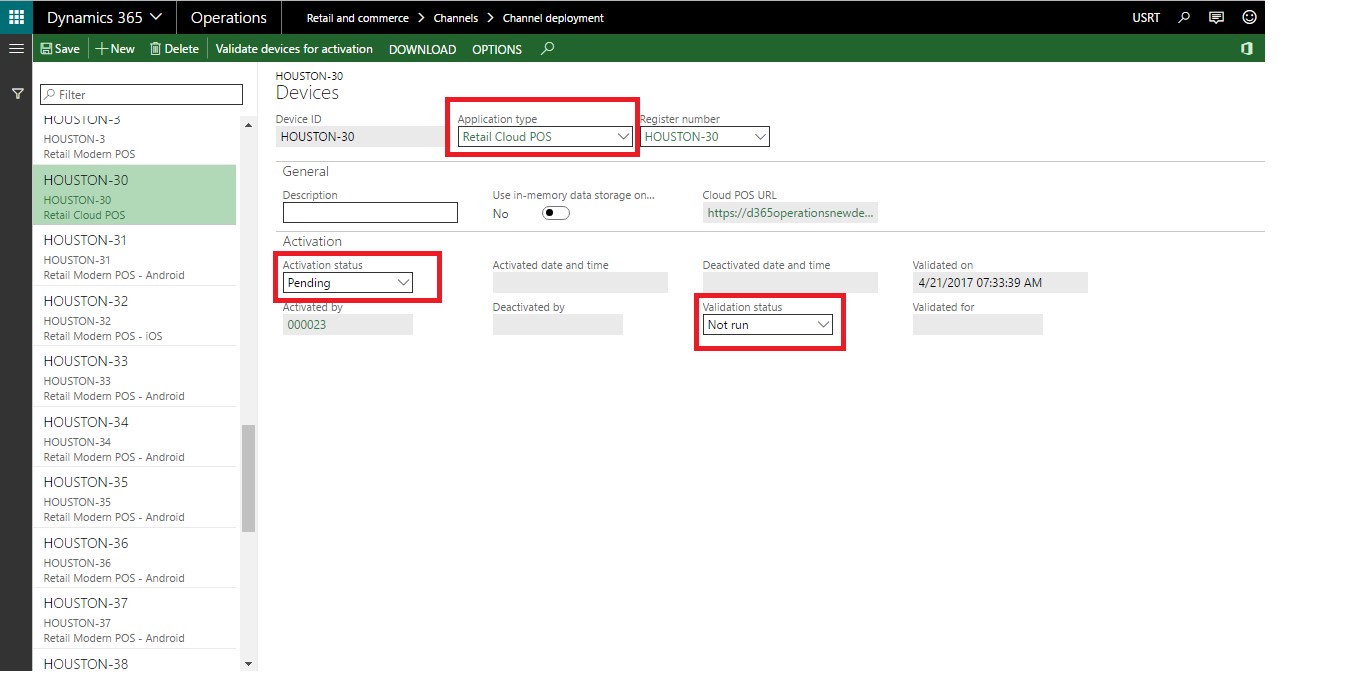
Step 4:
On register page click on Device Select “HOUSTON-30”. Application Type of this Device is “Retail Cloud POS”. which mean this is CPOS. Activation status is Pending and Validation Status is not Run.
Change Activation Status from pending to Pending to Activated and click on Validate Devices for Activation.
Step 5:
In General Tab of Device “Houstone-30” copy POS URL and Past it in Browser. Or you can click on that URL Link.
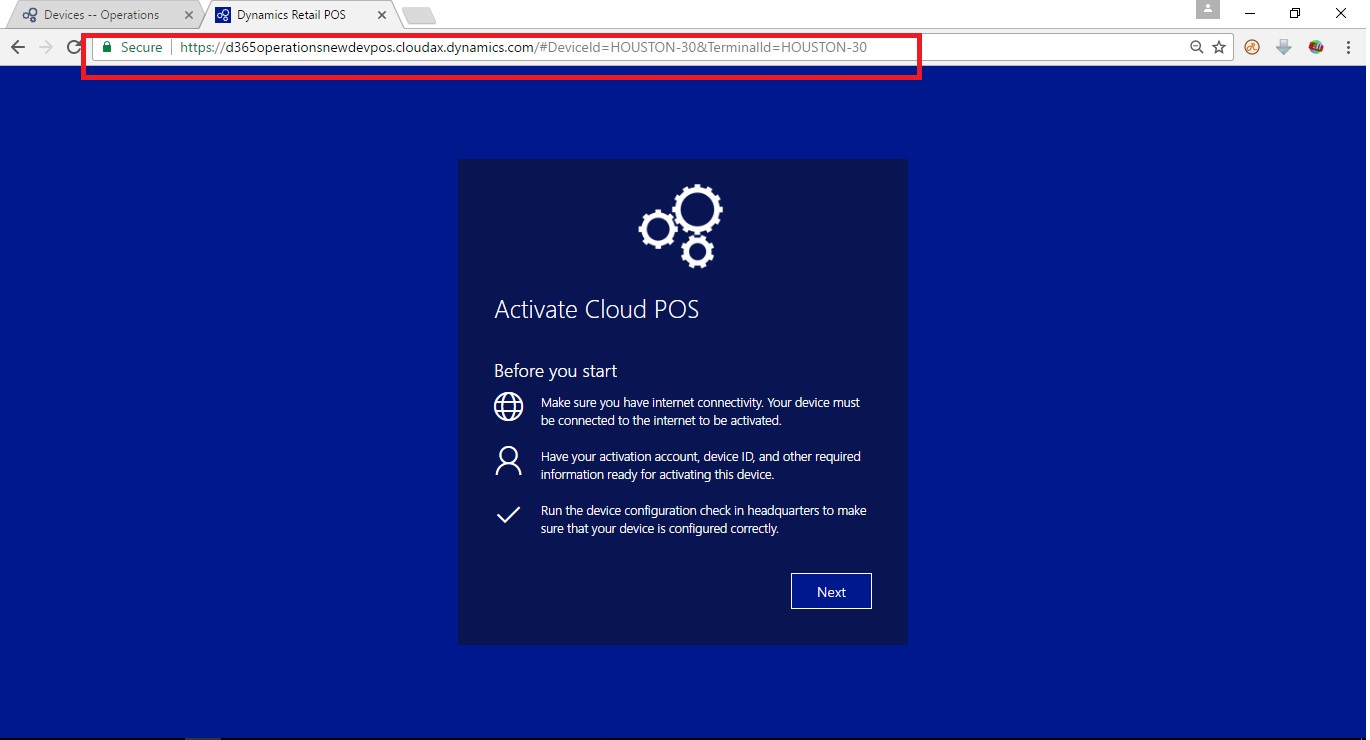 Click on Next Button.
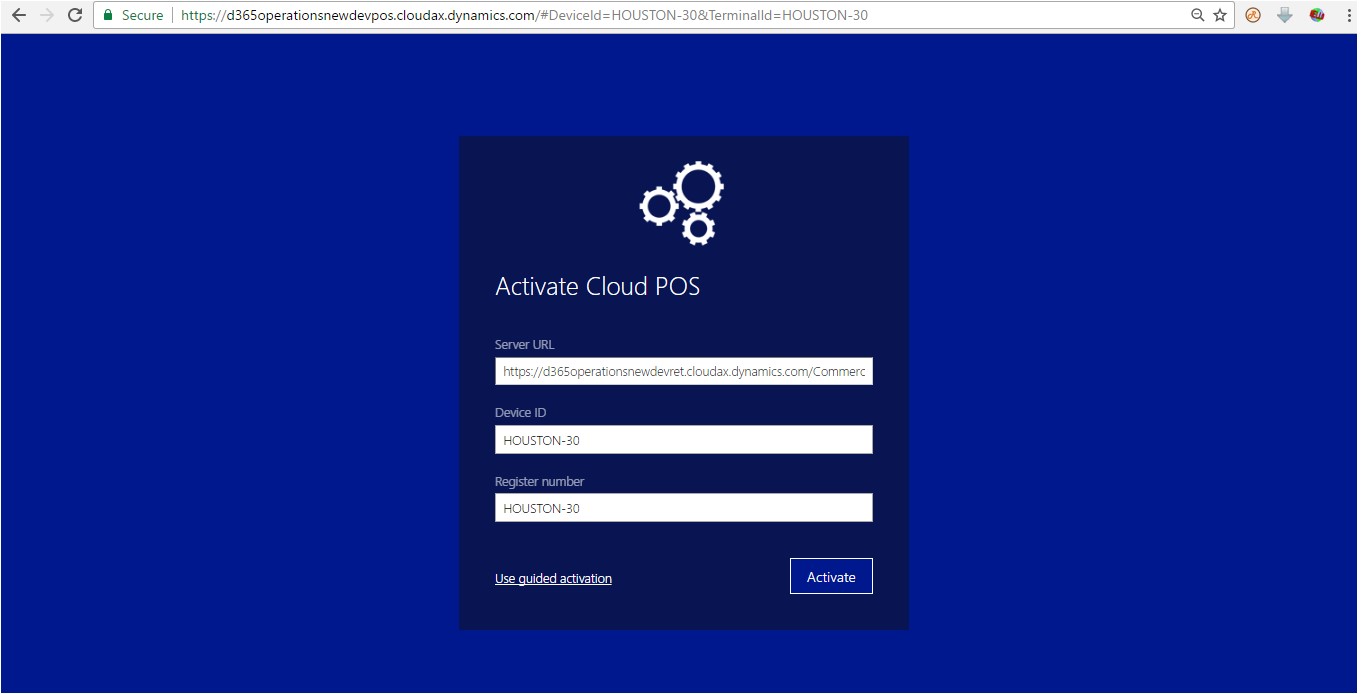
Server URL, Device ID and Register ID is set by Default base on your Cloud POS Device.
Click on Activate button.
Once you click on Activate, it will start for activating Cloud POS.

Once its Active, you will get message
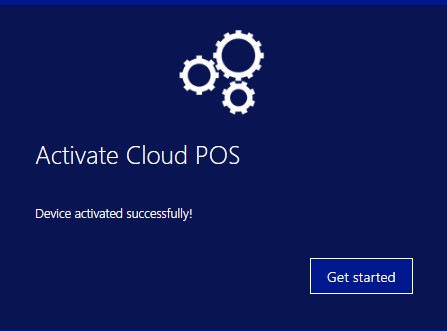
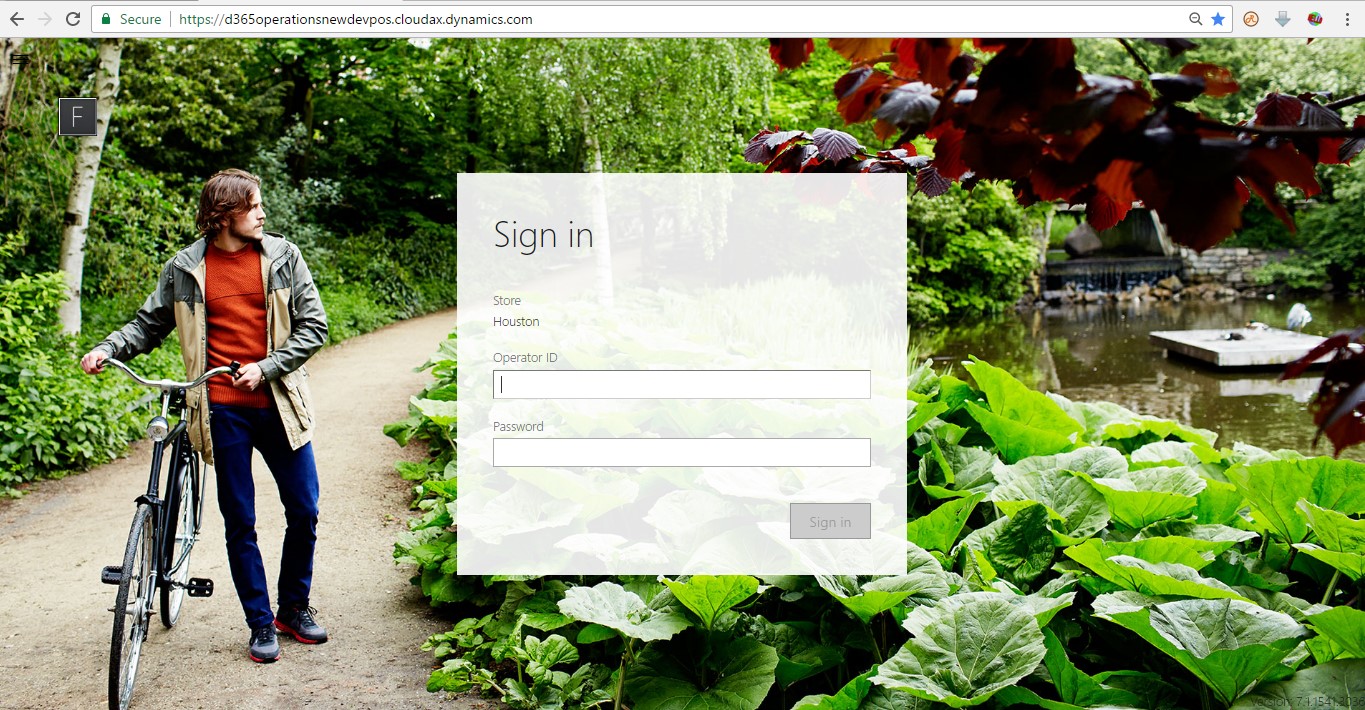
Click on Get Stated. You can able to view Cloud POS Login Screen. Enter Worker user ID and Password to login.
Conclusion:
By following this Steps, you can configure CPOS in Dynamics 365 Operation.