+1 855 796 4355
Securing an API using OAuth 2.0 in Azure API Management
Part 1: Configuration of Applications in Azure AD
Introduction
Configuring OAuth 2.0 for your APIs hosted in Azure API Management adds an extra layer of security and prevents unauthorized access. This is a very important configuration form Security point of view for your Endpoints and is provided out of the box by Azure. This is the first part of a series of Blogs on Securing your API using OAuth 2.0 in Azure API Management. Please go through all the parts to find easy and detailed steps that will help you configure the OAuth 2.0 Authentication.
Register an application (Backend App) in Azure AD to represent the API
To protect an API with Azure AD, the first step is to register an application in Azure AD that represents the API.
- Go to the Azure portal to register your application. Search for and select APP registrations.
- Select New registration.

- When the Register an application page appears, enter your application’s registration information:
- In the Name section, enter a meaningful application name that will be displayed to users of the app, such as backend-app.
- In the Supported account types section, select an option that suits your scenario
- Leave the Redirect URI section empty.
- Select Register to create the application.
On the app Overview page, find the Application (client) ID value and record it for later.
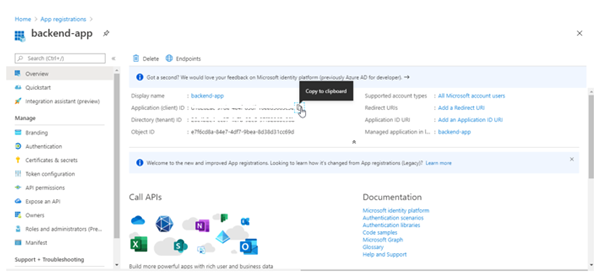
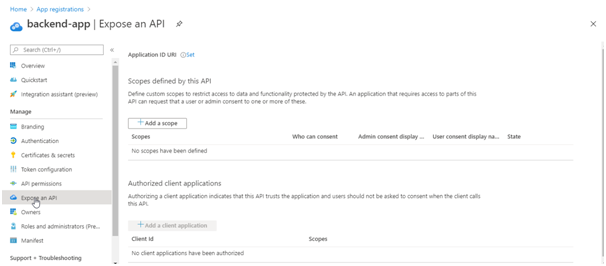
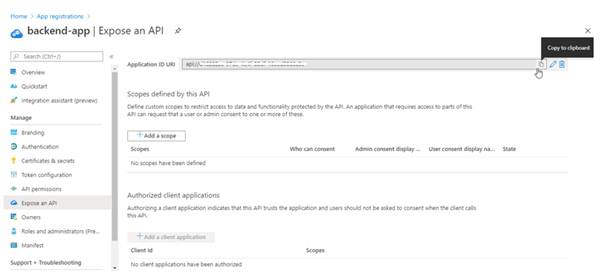
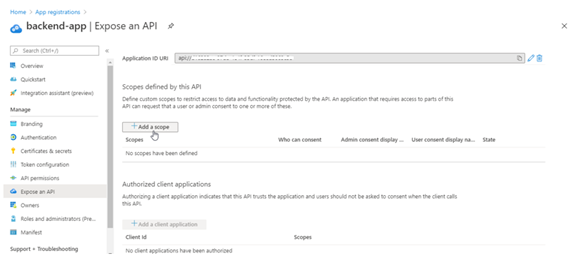
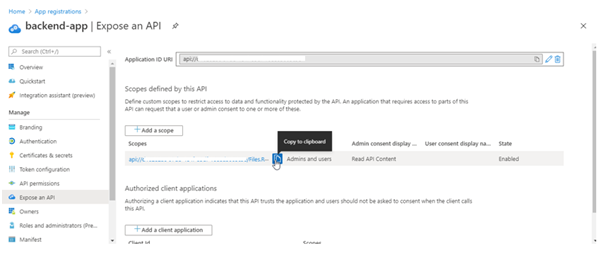
Select Expose an API and set the Application ID URI with the default value. Record this value for later.
Select the Add a scope button to display the Add a scope page. Then create a new scope that’s supported by the API (for example, Files.Read). Finally, select the Add scope button to create the scope. Repeat this step to add all scopes supported by your API.
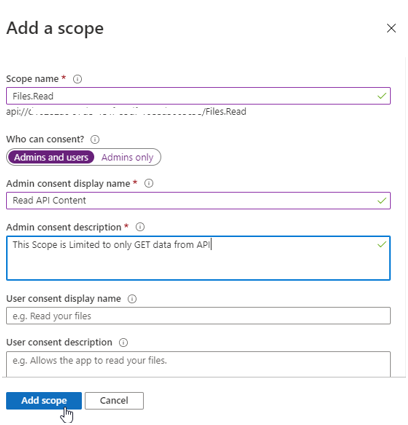
When the scopes are created, make a note of them for use in a subsequent step.
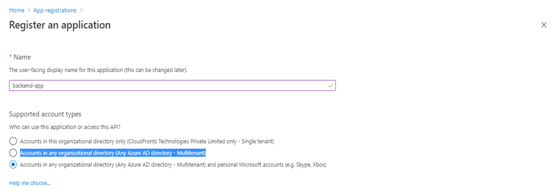
Register Consumer application in Azure AD to represent a client application (Client App)
Every client application that calls the API needs to be registered as an application in Azure AD as well. In this example, the client application is the Developer Console in the API Management developer portal. Here’s how to register another application in Azure AD to represent the Developer Console.
- Go to the Azure portal to register your application. Search for and select APP registrations.
- Select New registration.

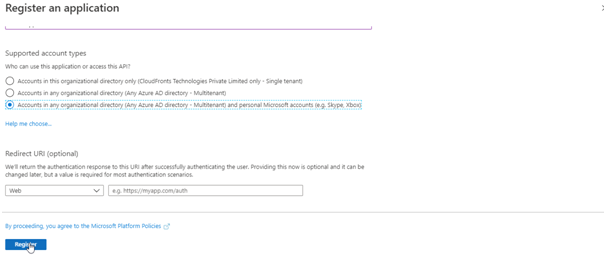
- When the Register an application page appears, enter your application’s registration information:
- In the Name section, enter a meaningful application name that will be displayed to users of the app, such as client-app.
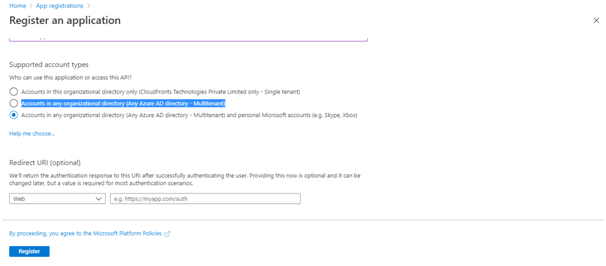
In the Supported account types section, select option as required.

- In the Redirect URI section, select
Weband leave the URL field empty for now. - Select Register to create the application.
On the app Overview page, find the Application (client) ID value and record it for later.

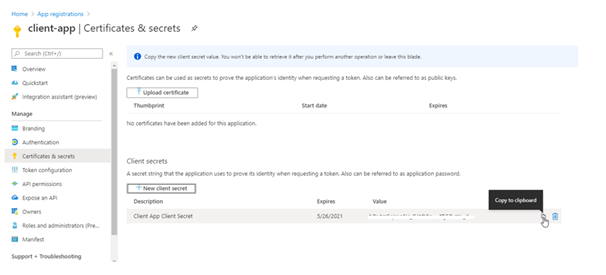
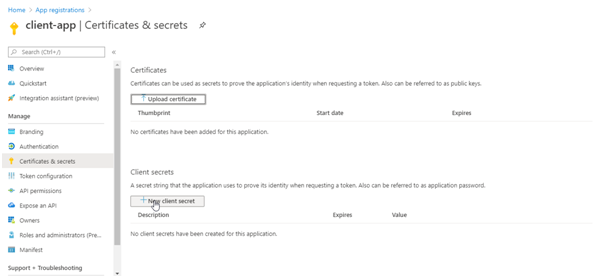
Now, create a client secret for this application to use in a subsequent step.
- From the list of pages for your client app, select Certificates & secrets, and select New client secret.
- Under Add a client secret, provide a Description. Choose when the key should expire, and select Add.
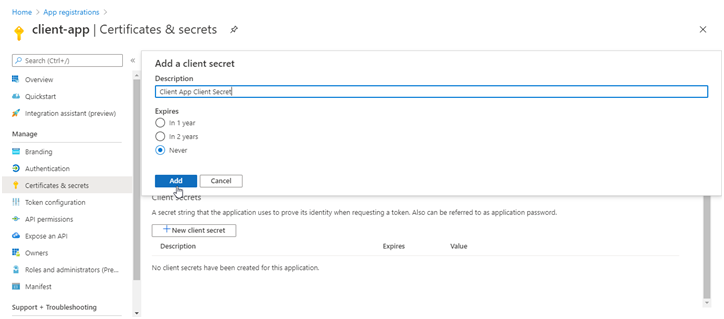
When the secret is created, note the key value for use in a subsequent step.