 +1 855 796 4355
Setup and Design of Receipts in Dynamics 365 Operation Retail
Introduction:
Blow blog, describe you about how to create, modify Receipts, invoice, Order summery report and rest of other document for MPOS and CPOS. You can create multiple receipts with different layout for single entity.
Let begin with this Exercise.
Step 1:-
Go to the Retail and commerce > Channel setup > POS setup > POS > Receipt formats.
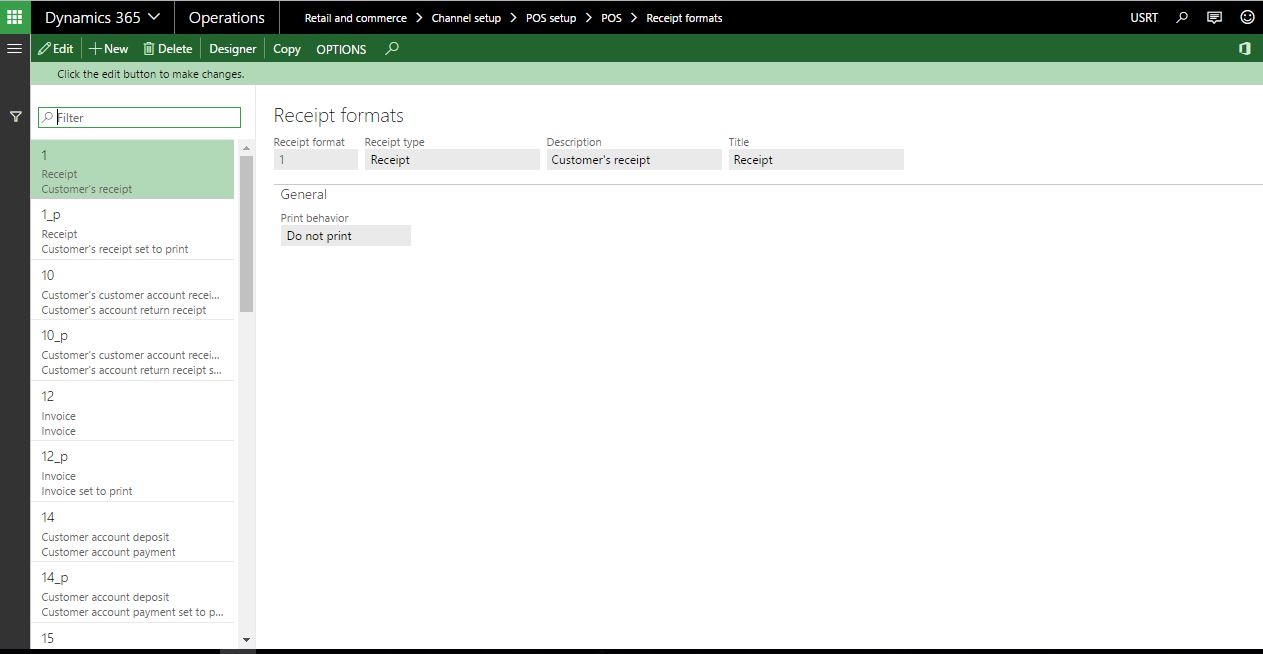
Step 2 :-
Select Receipt format 1 and click on design button.
Once you click on Design button browser will ask to Open Microsoft.Dynamics.Retail.RetailDesigner Host.application

Click on Open Button. And sign in Dynamics Workflow Editor.
Step 3:-
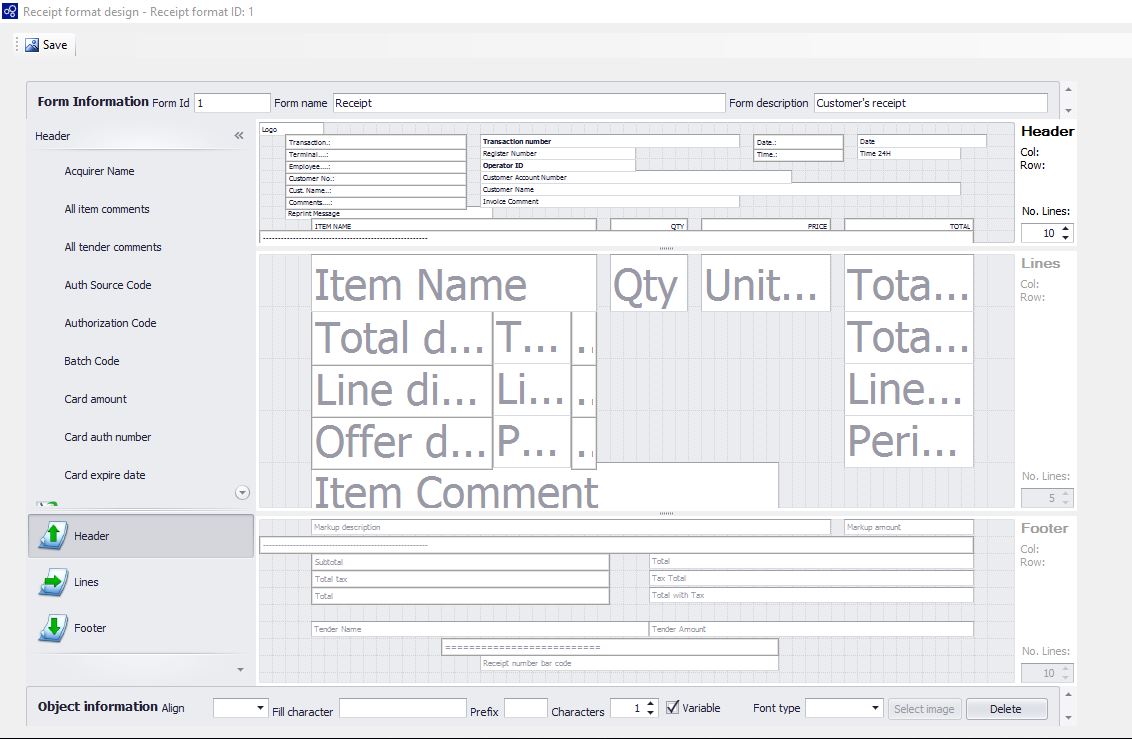
Designer window is look like below screen shot.
Step 4 :-
In Designer window you can able to see Form Information.
Form ID :- ID of receipts , Form Name :- Name of Form , Form Description :- Description of From.
![]()

Step 5:-
On Left Side, you can able to view Header, Line, Footer.
In Header you can click on drag listed element in design work space. For E.g. Store ID, Staff Name, Receipts No. Transaction ID. Header element will print on top of the receipts and will print only at once.

Step 6:-
In Lines, you can click on drag listed element in design work space. For E.g. Product ID, Description, Unit Price, quantity. Line element will print on middle of the receipts.
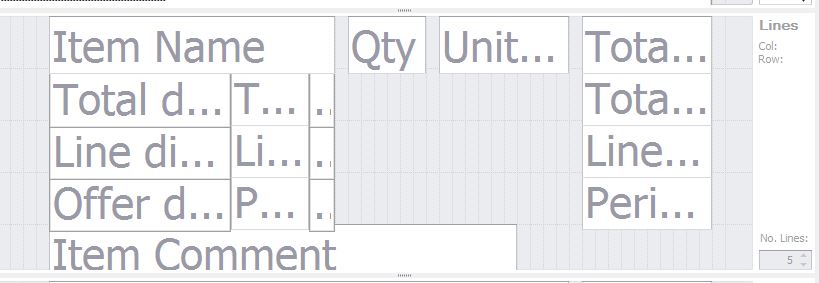
Step 7:-
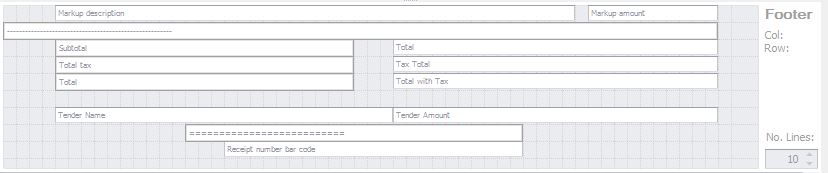
In footer, you can click on drag listed element in design work space. For E.g. Total, TAX Amount, Tender Name . Footer element will print on bottom of the receipts.
Step 8:-
Object Information is used to set property of Element of Header, Lines and footer which is
Align – Set the alignment of the field to either Left or Right.
Fill char – Specify the white space character. By default, an empty space is used, but you can enter any character.
Prefix – Enter the value that appears at the beginning of the field. This setting applies only to the Lines section of the layout.
Characters – Specify the maximum number of characters that the field can contain if the element contains a variable. If the text in the field is longer than the number of character that you specify, the text is truncated to fit the field.
Variable – This check box is selected automatically if the element contains a variable and can’t be customized.
Font type – Set the font style to either Normal or Bold. Bold letters use two times as much space as normal letters. Therefore, some characters might be truncated.
Delete – Click this button to remove the selected part from the form layout.
![]()
Step 9:-
Click on Save button. You receipt Layout will be save.
Conclusion:
Follow this steps to Create or modify receipts layout which is used in CPOS and MPOS.