 +1 855 796 4355
Installation Process for Microsoft Dynamics 365 Business Central (Business Central On-Premise Partner Preview 02).
Introduction:
Finally the Developer preview version for Business Central is out. This blog basically gives an idea about the installation process and the basic difference in the process from Microsoft Dynamics NAV 2018.
Pre-requisites:
Access Microsoft: Ready-to-Go Program/Collaborate
Microsoft Dynamics 365 Business Central (Business Central On-Premise Partner Preview 02)
Demonstration:
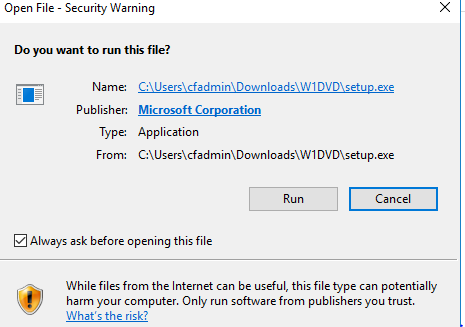
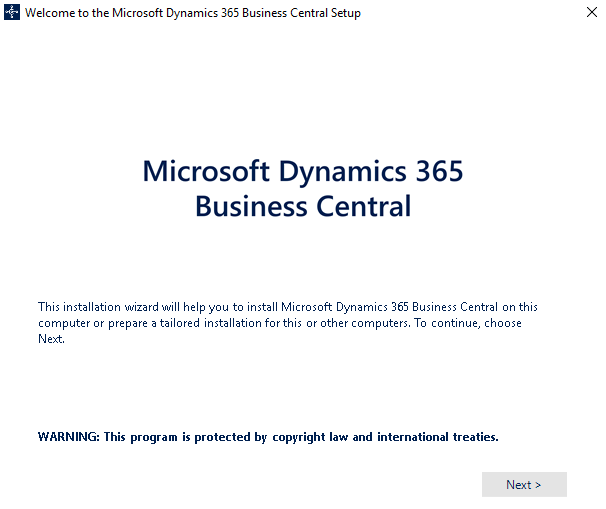
- Download the setup file on the basis of your region(localization if available) or the world version (if localization is not available) and run the setup file.

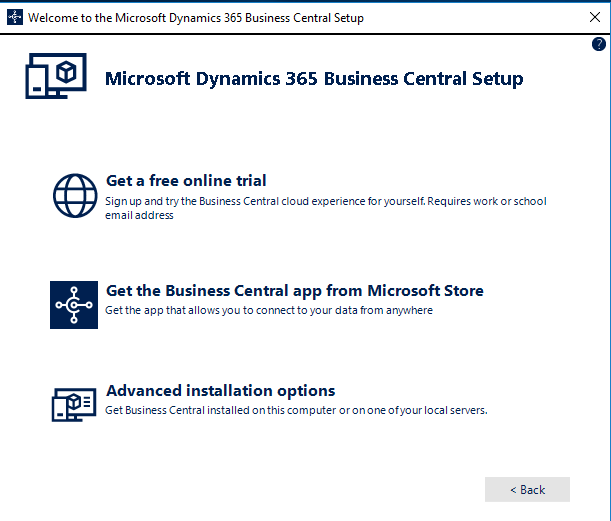
- Click on next and choose the type of installation as per you work needs.
- You can choose an free online trial, or download the business central application from the Microsoft store and download it on your PC/Tablet/Laptops etc thus having an access to it from any location. The advanced installation options allows you to download Business Central on your computer or local server.
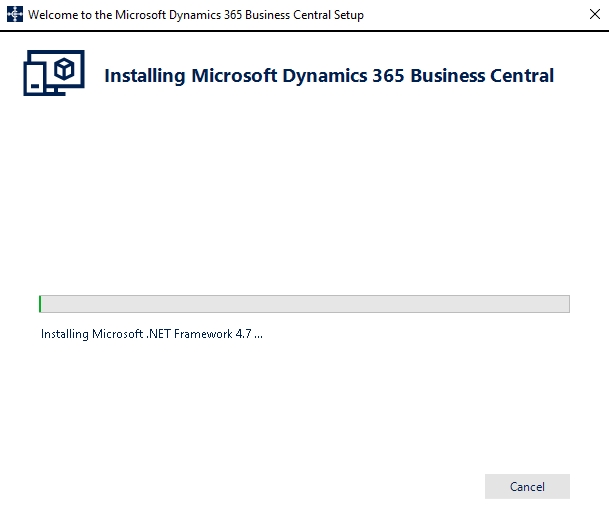
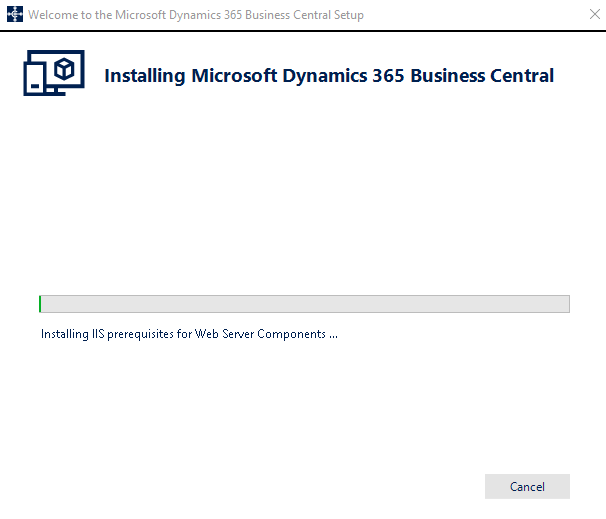
- The .NET Framework required for the Microsoft Dynamics 365 Business Central is downloaded first. After that restart your PC/Server.
- Run the setup again, this will download the Web Client and Business Central Administration.
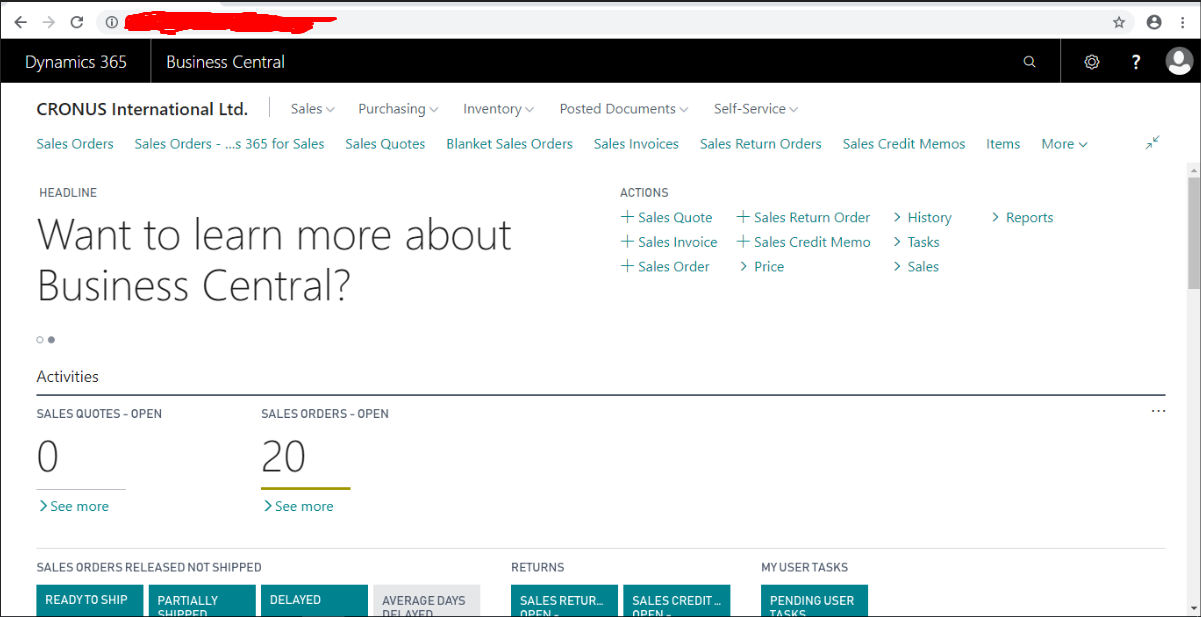
- The latest version of the web client can be seen with all the latest functionalities.
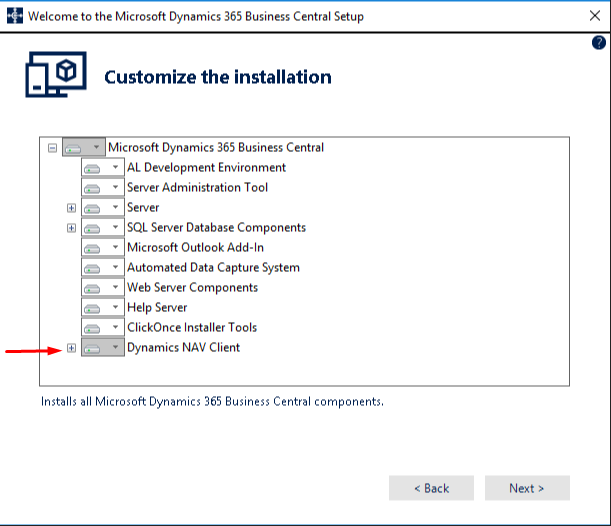
- Now to add the Windows Client, go to add or remove components in the setup and add the required components (Dynamics NAV Client etc). This is the difference from Microsoft Dynamics NAV 2018 where you did not have to add the windows client as a separate component.
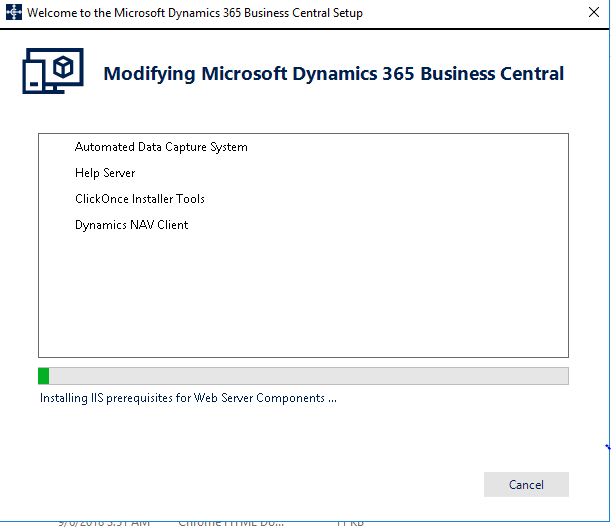
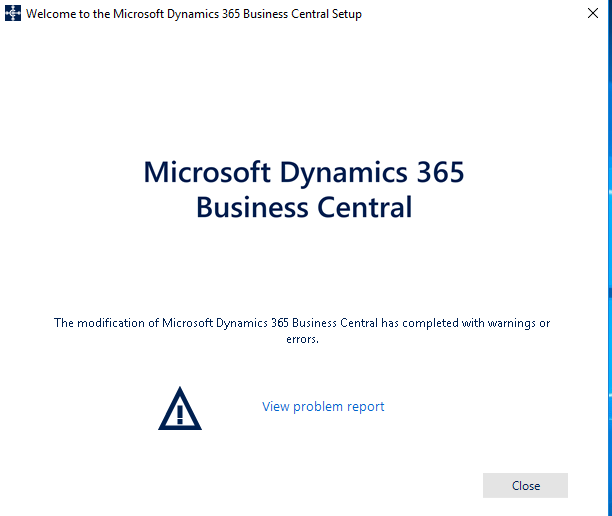
- The installation has been completed now.
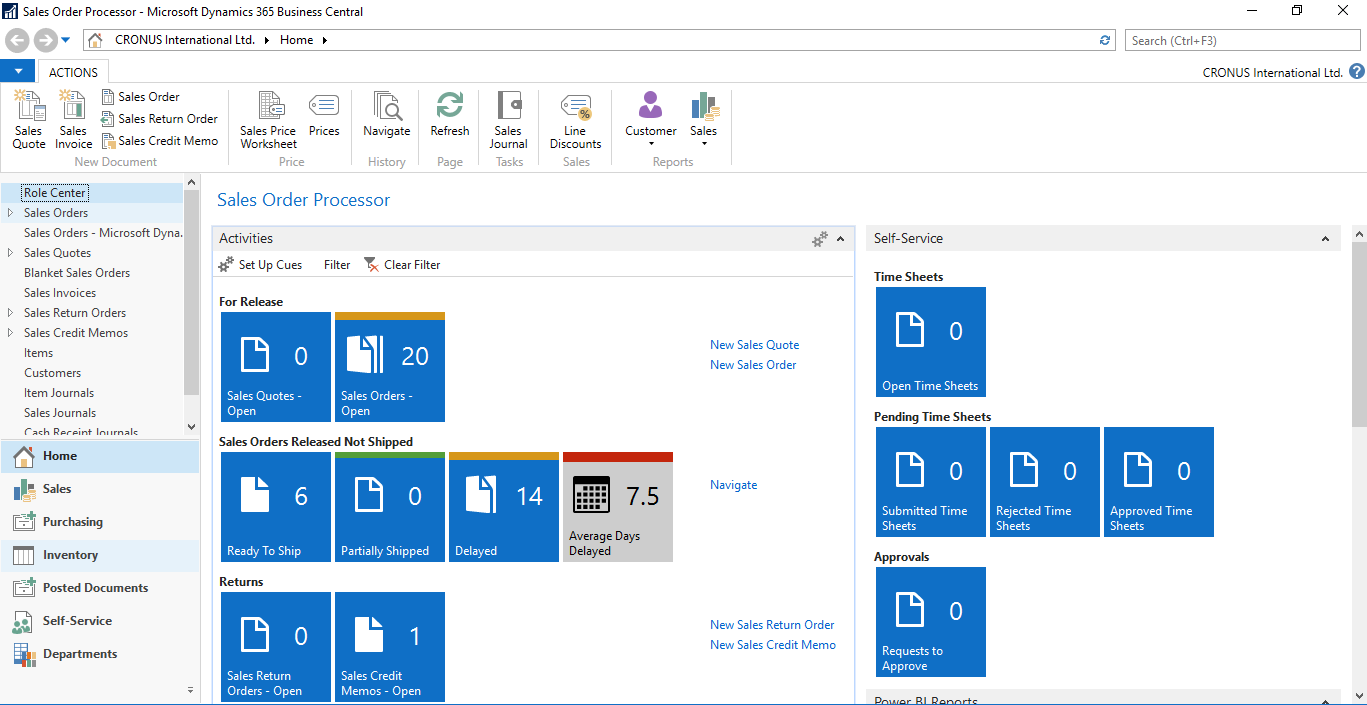
- Now, you can open the Windows Client which has an interface similar to that of Microsoft Dynamics NAV 2018.
Conclusion:
This is the process for the installation and the basic differences from the Microsoft Dynamics NAV 2018 installation have also been noted. In the next blog, I will provide the further differences in the Administration, updations in web client etc.