 +1 855 796 4355
Set up Single Sign-on in Dynamics NAV with Office 365 using Windows PowerShell
Introduction:
Single sign-on (SSO) in Dynamics NAV is a process which authenticates a user to access NAV Web client and NAV windows client using Office 365 email login credentials. When a new Office 365 subscription is provisioned, the Azure AD tenant for this subscription has to be created.
Pre-Requisites
- Microsoft Azure Active Directory Module for Windows PowerShell
- Microsoft Online Services Sign-in Assistant
You can download the setup of Microsoft Online Services Sign-in Assistant from here - Microsoft Dynamics NAV 2017
Purpose
In this article, I will be explaining the procedure to configure Single Sign-on in Dynamics NAV with the Office 365 login credentials of a user using Windows PowerShell.
Procedure:
- Go to Microsoft Dynamics NAV 2017 Administration and in the NAV instance enter the Certificate Thumbprint (the certificate can be either an SSL certificate or a self-signed certificate)
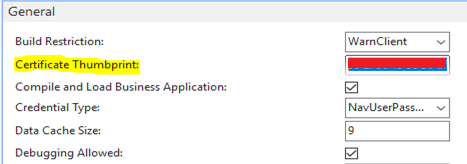
Save the changes and restart your NAV instance.
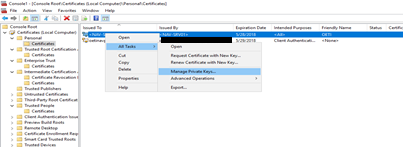
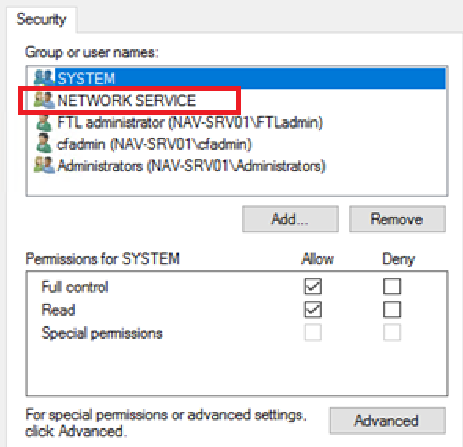
- Go to mmc.exe and navigate to the certificate that is being used for Single sign-on. In mmc.exe, in Personal certificates section, in ‘Manage private keys’, add ‘NETWORK SERVICE’ as a user name and grant full control permissions to ‘NETWORK SERVICE’ user.
- In mmc.exe, along with Personal certificates section make sure the certificate is present in trusted root certification, Enterprise trust, Trusted publishers and Trusted people.
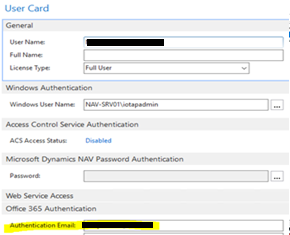
- Navigate to the user for which Single sign-on is being set up in NAV and under Office 365 Authentication enter the Office 365 email of the user.
- Now run Microsoft Azure Active Directory Module for Windows PowerShell as administrator.
- Navigate to the Service folder to find NavAdminTool.ps1 module and run the following command in PowerShell to import the module
Import-Module "C:\Program Files\Microsoft Dynamics NAV\100\Service\NavAdminTool.ps1"
- Navigate to the RoleTailoredClient folder to find ps1 module and run the following command in PowerShell to import the module.
Import-Module "C:\Program Files (x86)\Microsoft Dynamics NAV\100\RoleTailored Client\NavModelTools.ps1"
- To import NAVOffice365Administration Module, navigate to the Microsoft Dynamics NAV DVD and then to NAVOffice365Administration. Run the following command in PowerShell to import NAVOffice365Administration.psm1.
Import-Module "C:\Users\iotapadmin\Documents\CU 5 NAV 2017 W1\NAV.10.0.16177.W1.DVD\WindowsPowerShellScripts\NAVOffice365Administration\NAVOffice365Administration.psm1"
- To configure your Microsoft Dynamics NAV Server for single sign-on, you have to run the cmdlet Set-NavSingleSignOnWithOffice365 in PowerShell with the following parameter set:
Set-NavSingleSignOnWithOffice365 -AuthenticationEmail “YourAuthenticationEmail” -NavServerInstance “YourNAVServerInstance” -NavUser “YourNavUser” -NavWebAddress “YourNavWebClientAddress” -NavServerCertificateThumbprint "YourNAVServerCertificateThumbprint" -NavWebServerInstanceName “YourNavWebServerInstanceName”
After entering this command a pop up box shown as below appears with the Office 365 email ID given in the above command and you have to enter the password of the given Office 365 email ID:
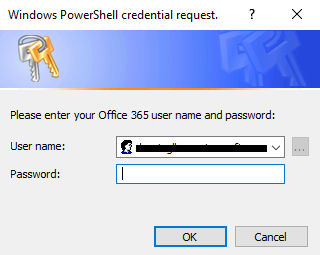
After entering the password, the below output will appear in PowerShell:

Copy and save the URL that appears at the end in PowerShell as it will be required later.
- Navigate to the ClientUserSettings file of the user and change the following parameters:

Change ClientServicesCredentialType parameter value from ‘Windows’ to ‘AccessControlService’.
Change the ACSUri parameter value to the value of URL link generated after the PowerShell command runs which I have mentioned in step 8.
- The parameters of the web client web.config file have not to be modified manually. It is automatically modified after the PowerShell command script runs.
- After SSO is configured, when you start Dynamics NAV Windows client and Web client, you have to enter the credentials of the Office 365 email ID which is provided while running PowerShell script in step 8.
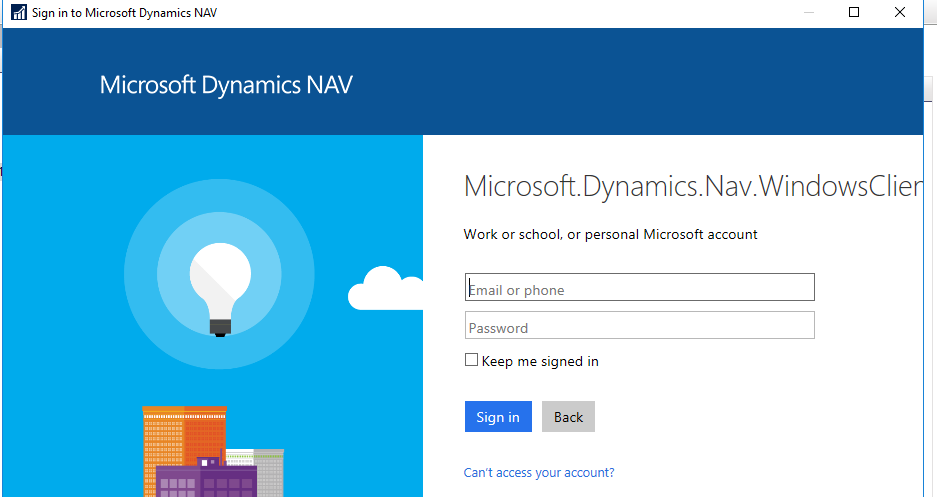
Fig: Windows Client
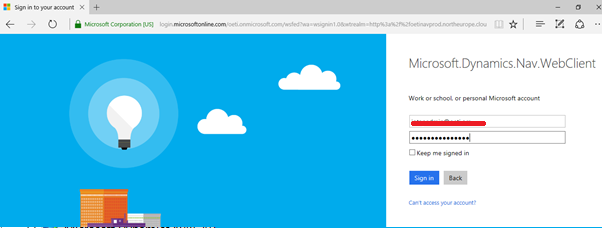
Fig: Web Client