 +1 855 796 4355
Embedding Microsoft Dynamics NAV and its web parts in SharePoint online
Introduction:
Microsoft Dynamics NAV can be embedded in SharePoint online which will be available as an app in SharePoint. Thus, NAV data will be displayed on the SharePoint site. The user can then modify and save the data on the SharePoint site through the NAV web client. Also, web parts such as Sales Orders List, Customers List, etc. can be added to the SharePoint site. When the user selects a particular record in SharePoint online, it opens the relevant page in the Microsoft Dynamics web client and after the changes are saved and the page has been closed, the change is reflected in SharePoint online.
Pre-requisites:
1. Microsoft Dynamics NAV 2016
2. SharePoint online account
Purpose:
The main purpose of embedding NAV 2016 in SharePoint online is to make all the NAV data available in SharePoint so that a SharePoint user can check and modify NAV data in SharePoint online itself.
Procedure:
Step 1: To Register Dynamics NAV as an App in SharePoint
- Go to the appregnew.aspx page in your SharePoint given as below: https://MyTenant.sharepoint.com/_layouts/15/appregnew.aspx where https://MyTenant.sharepoint.com is the URL of the SharePoint site.
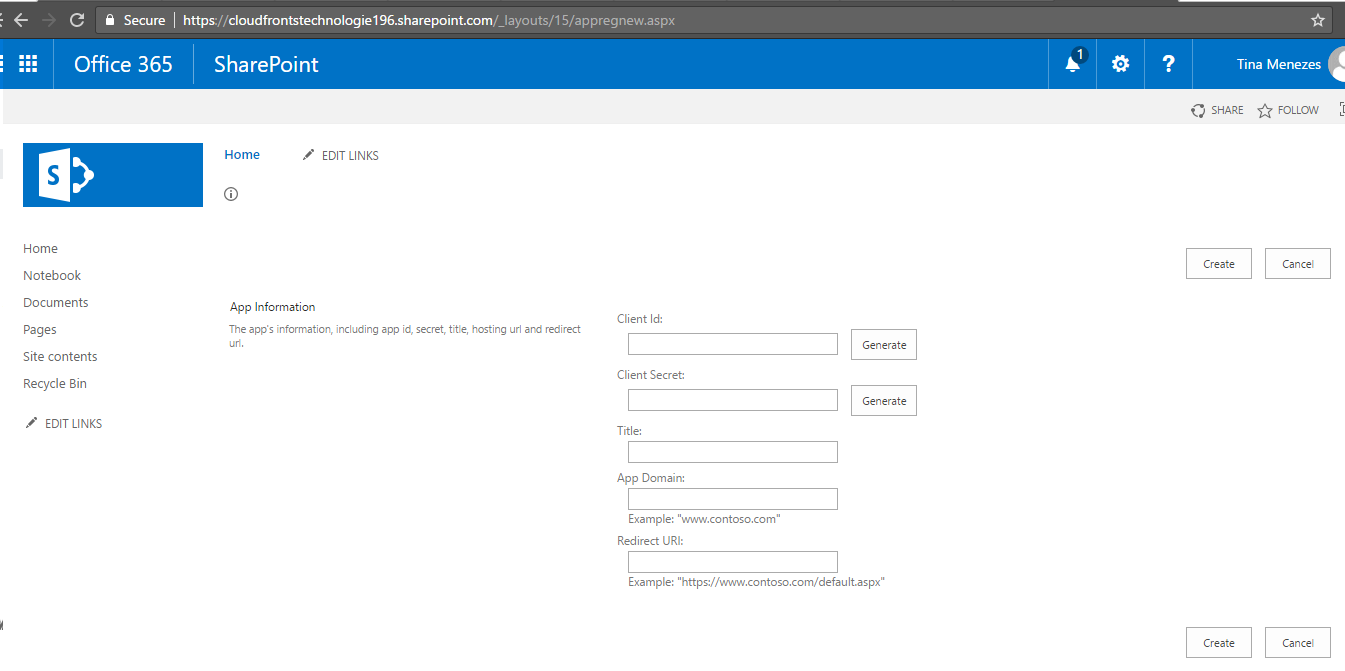
The following fields have to be entered to register a new app:
- Client Id: It will be generated automatically after clicking the generate button.
- Client Secret: It will be generated automatically after clicking the generate button.
- Title: Enter a unique title for the app.
- App Domain: Enter the host name of Microsoft Dynamics NAV web client URL for example cronus.com
- Redirect URL: Enter the URL of the Microsoft Dynamics NAV web client for example
https://www.cronus.com/DynamicsNAV100
- Click on the Create button to register the app.
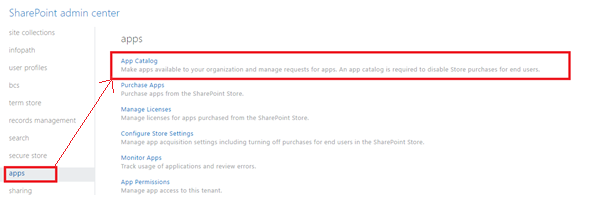
Step 2: Create an app catalog
- Go to the following link:
https:// MyTenant.sharepoint.com/_layouts/15/online/SiteCollections.aspx - Go to apps and then navigate to app catalog
- Create a new app catalog site if there is no existing app catalog for the tenant
- Enter a title for the app catalog and the web site address name. Also enter the administrator name.
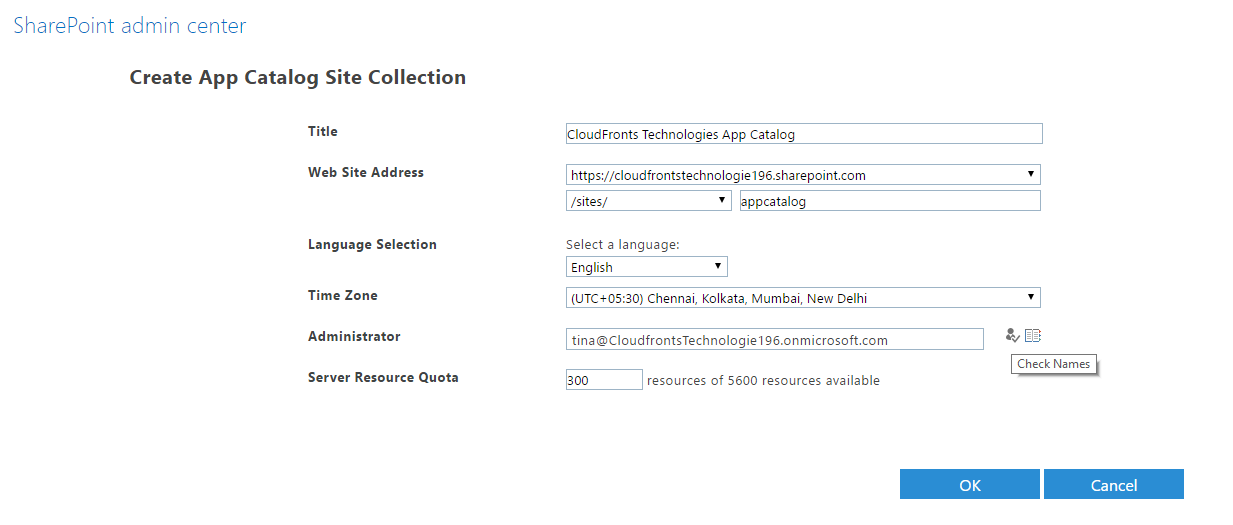

Click OK and now the app catalog will be created and will be added to the Site Collections list.
Step 3: To create app in SharePoint online.
- Go to Visual Studio and Create a new project – App for SharePoint
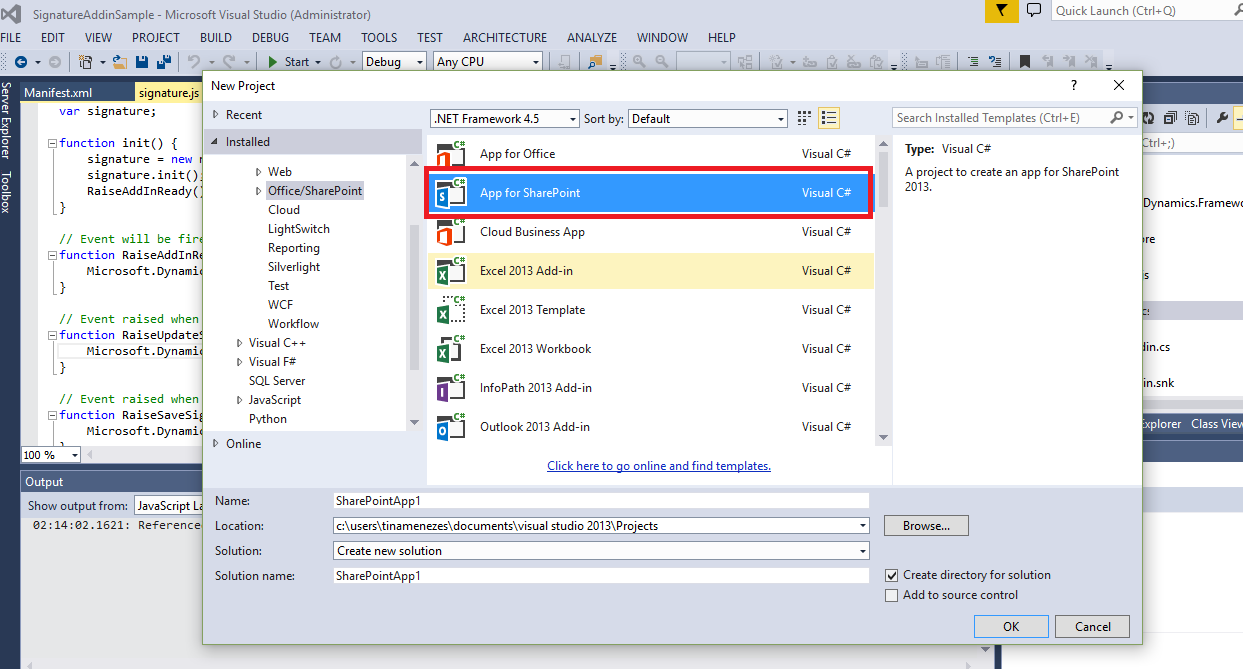
Enter a unique name for the project.
- The app should be Provider-hosted
- After the project has been created, remove the webapp that is created by visual studio automatically.
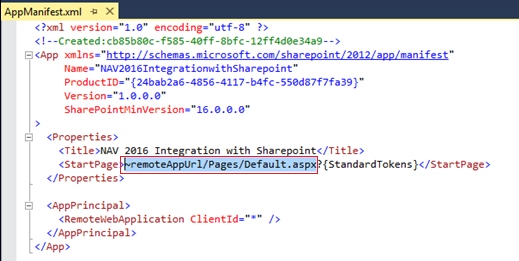
- Now go to AppManifest.xml. Replace the highlighted part of Start page link in Visual Studio (shown in the below screenshot) with the web client URL for example: https://www.cronus.com/DynamicsNAV100/WebClient/
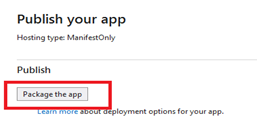
- Right click on the project and Publish the app. After the app has been published, package the app.

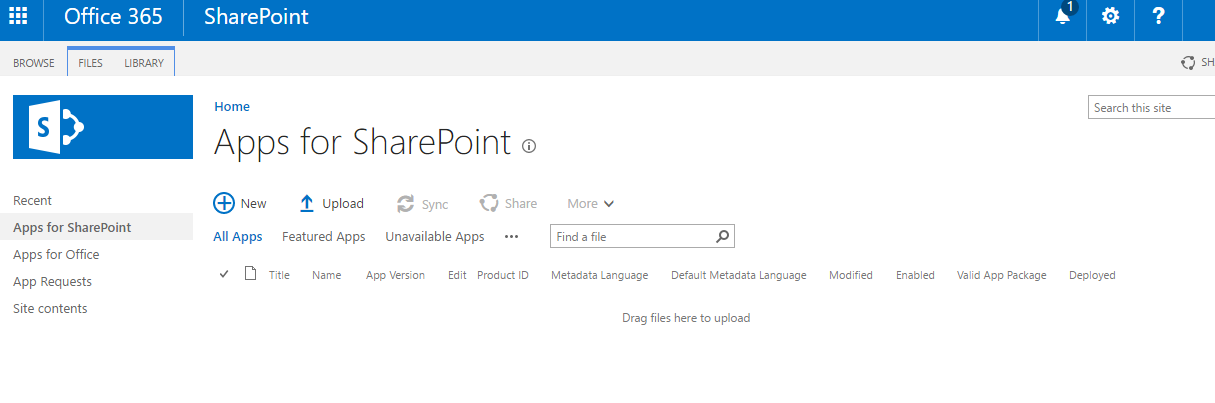
Step 4: Upload the app made in Visual Studio to SharePoint in Apps for SharePoint and add the app to Site collections
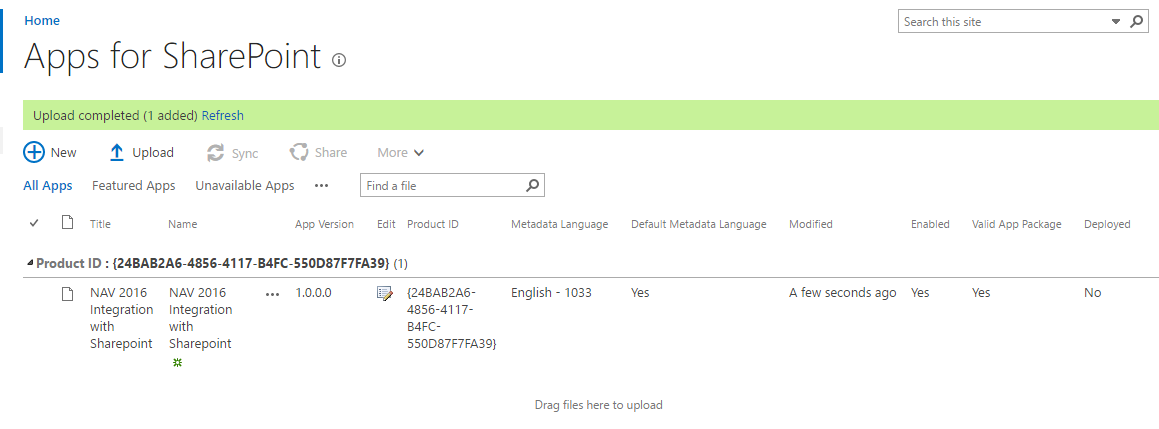
- Go to the app catalog created. Click on Apps for SharePoint.
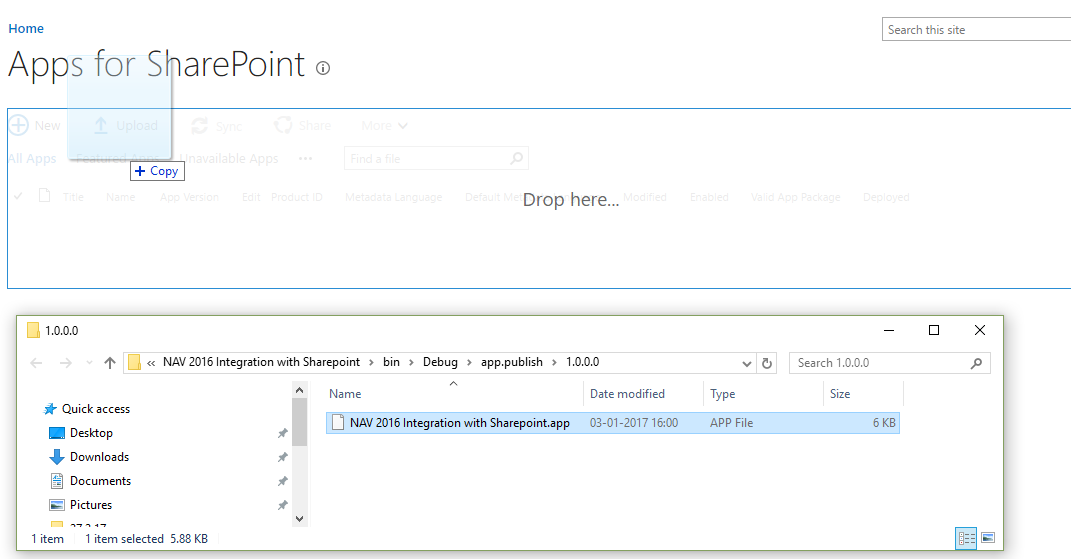
- Now upload the app to SharePoint. It can be done directly by dragging the app from the folder in which it is created after publishing and packaging to the Apps for SharePoint section.
- The app will then be copied under apps for SharePoint.
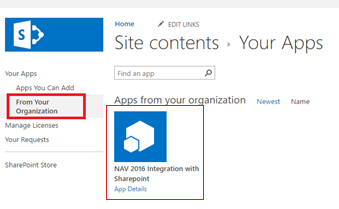
- Go to Site Collections and navigate to Site Contents. Click on ‘Add an app’
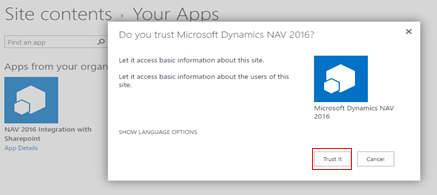
- Click on ‘Trust it’ and then the app will be added to SharePoint.

Step 5: To add a Microsoft Dynamics NAV web part to SharePoint online
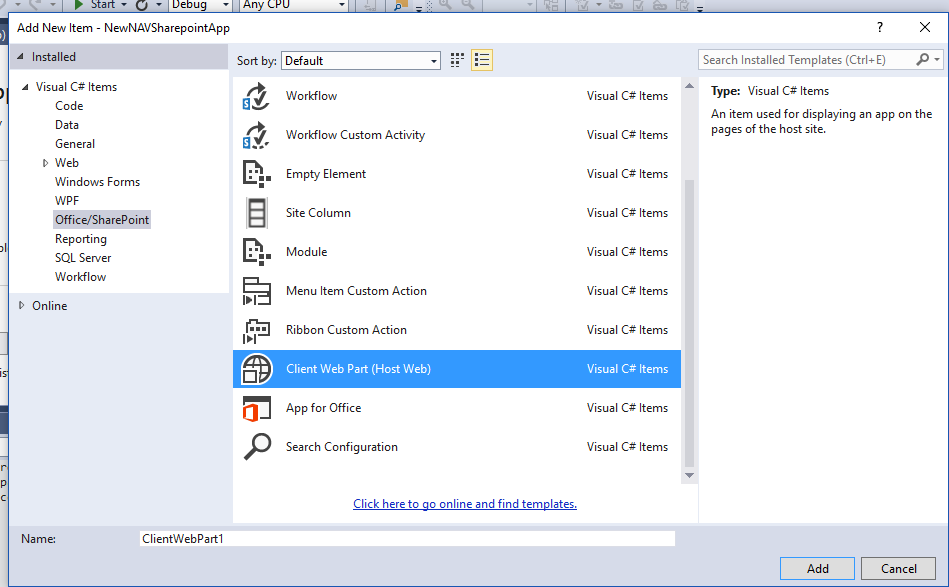
- Go to Visual Studio and open the project that was created initially. Right click on the project and add a new item ‘Client Web Part (Host Web)’
- Enter the Web part URL under ‘Select or enter the URL of an existing web page for the client web part content’
- The above ‘ThePageId’ property has been defined so that the web part page to be displayed can be modified after clicking ‘Edit’ on the SharePoint page.
- Change the version number in AppManifest.xml. Again publish and package the app.
- Now Remove the previous app uploaded in Apps for SharePoint.
- Drag the app again and replace it in Apps for SharePoint.g. Now Go to Site Collections and navigate to Site Contents. Click on ‘Add an app’.
- Go to the Site Collection where the app has been added. Click on ‘Edit’.
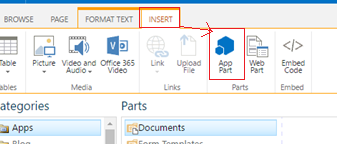
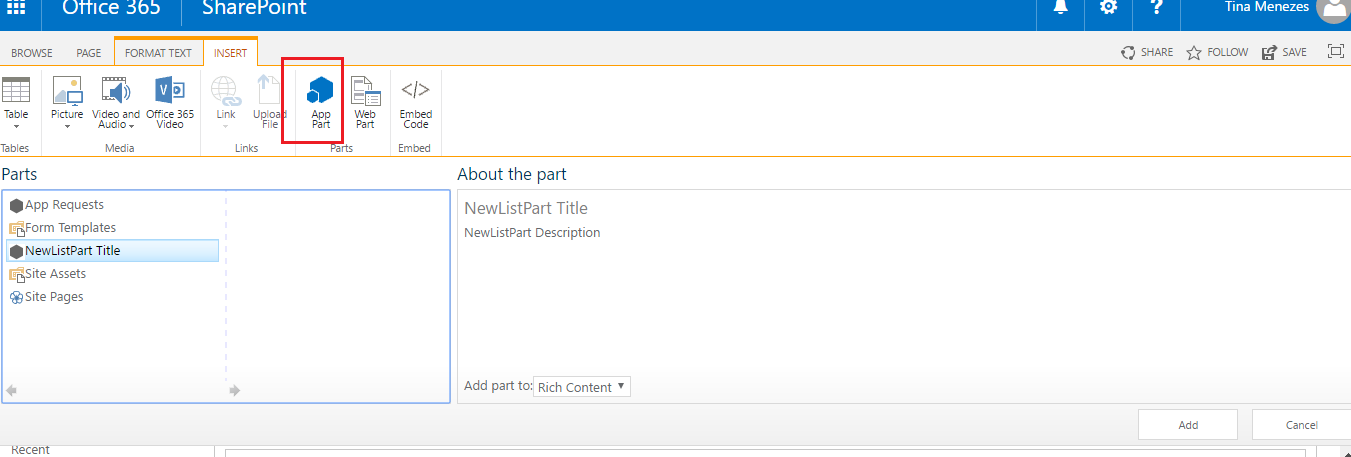
- Select Insert an ‘app part’.
- Select the created web part and add it.
- Thus, the web part will now be added to the SharePoint page.

The above screenshot shows that Sales Orders List web part has been embedded in SharePoint online.On clicking a particular record, it opens the relevant page in the NAV web client.
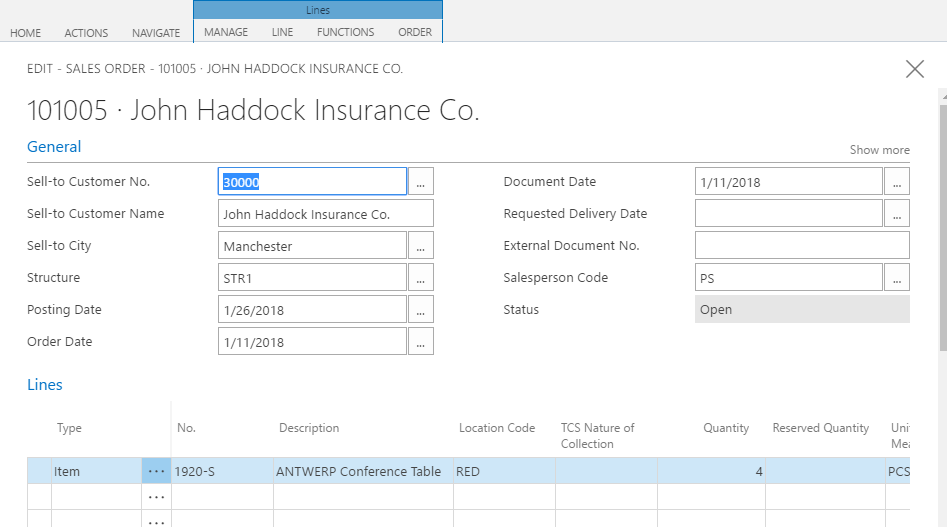
Modifications can be made above. Upon saving and closing this record, the SharePoint page is refreshed and the change is reflected in SharePoint online.
Important Note: The web part will not be embedded and displayed if the following property is present in web.config file which is present in the WebClient folder:
<add name=”X-FRAME-OPTIONS” value=”SAMEORIGIN” />Remove/Comment the above line of code in web.config file to embed NAV web parts in SharePoint online because SAMEORIGIN allows framing of the Microsoft Dynamics NAV Web client in another website only if the other website is on the same host. Hence, remove this to enable cross-site framing of the Microsoft Dynamics NAV Web client.
The following code illustrates how to modify the Elements.xml file:
<?xml version="1.0" encoding="utf-8"?>
<Elements xmlns="http://schemas.microsoft.com/sharepoint/">
<ClientWebPart Name="ListPart" Title="Microsoft Dynamics NAV List Part" Description="List from Microsoft Dynamics NAV" DefaultWidth="800" DefaultHeight="300" >
<Content Type="html" Src="https://www.cronus.com/DynamicsNAV100/WebClient/List.aspx?page=_ThePageId_&pagesize=5&shownavigation=0&showribbon=0&showuiparts=0&isembedded=1/>
<Properties>
<Property
Name="ThePageId"
Type="int"
DefaultValue="9305"
WebCategory="Microsoft Dynamics NAV"
WebDisplayName="Page number"
RequiresDesignerPermission="true"
/>
</Properties>
</ClientWebPart>
</Elements>

Conclusion
Using the above procedure Microsoft Dynamics NAV and its web parts can be embedded in SharePoint online. Users who use SharePoint online will then get access to view and modify Microsoft Dynamics NAV data from SharePoint online directly.