 +1 855 796 4355
Applying Default / Mandatory Dimension in NAV / Business Central
In this blog, I aim to provide how to set Mandatory Dimensions on Items, Customers, Vendors, and G/L Accounts and how to optimize this process using Configuration package.
Pre-requisites:
Microsoft Dynamics NAV.
Microsoft Dynamics Business Central.
Understanding of Dimensions in NAV / BC
Theory:
Automatic Dimensions can be added for the G/L Accounts, Customers, Vendor, and Items.
The Value Posting can be selected as per the below Table.
| Value Posting | Explanation |
| Blank | No posting restriction.Transactions can be posted with any dimension value or without a dimension value. |
| Code Mandatory | Any dimension value for the given dimension can be added. If dimension value is blank then NAV / BC will throw an error |
| Same Code | Only a single dimension value defined in Default Dimension can be used while posting. |
| No Code | Dimensions must not be specified on the transactions. |
This also implies that you can add the Default Dimension, No-Dimension, Mandatory Dimension and Manual Dimension only when needed using the Default Dimension functionality.
Solution:
1. Apply Mandatory Dimension on Items:
Go to Items > Select the Item and Open Card Page > Click on Dimensions Action.

In the Default Dimension Table, Table No. for Items Table is 27 which is automatically selected.
The value posting is also selected in the table based upon what option is selected.

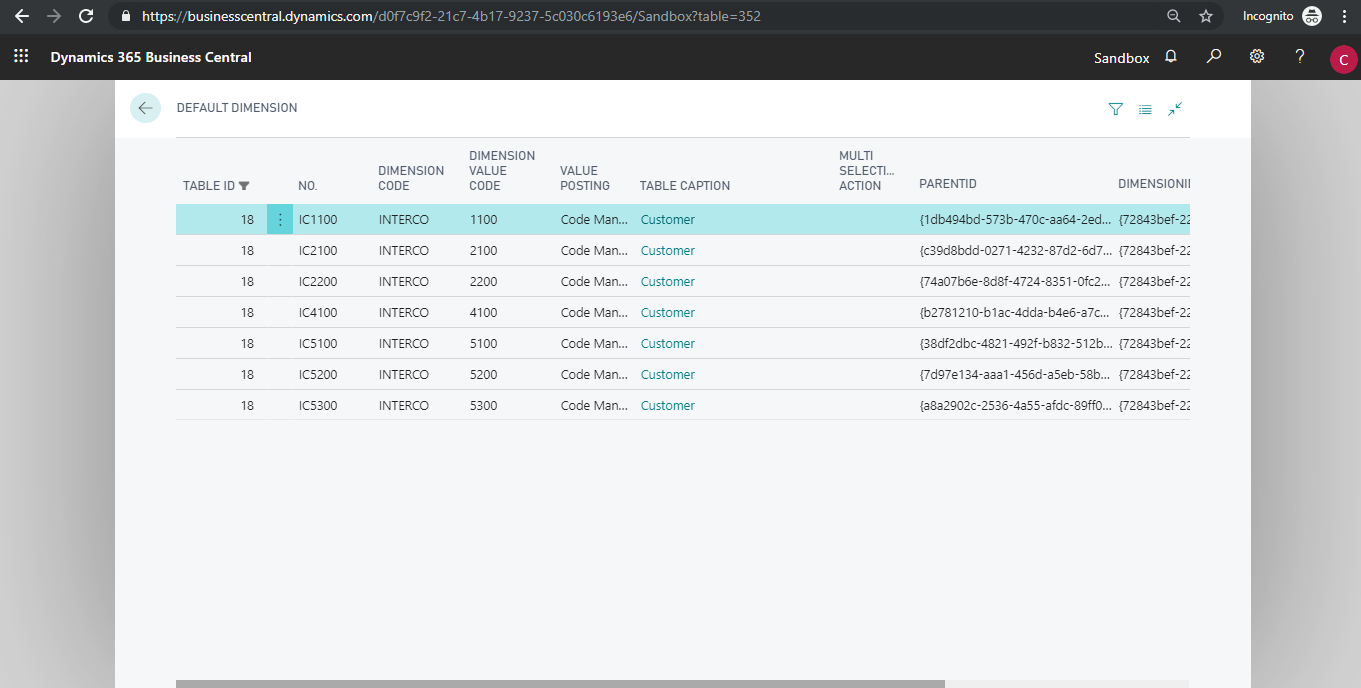
2. Apply Mandatory Dimension on Customers:
Go to Customers > Select Customer and Open Card Page > Click on Dimensions Action
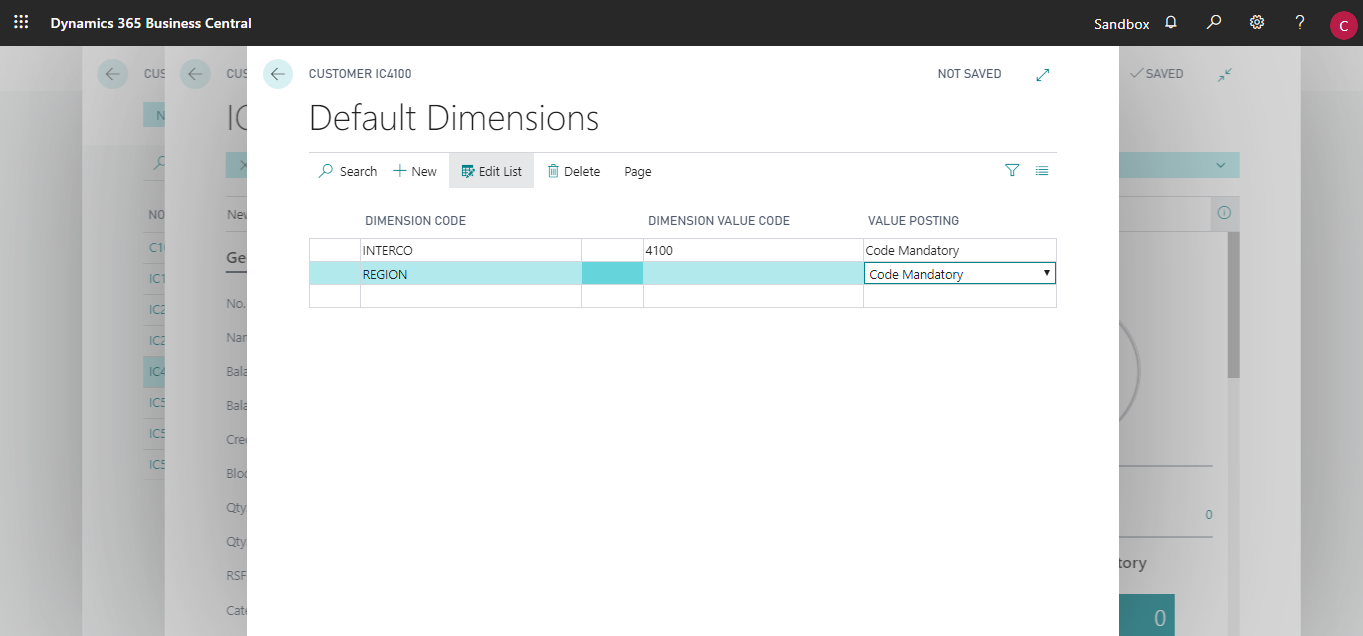
In the Default Dimension Table, Table No. for Customer Table is 18 which is automatically selected. The value posting is also selected in the table based upon what option is selected.
3. Apply Mandatory Dimension on Vendors:
Go to Vendors > Select Vendor and Open Card Page > Click on Dimensions Action

In the Default Dimension Table, Table No. for Vendor Table is 23 which is automatically selected. The value posting is also selected in the table based upon what option is selected.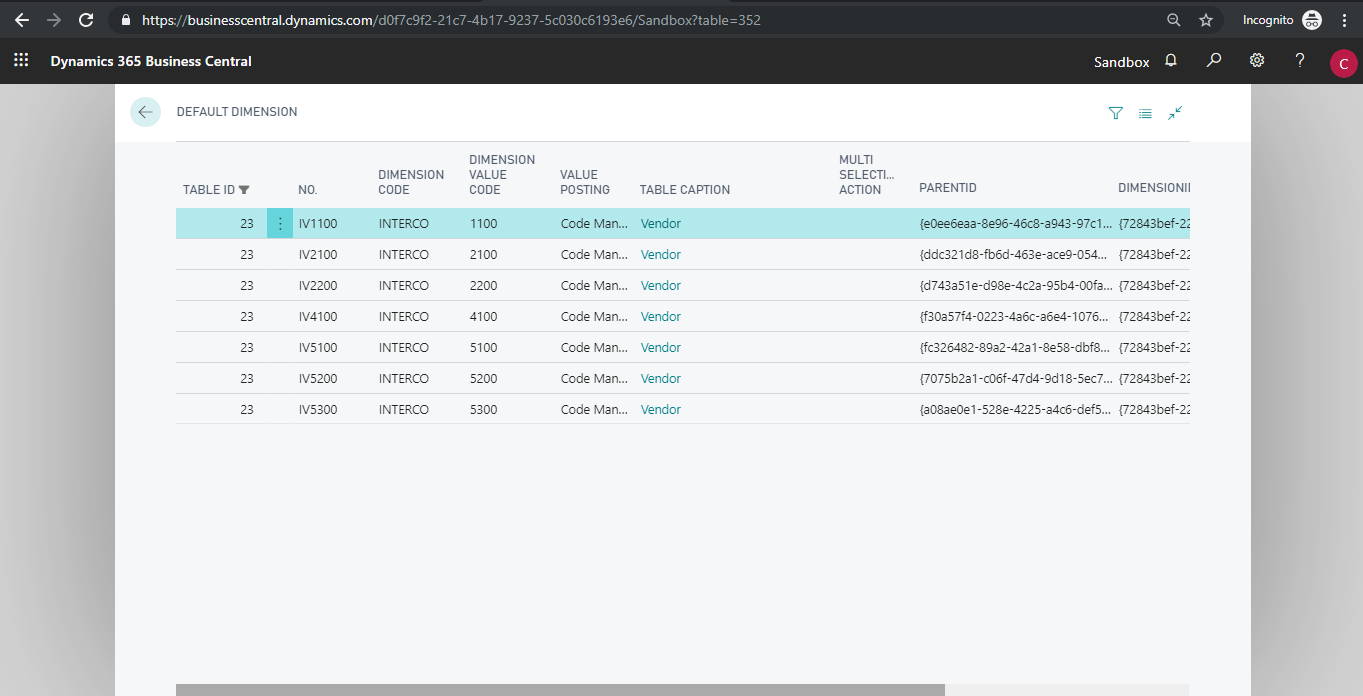
4. Apply Mandatory Dimension on G/L Accounts:
Goto Chart of Accounts > Select the G/L Account and Open the Card Page > Click on Dimensions Action.
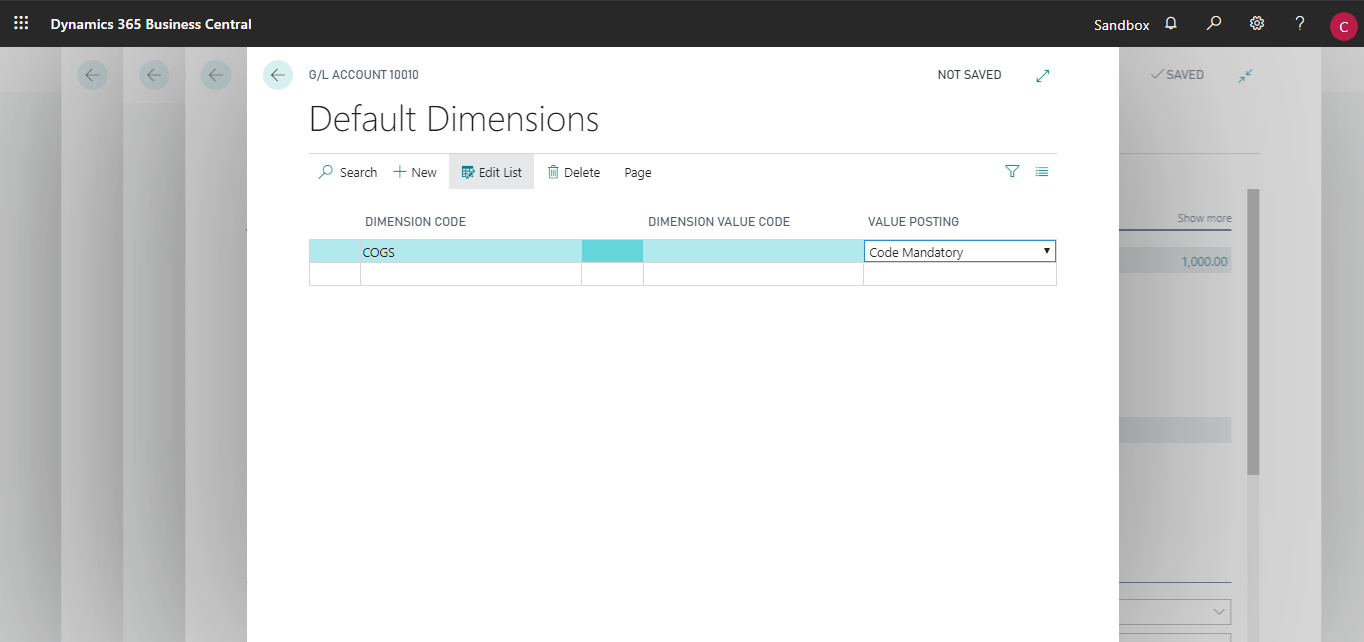
In the Default Dimension Table, Table No. for Chart of Accounts Table is 15 which is automatically selected. The value posting is also selected in the table based upon what option is selected.
NOTE: You can give multiple Mandatory Dimensions as well
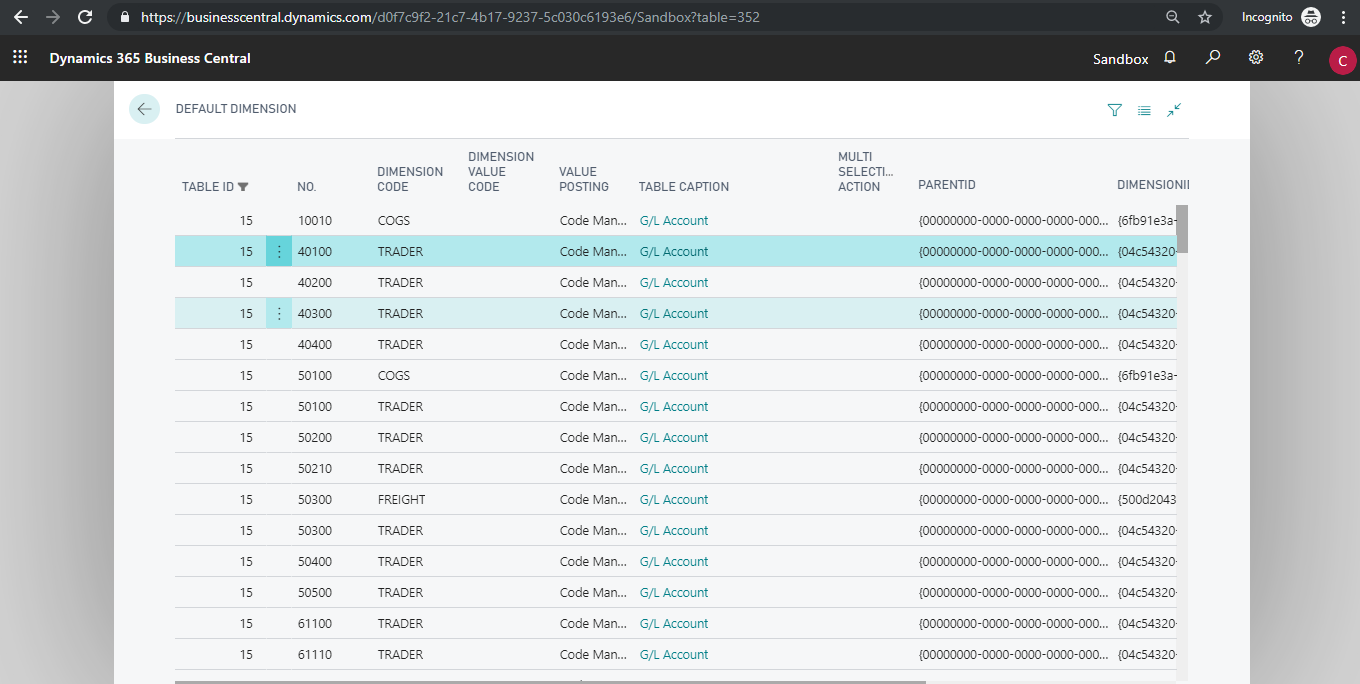
5. Using Configuration Package:
In Configuration Package, add the Table 352 Default Dimension and Export the Excel.
You can add the dimensions referring to the points 1-4 and insert you data in the Excel.
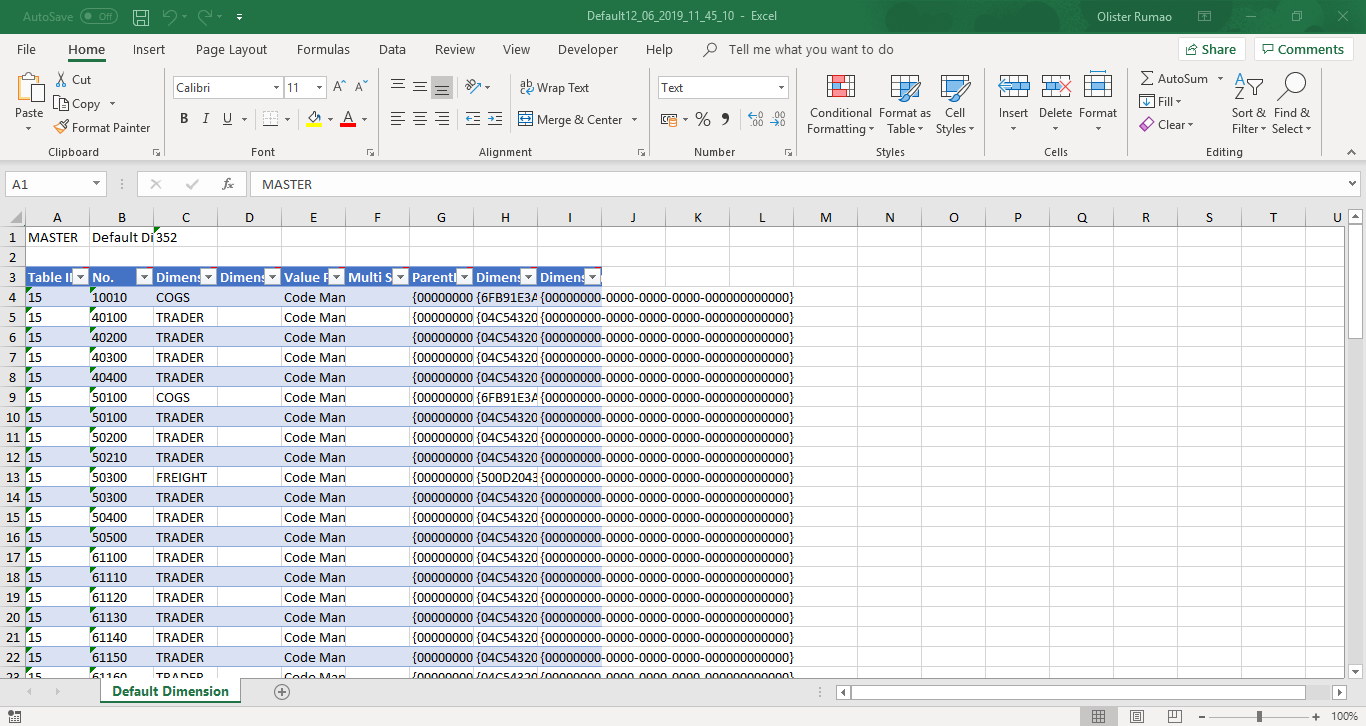
Import the Excel Package and Apply Data.
Conclusion:
Applying manually for each Master Record can be tedious and time consuming. In this blog I tried to add few sample records so that we can take help of this samples to create our conditions and insert data into Excel and apply it on all the Master Records.