Read data from Blob using Logic App
In this blog post, we are going to create an Azure Logic App that reads blob content from Azure Storage and responds with specific data. We walked through the entire process, from setting up the Logic App in the Azure Portal to configuring actions and testing the workflow. This Logic App provides a seamless way to automate the retrieval and processing of data stored in Azure Blob Storage, showcasing the flexibility and power of Azure Logic Apps in building serverless workflows.
Use Cases
Data Processing Pipeline
– Scenario: A company collects data from various sources and stores it in Azure Blob Storage for processing and insights.
– Solution: Use a Logic App to trigger new data uploads, process the data, and send it to downstream applications.
– Benefits: Automates data processing, reduces manual effort, and ensures timely data availability.
Configuration Management
– Scenario: An organization needs to fetch and apply configuration files from Azure Blob Storage dynamically.
– Solution: Use a Logic App to handle HTTP requests for configuration data and respond with the necessary settings.
– Benefits: Centralizes configuration management, ensuring consistency and reducing errors.
Customer Support Automation
– Scenario: A support system needs to fetch specific information from stored documents to respond to customer queries.
– Solution: Use a Logic App to trigger API queries, retrieve relevant documents from Blob Storage, and send responses.
– Benefits: Automates common customer query responses, improving support efficiency.
Prerequisites
- Account on Azure Portal
- Azure Blob Storage Account & Container
- Azure Blob Storage Explorer
Note:
– To learn more about how to obtain a free Azure account, click on Azure free account to create Free Trial Account.
– To learn how to create Azure Blob Storage Account & Container can refer blog: How to create: Azure Blob Storage, Container and Blob – CloudFronts
Steps to Create a Logic App in Azure
Step 1: Create a Logic App
- In the Azure Portal, Search for Logic App and select Create.

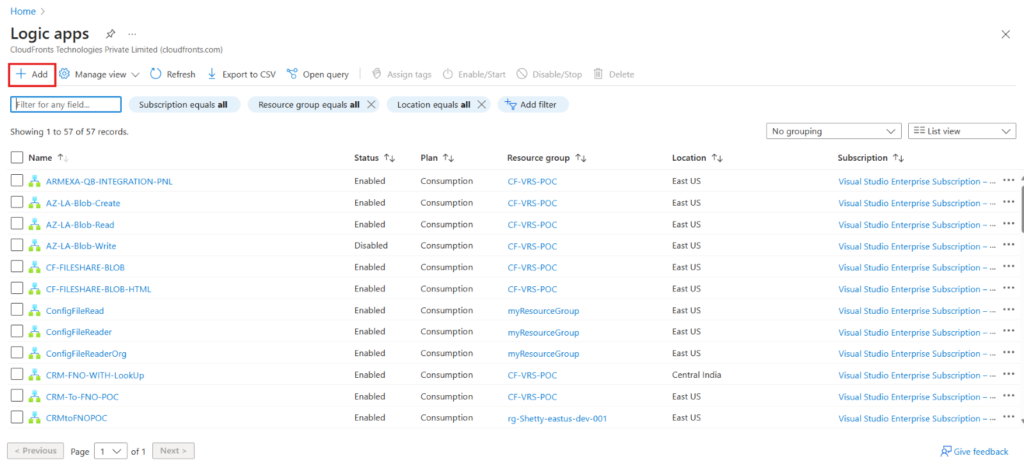
Step 2: Fill in the necessary details:
- Name: Provide a unique name for your Logic App.
- Resource Group: Either form a new resource group or choose an already existing one.
- Location: Choose the appropriate region.
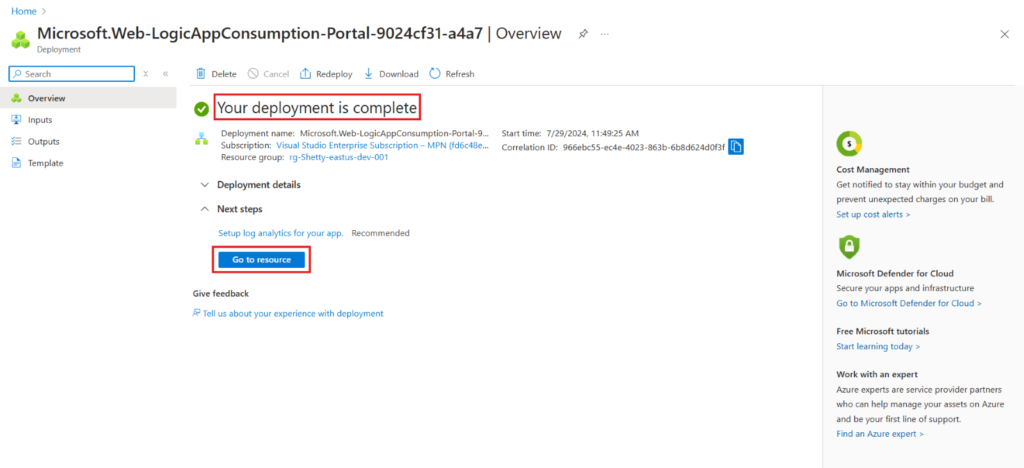
- Click Review + create and then Create.

Note:
– Consumption Plan: Ideal for scenarios with unpredictable or low to moderate workloads, where you only pay for what you use.
– Standard Plan: Best for high-usage, mission-critical applications that require consistent performance, dedicated resources, and enhanced development capabilities.
Choosing between the Consumption and Standard plans depends on your specific requirements regarding cost, performance, scaling, and development preferences.

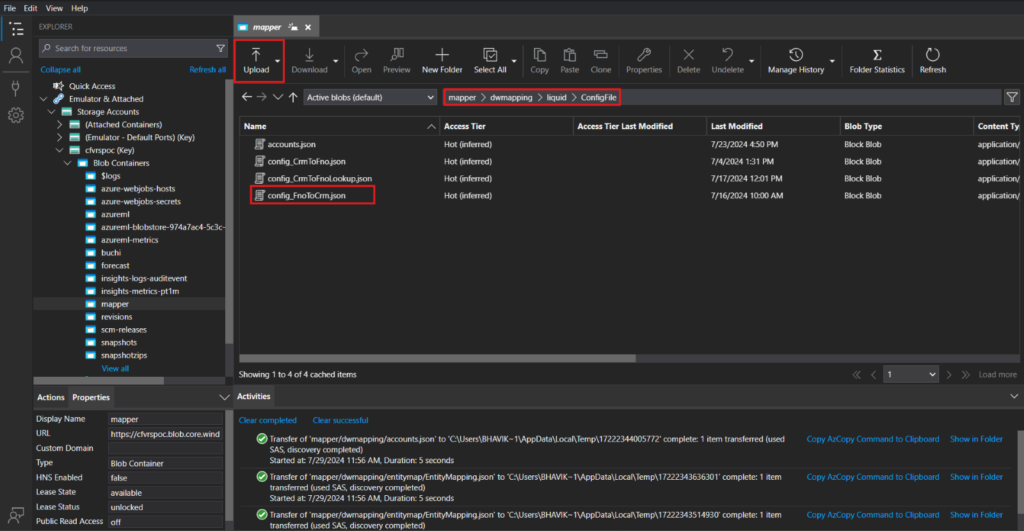
Steps to Upload File on blob
- Go to Azure Blob Storage Explorer
- Locate container in which you would like to upload the file
- Click on Upload Files/Folder click on “…”navigate the file locally
- Click on Upload

Create a Logic App to Read Data from Blob: Step-by-Step Guide
Step 1: Set Up Logic App Designer
- Once your Logic App is created, open it and select Logic App Designer.
- Choose the When a HTTP request is received trigger to start your Logic App with an HTTP request.

Step 2: Add Blob Storage Action
- In the Logic App Designer, add a new step after the HTTP trigger.
- Search for Azure Blob Storage and select Get blob content by adding credentials.
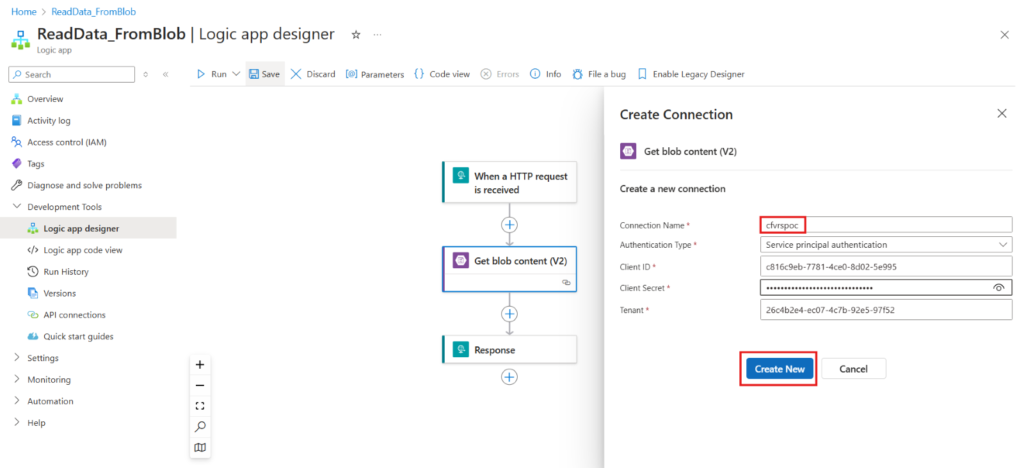
Step 3: Configure Blob Storage Action
- Connect your Logic App to your Azure Blob Storage account.
- Fill in the required fields:
- Account Name: Enter your storage account name.
- Blob Path: Provide the path to the blob file noted earlier.

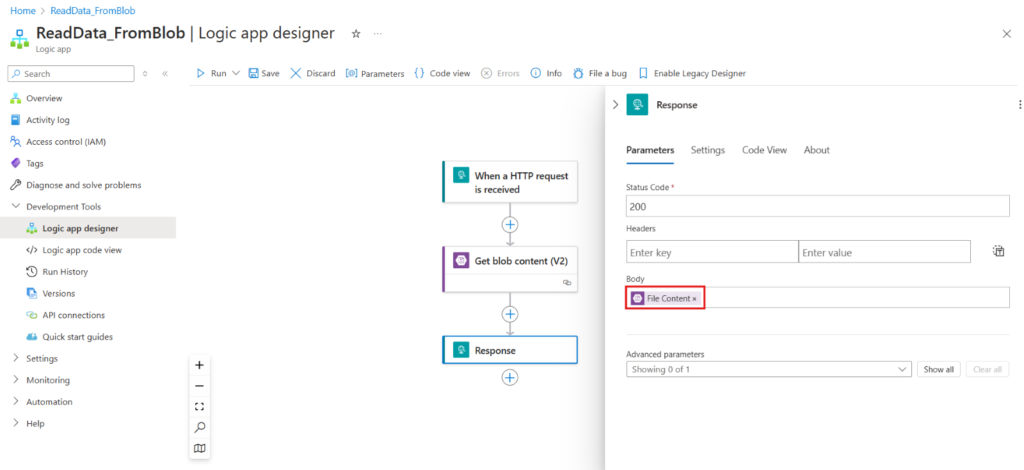
Step 4: Add Response Action & Configure
- Add a new step after the Get blob content action.
- Search for Response and select it.
- In the Response action, configure the Body to read specific data from the blob content:
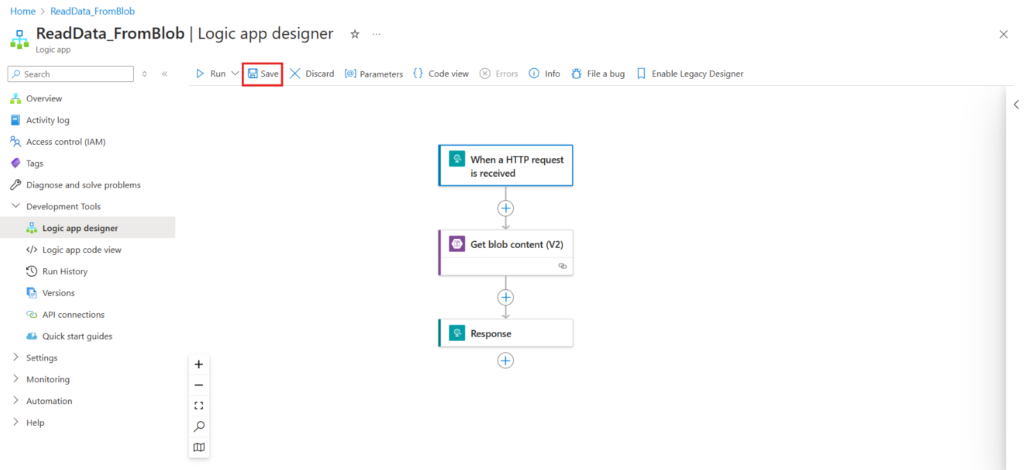
Step 5: Save and Test the Logic App
- Save your Logic App by clicking Save.
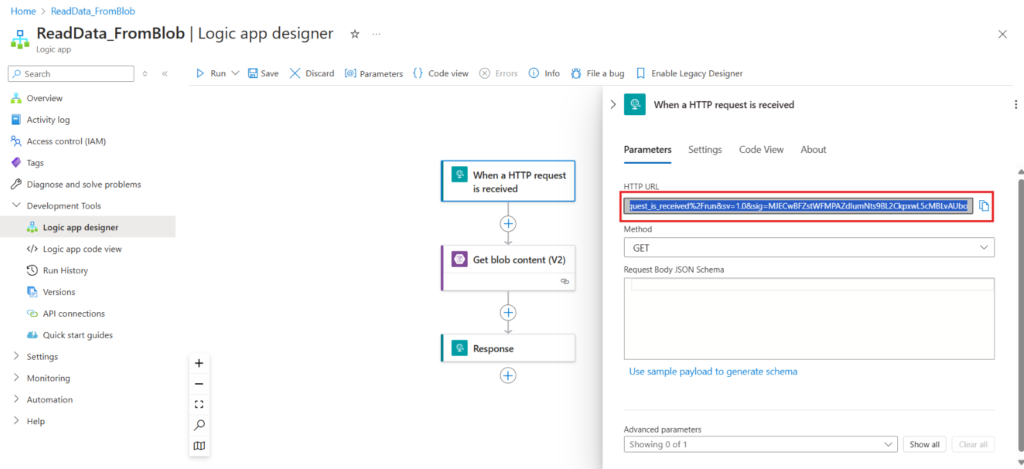
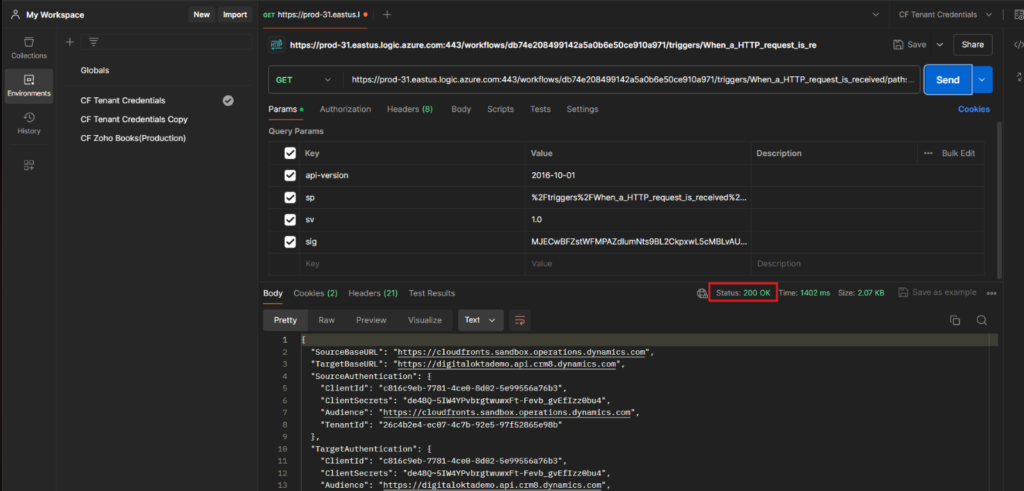
Step 6: Test your Logic App
- Copy URL and paste on Postman by sending an HTTP request to the trigger URL. You can find the URL in the When a HTTP request is received trigger configuration.


Conclusion
With the help of Azure Logic Apps, you can easily build automated processes that connect to a wide range of services and applications. By following this guide, you have learned how to build a Logic App that reads data from Azure Blob Storage and responds with specific information. This foundational knowledge can be expanded to create more complex workflows, offering endless possibilities for automation and integration in your business processes.
We hope you found this article useful, and if you would like to discuss anything, you can reach out to us at transform@cloudfronts.com
