Customizing the Opportunity Close Dialog Box in Dynamics 365 CRM
Introduction
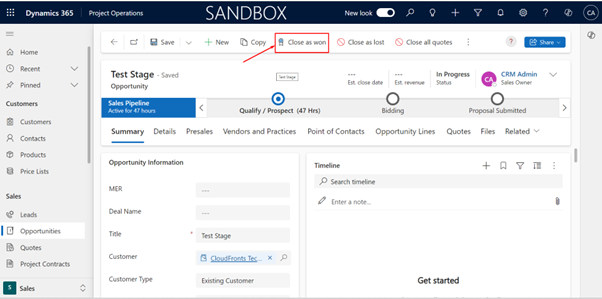
When managing Opportunities in Dynamics 365, the default dialog box for closing an Opportunity as either won or lost often lacks specific fields that may be essential for your business process. Attempting to close an Opportunity as either won or lost, you will encounter the following dialog box with the following options.

Curious about customizing this dialog box with additional fields? In this blog, I’ll guide you through customizing your Opportunity Dialog Box when marking it has won or lost.
Steps :
– Sign in to Classic Dynamics 365 using your URL, such as abc.dynamics.com, and enter your credentials.
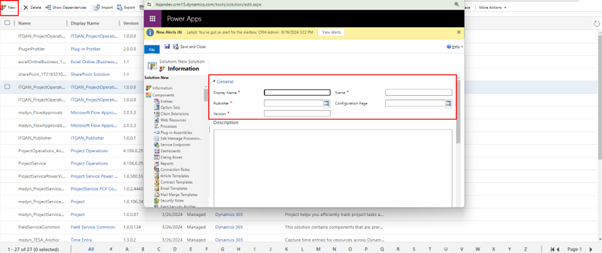
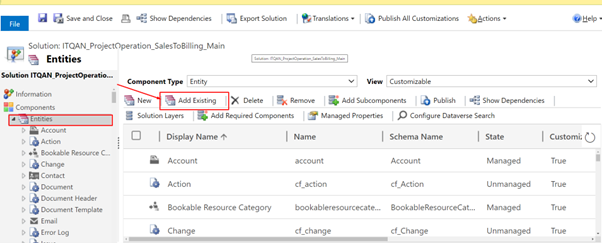
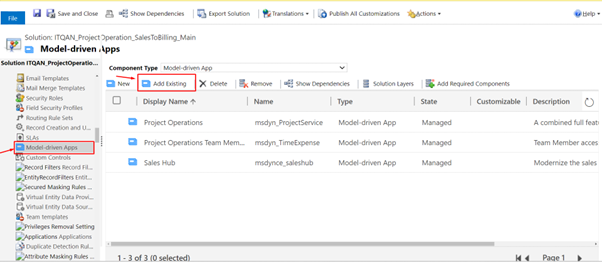
– Create a Solution and include the out of the box called ‘Opportunity Close’ table/entity.
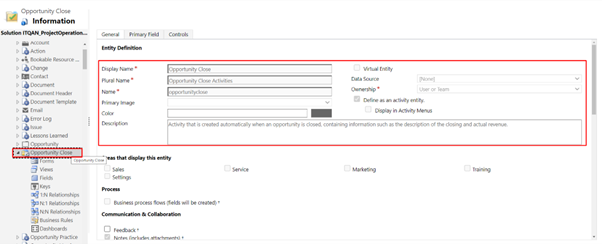
– After adding the table/entity, navigate to the forms section and include the Quick Create form for ‘Opportunity Close’.
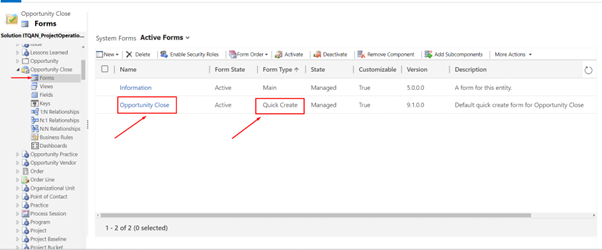
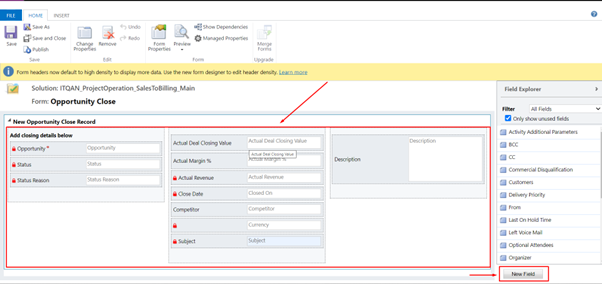
– Include the fields you need in this Quick Create Form. You can also add your own custom fields. Here, I’ve included the out-of-the-box fields. After making changes, save and then publish.
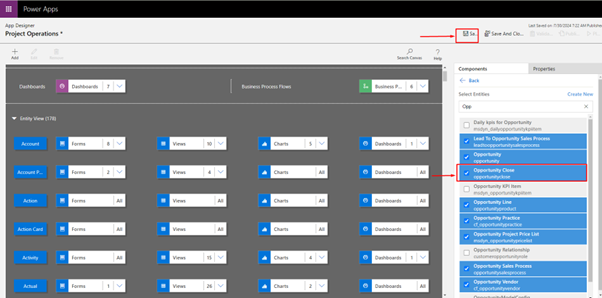
– After saving and publishing your changes, navigate to the model-driven app and choose the app where you wish to incorporate the entity.
– When customizing your form in Dynamics 365 the classic way, ensure to remove and re-add the Quick Create form for Opportunity Close in the Model-Driven Apps section.
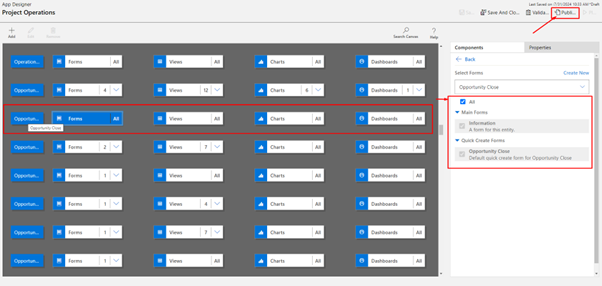
– Ensure that your entity is added, and all forms are included as shown below. Once saved, remember to publish your changes.
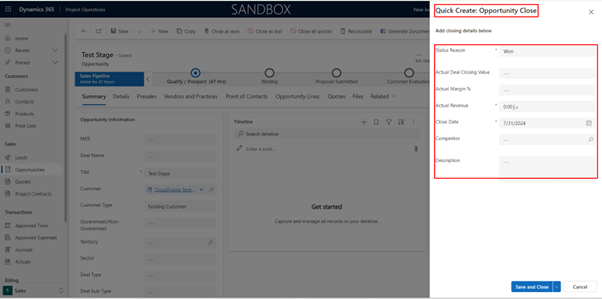
– Navigate to the Dynamics 365 page and refresh it 2-3 times. You will notice that when you attempt to close the Opportunity as won or lost, the default dialog box will no longer appear. Instead, the custom Quick Create form you created will be displayed.
Conclusion
Customizing the Opportunity Close dialog box in Dynamics 365 allows you to gather more relevant data at critical stages in the sales process. By following these steps, you can easily modify the default form and include additional fields that align with your organization’s needs. This not only improves data capture but also ensures a more streamlined experience for your sales team. Hopefully, this guide has helped you understand the customization process and enabled you to take advantage of Dynamics 365’s flexibility.
We hope you found this article useful, and if you would like to discuss anything, you can reach out to us at transform@cloudfronts.com
