 +1 855 796 4355
Steps to Configure Environments through Life Cycle Services (LCS)
Configuration of Environment through LCS.
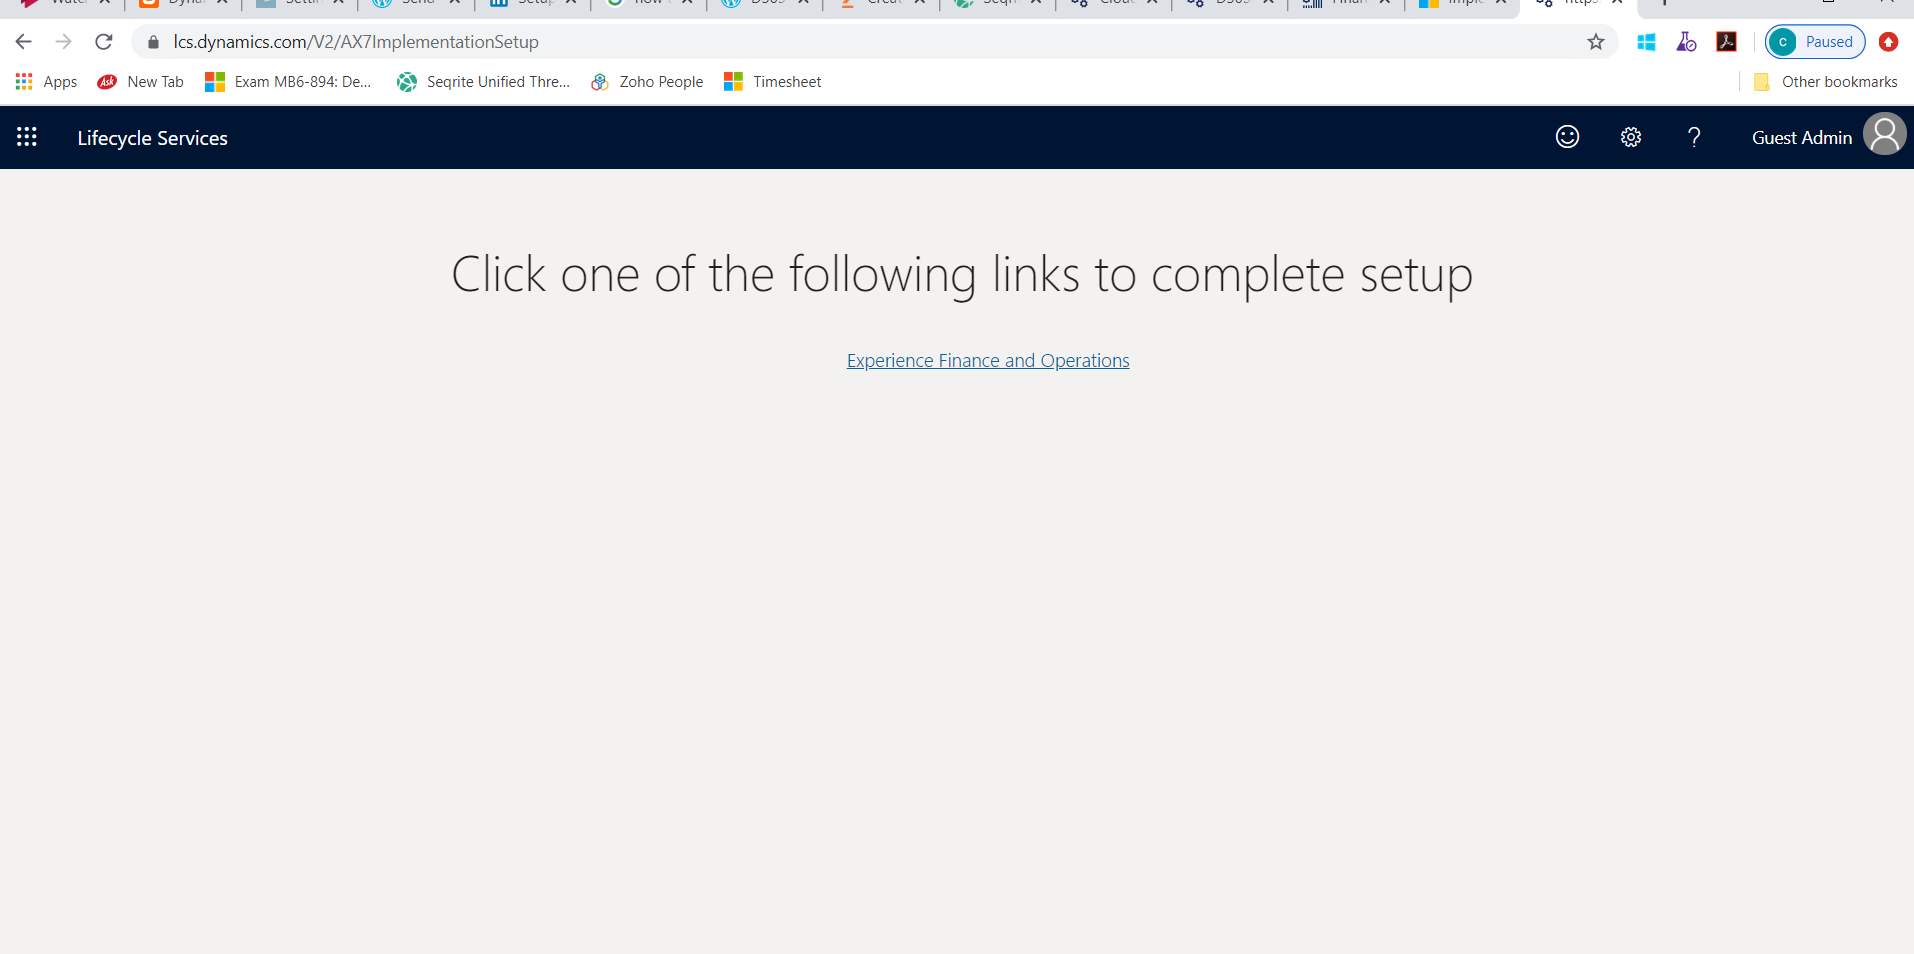
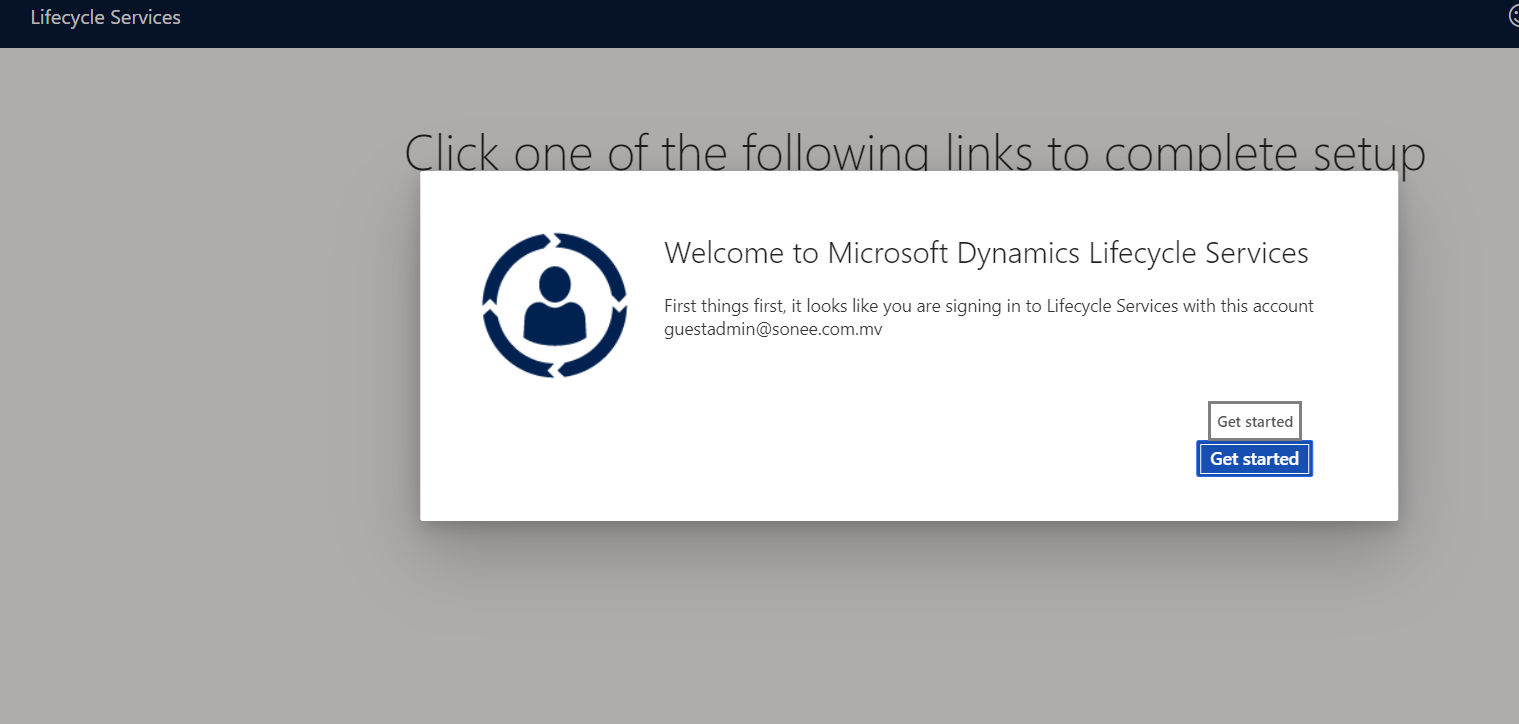
After we purchase licence, Login the LCS through Admin account. You can see the follow link to complete setup environment.
Before configuring the environments there are some pre-requisites need to be performed.
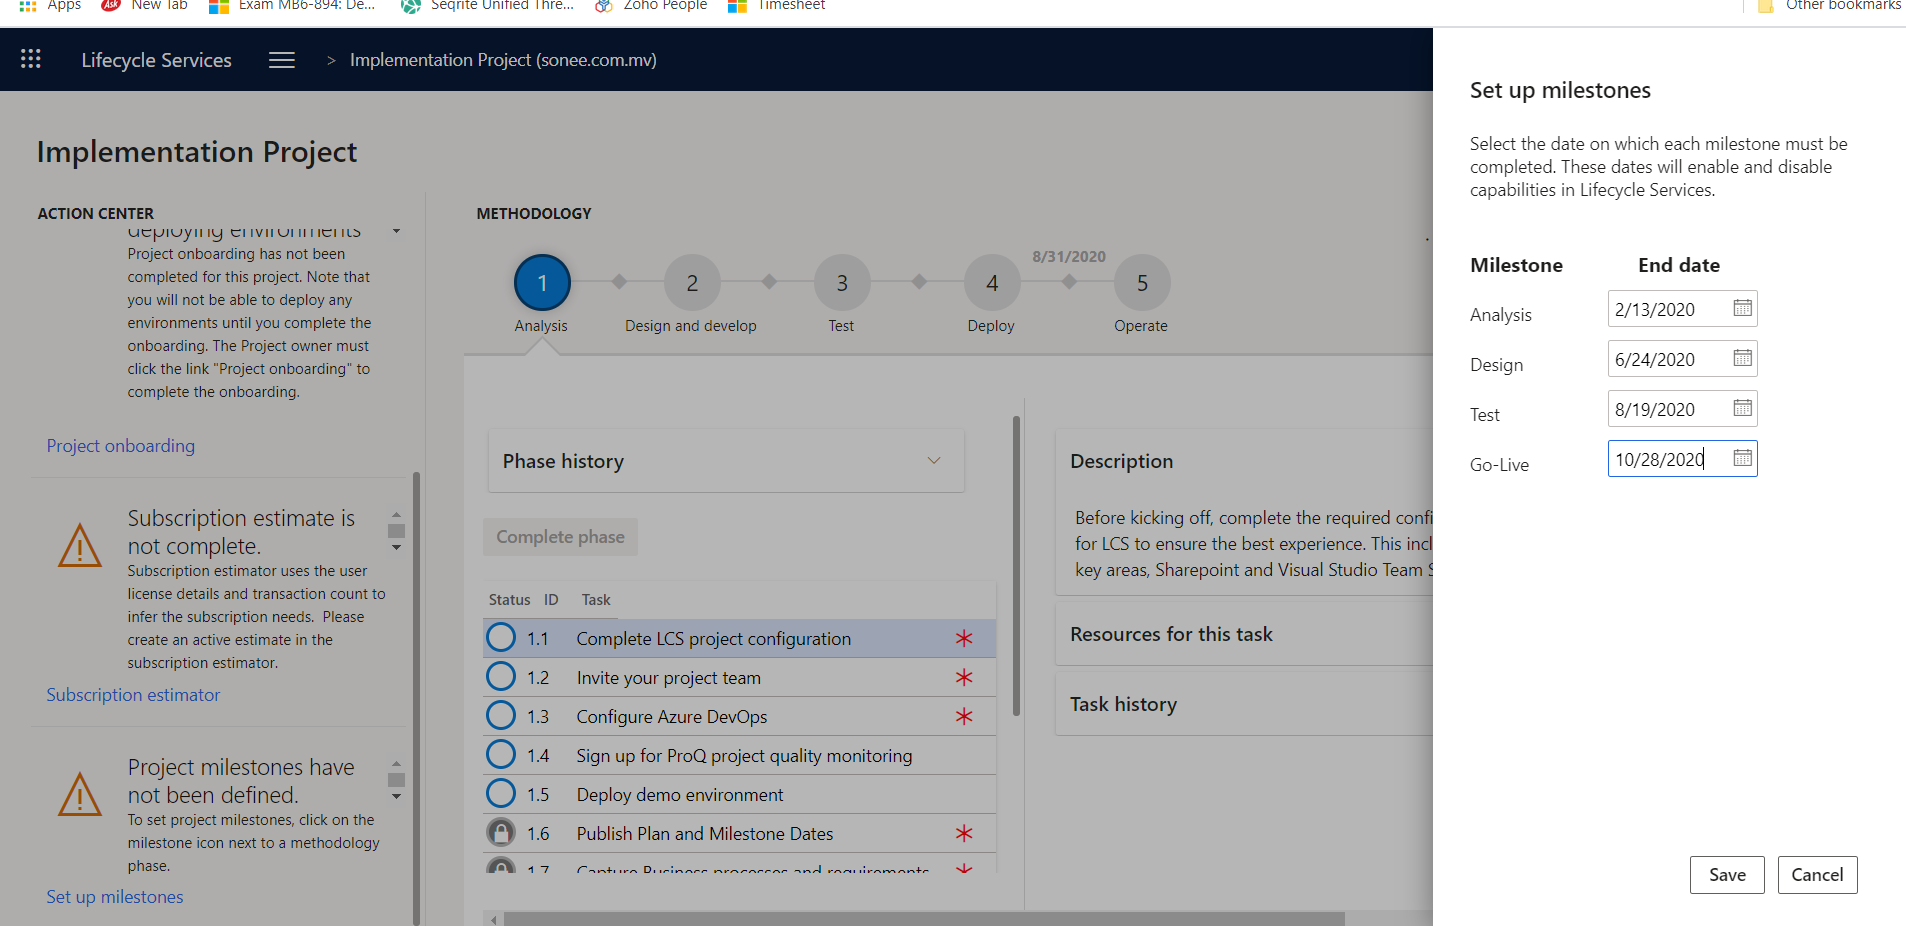
- Declaration of project milestone.
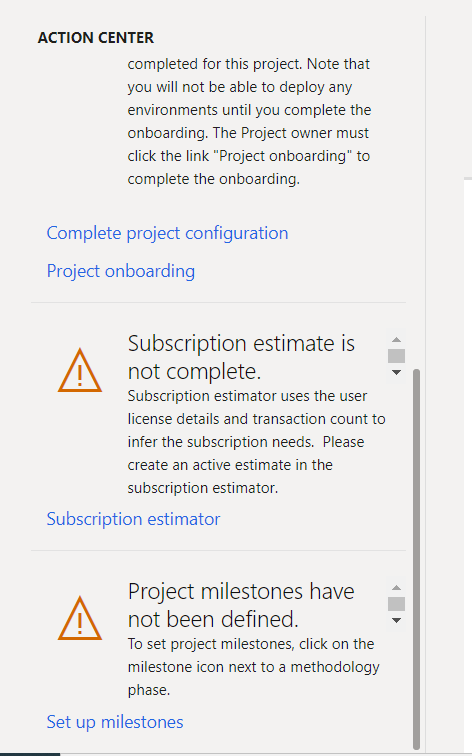
Click on setup milestone, Enter the end date for each milestone and save.
2. VSTS Setup.
Before this we need to follow the below steps:
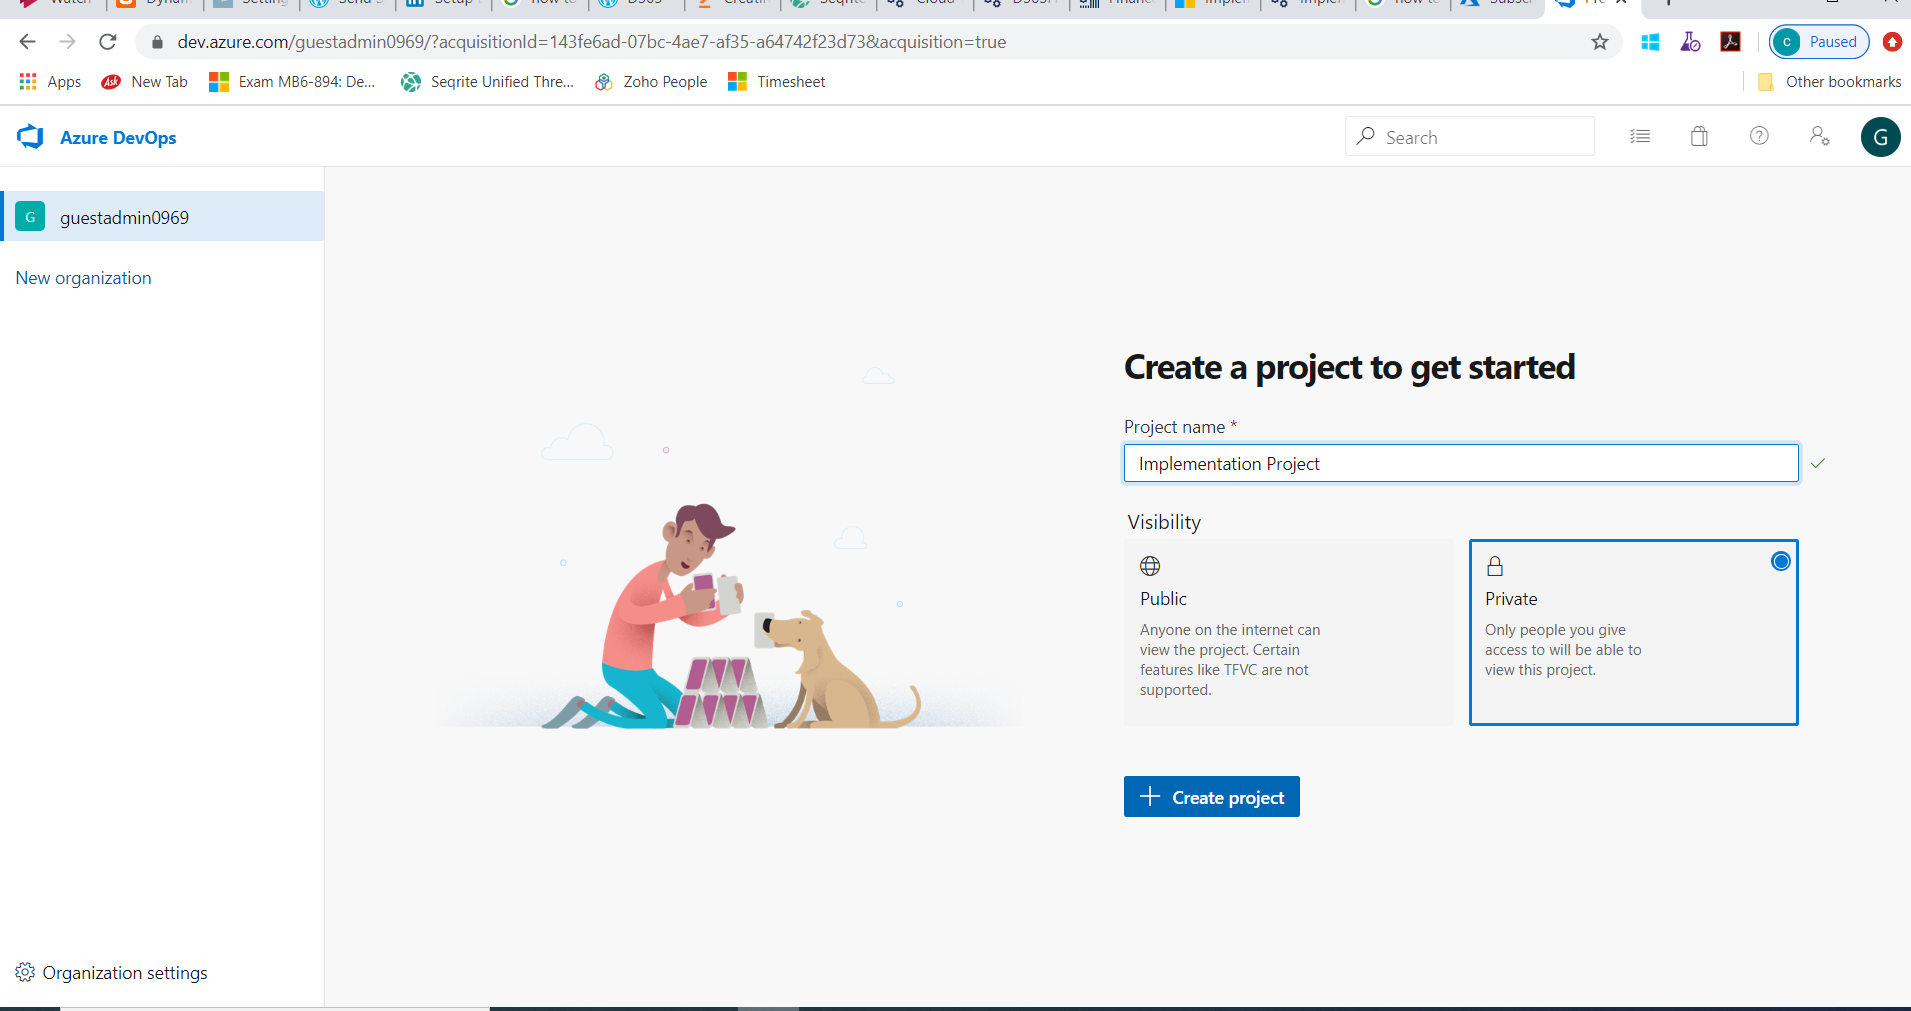
- Login in Azure DevOps.
- Create a project.
 3. Create personal access token.
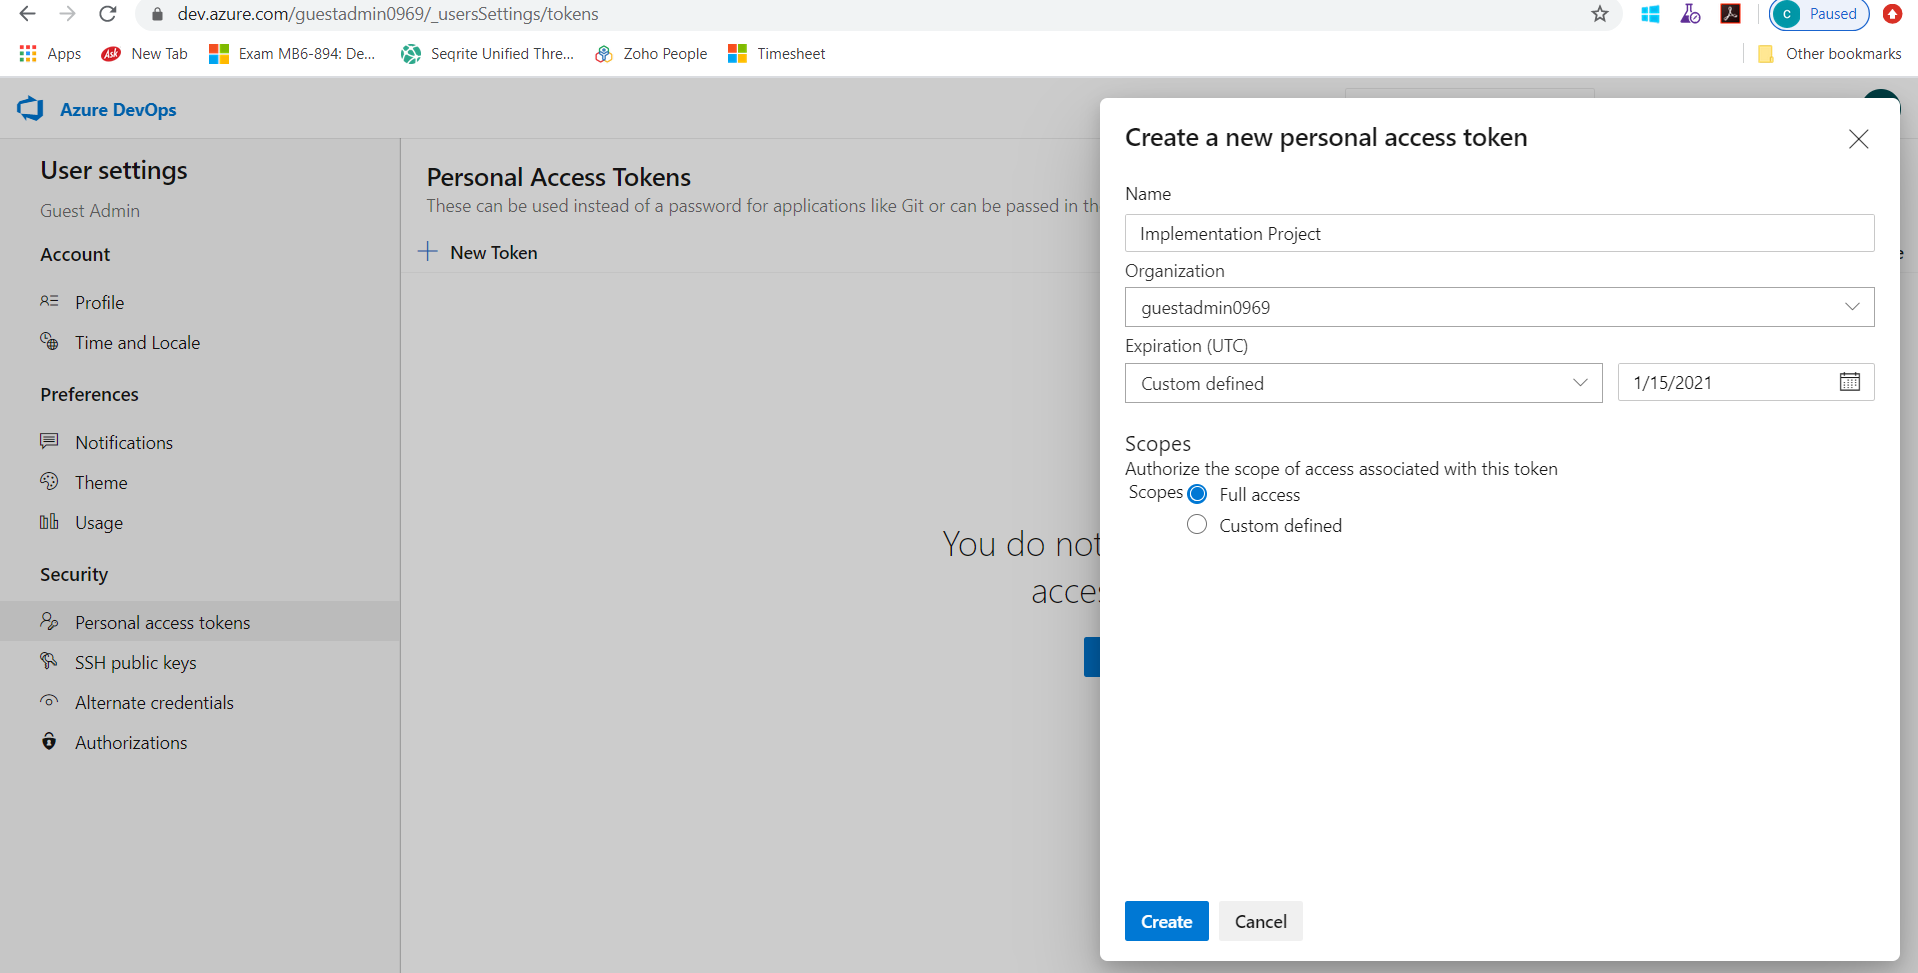
Save this token.
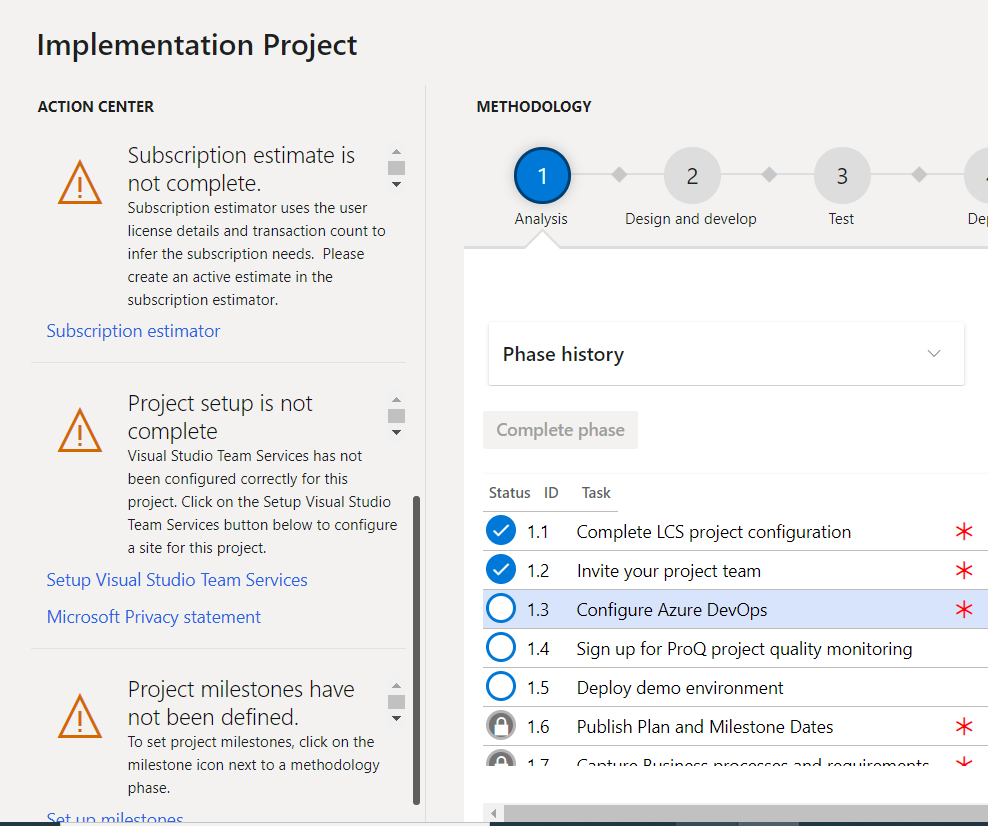
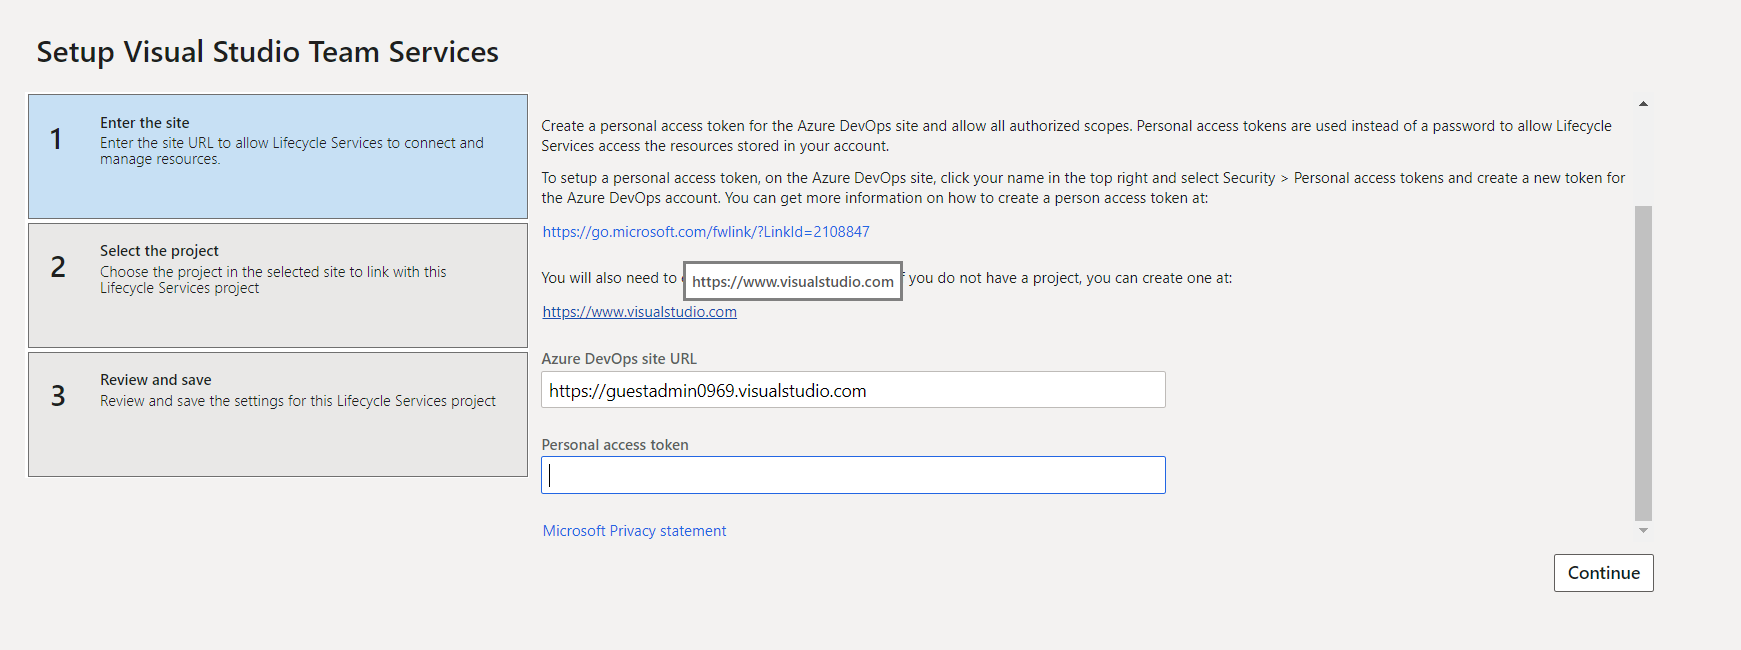
Click on “Setup Visual Studio Team Services”
a. Enter the site
Enter the AzureDevOps url, which consists of https://organizationname.visualstudio.com/ and click on continue.
Enter Personal access token generated above in Azure DevOps.
 b. Select the project
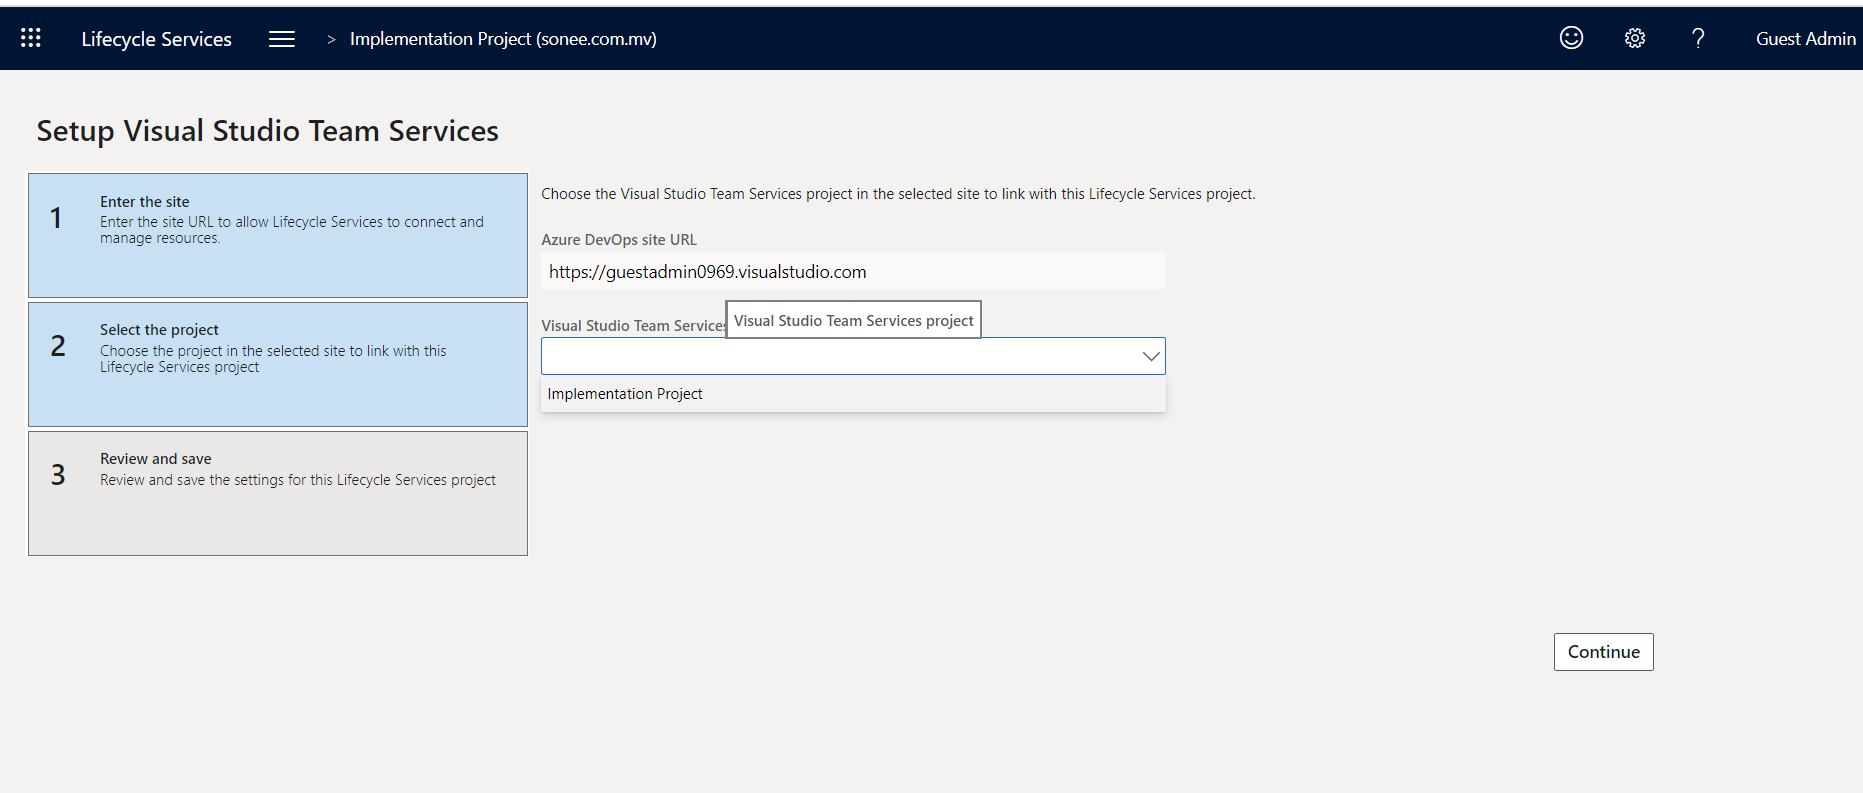
Select the project from the list and click continue.
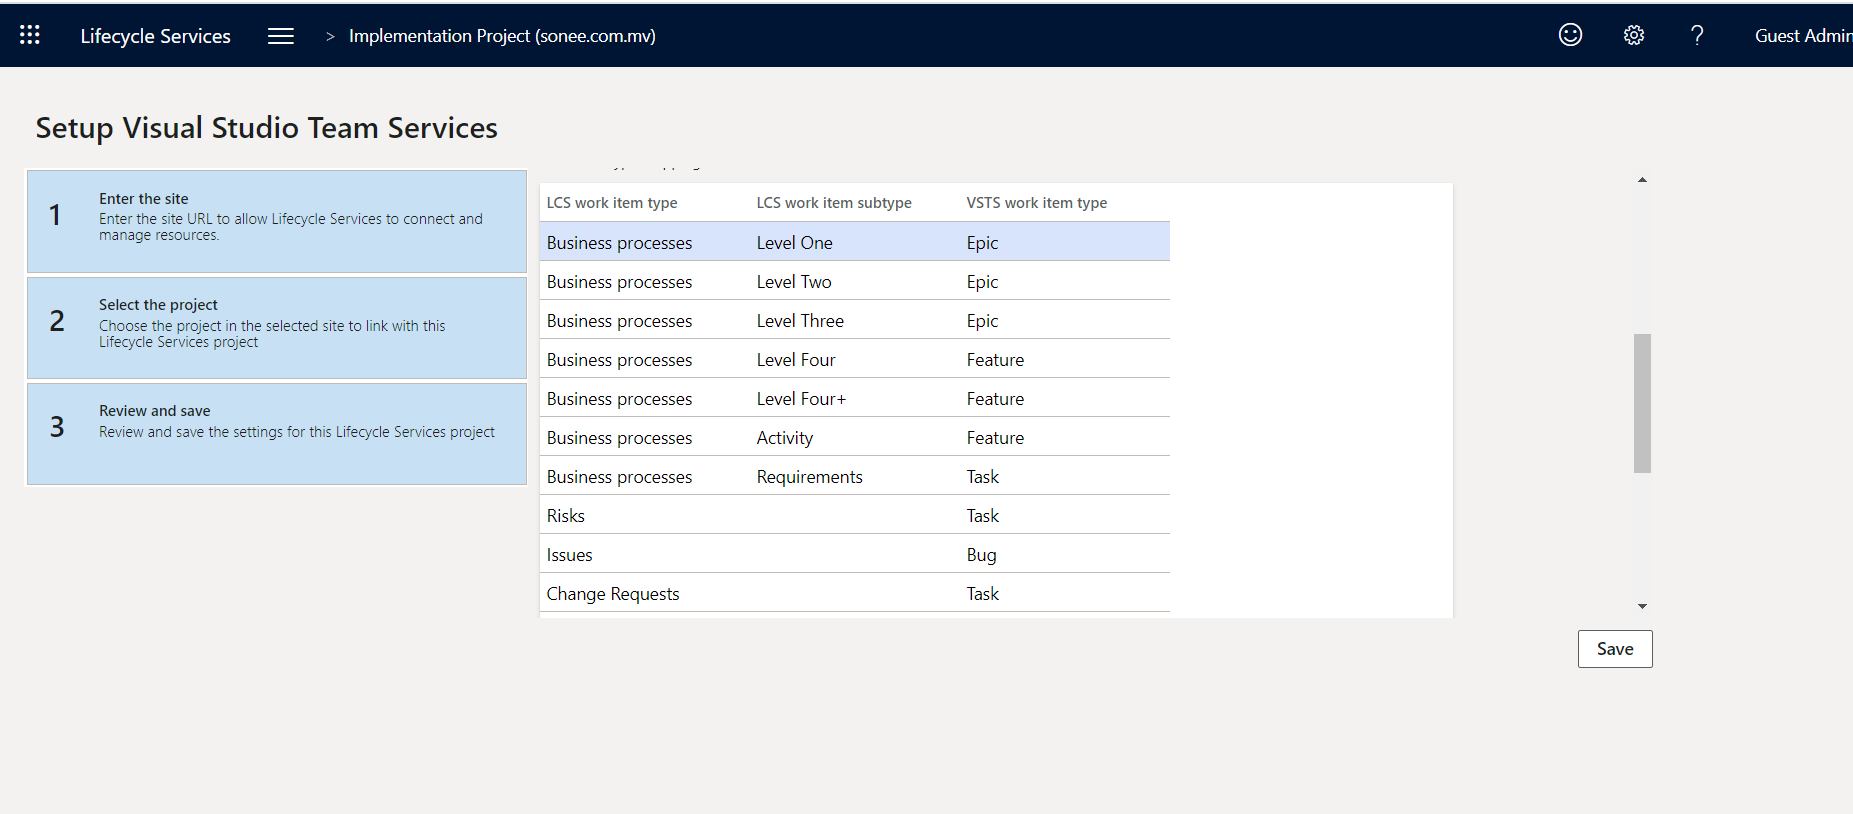
c. Review and Save
 3. Project configuration and project on-boarding.
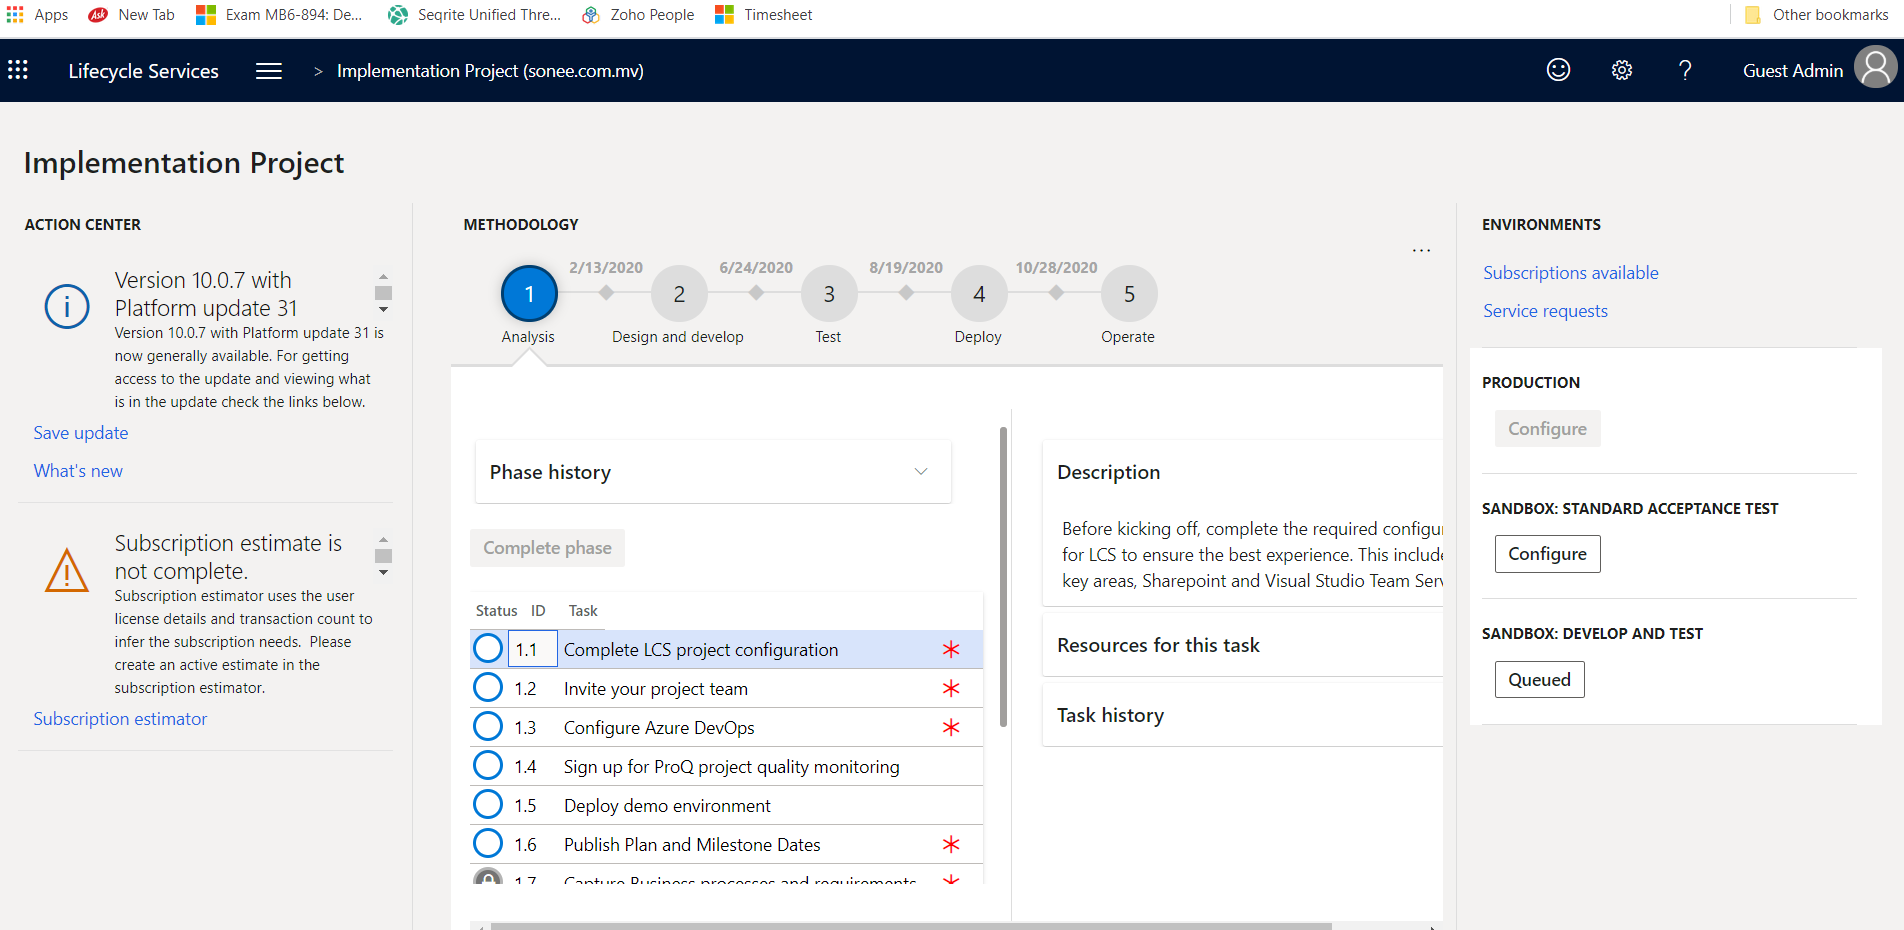
Click on “Complete project configuration”(This is one time setup)
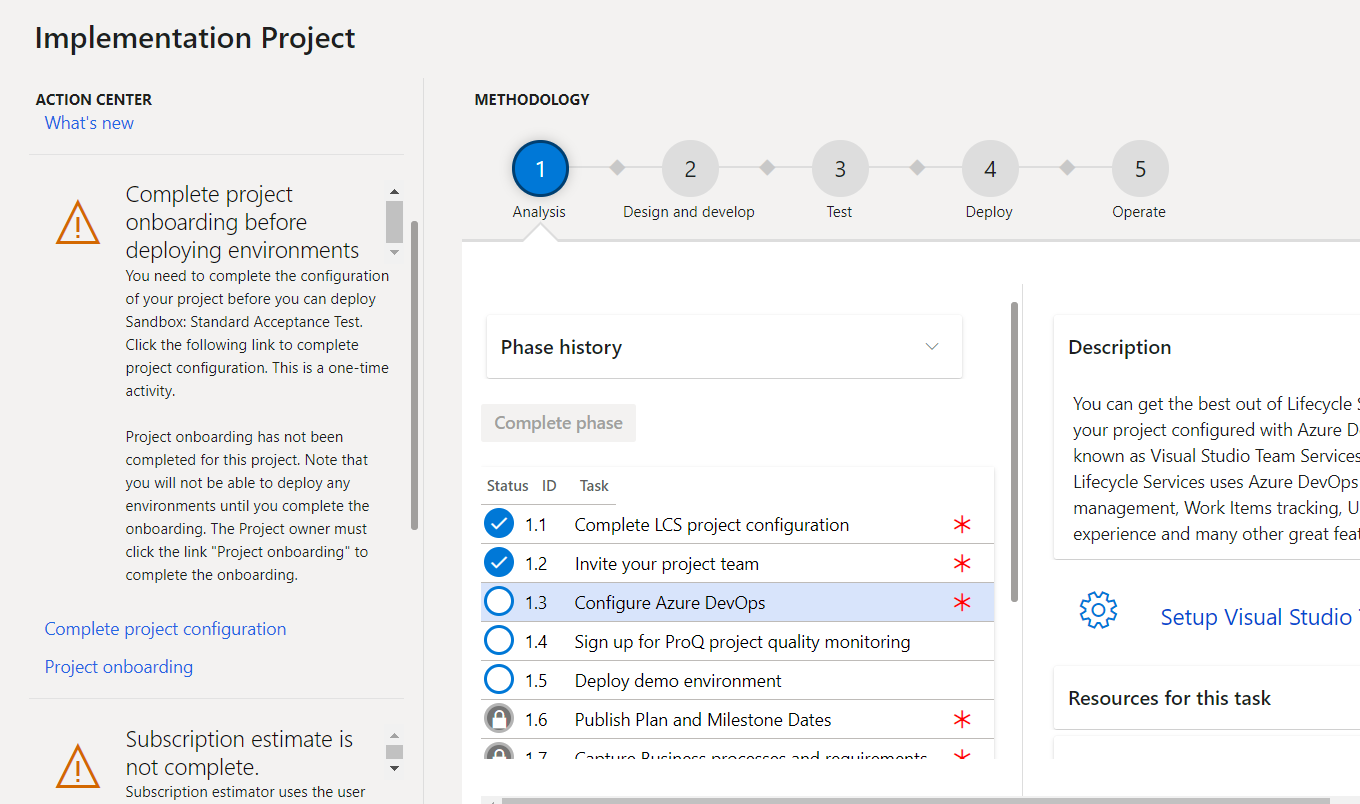
And click on “Project onboarding”
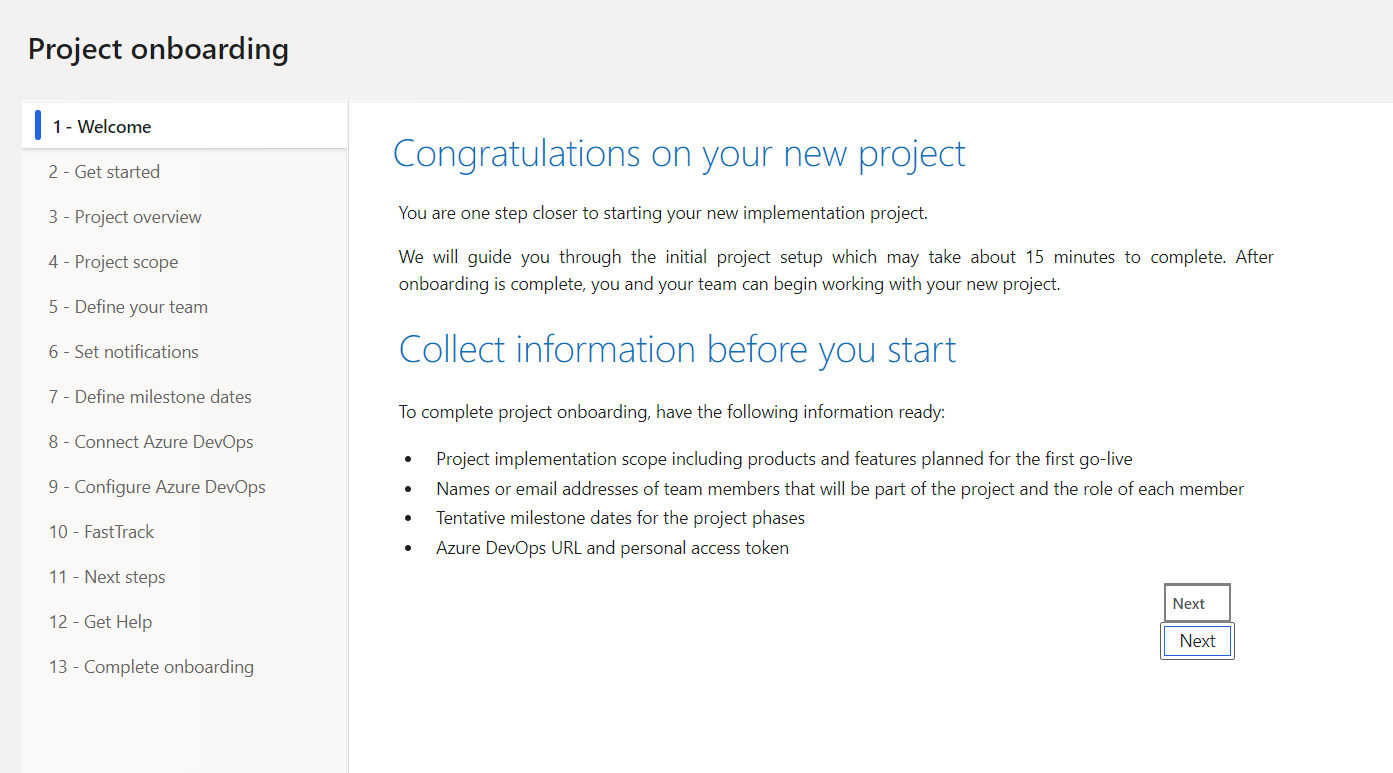
Check all the 12 points by clicking on next and then finish the complete onboarding review page.
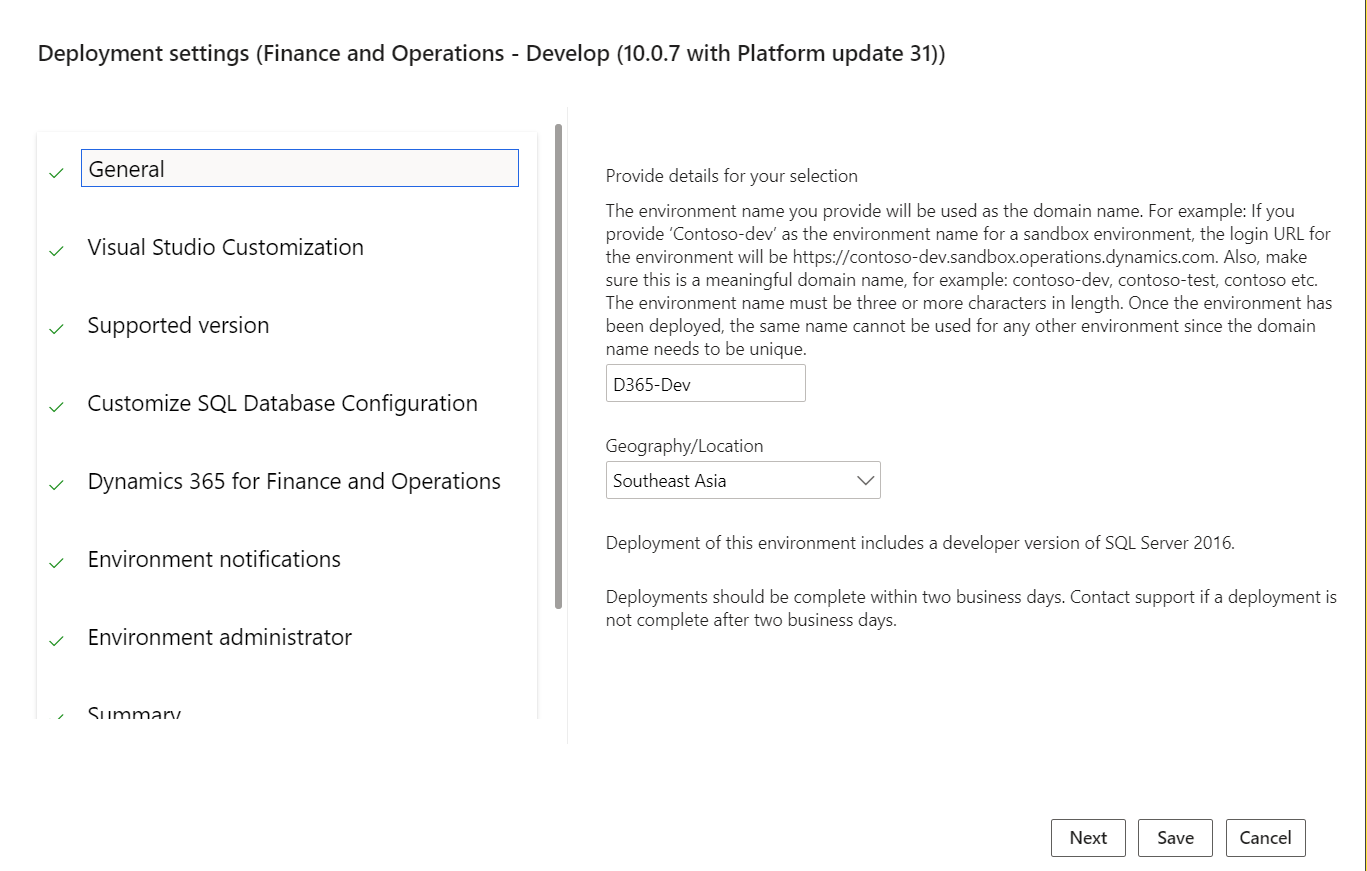
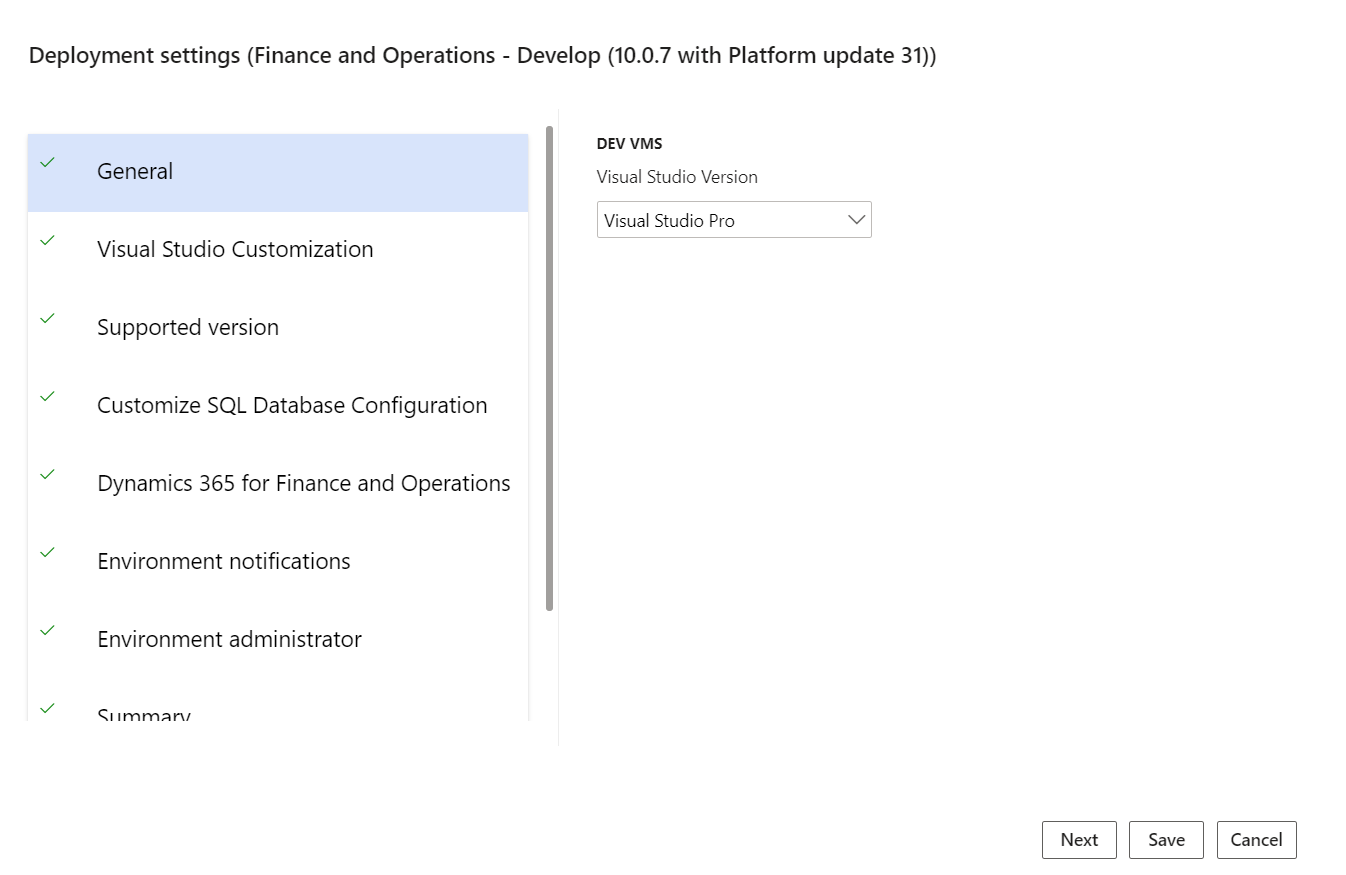
And click on configure button of environment
Enter the name of environment and select the region.
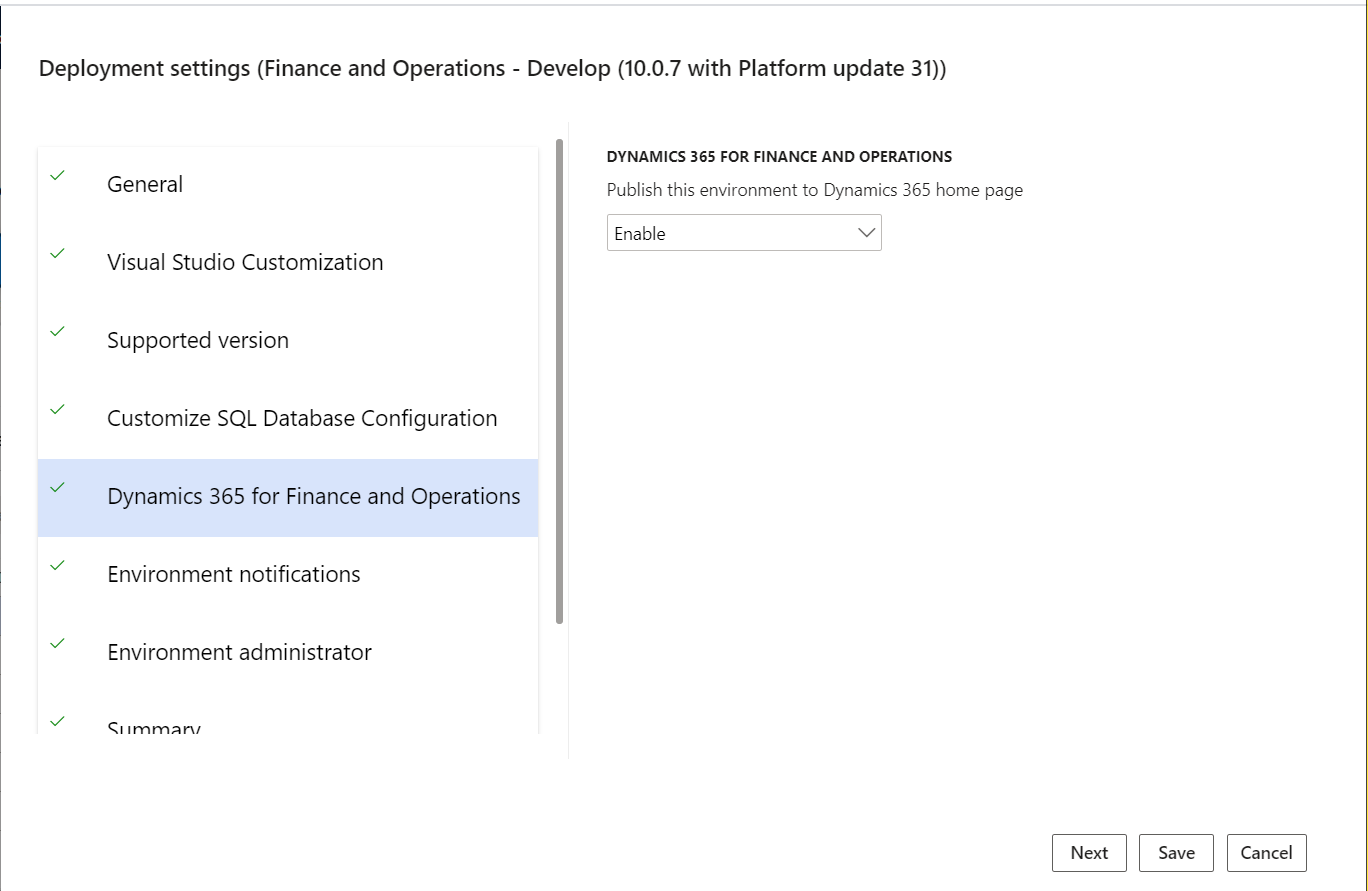
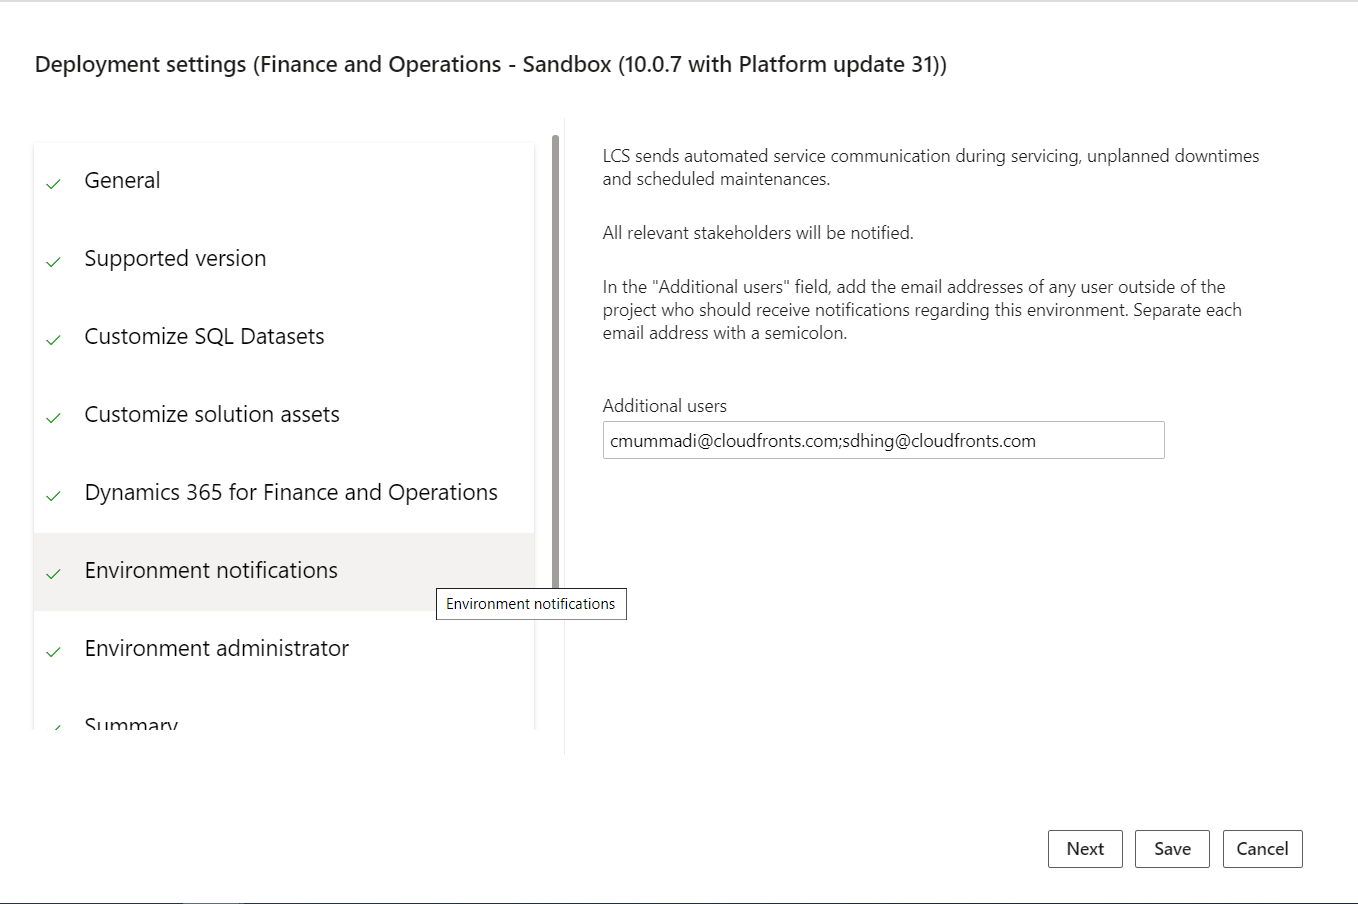
Then you can see the status of environment in queued state.
After 7-8 hours you can login to your environment.