 +1 855 796 4355
How to delete old backup file automatically in SQL Server using Maintenance Plan
There are different ways to delete old backup file, in this blog we will learn how to delete old backup file automatically in SQL Server Maintenance plan using the cleanup task.
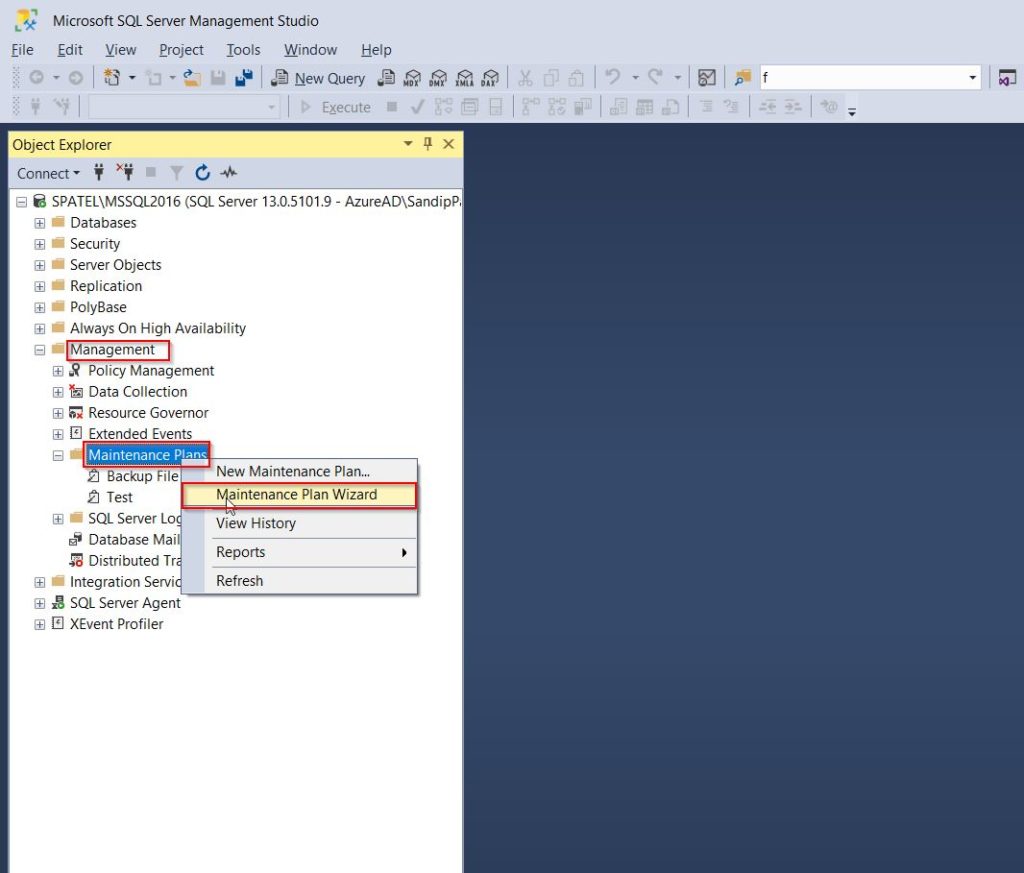
Step 1: Connect to the SQL Server, expand it and the Management folder after. Then right click on Maintenance Plans and click on Maintenance Plan Wizard.
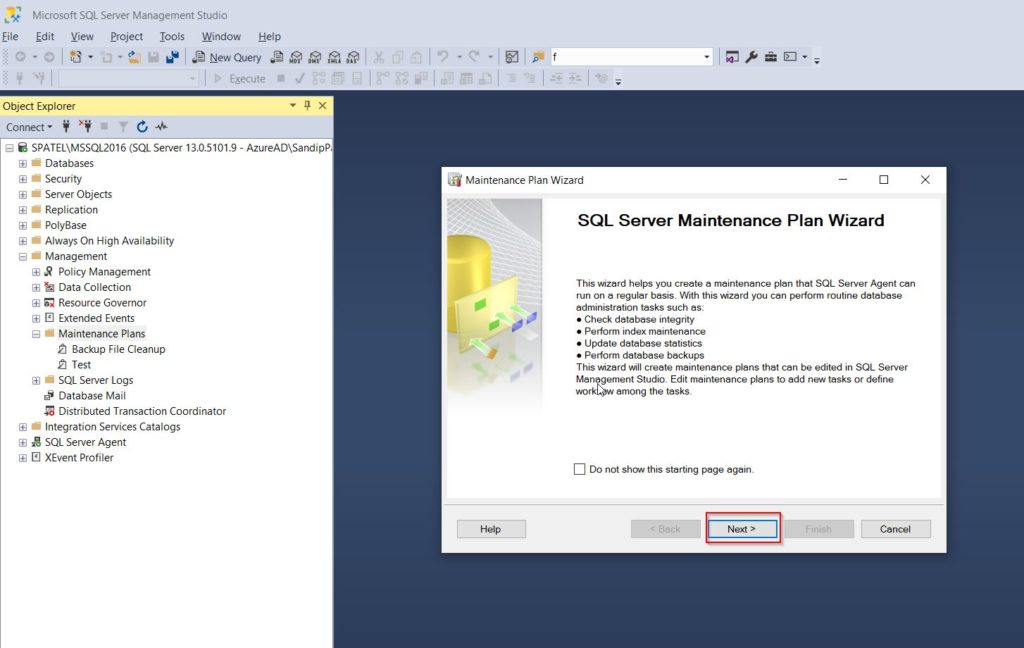
Step 2: In the Maintenance Plan Wizard, click Next
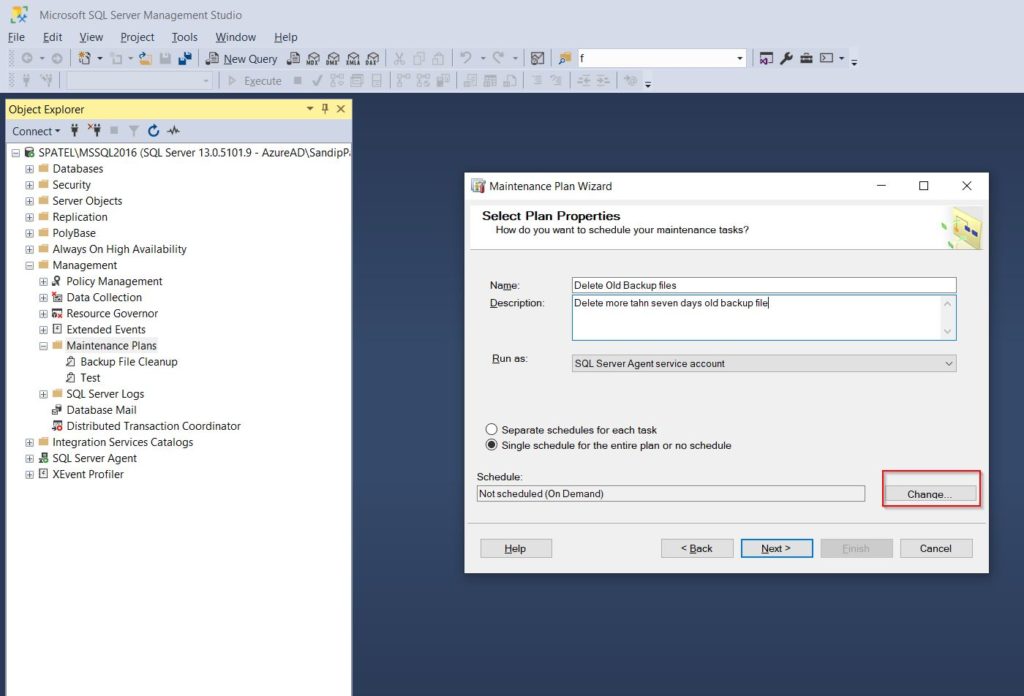
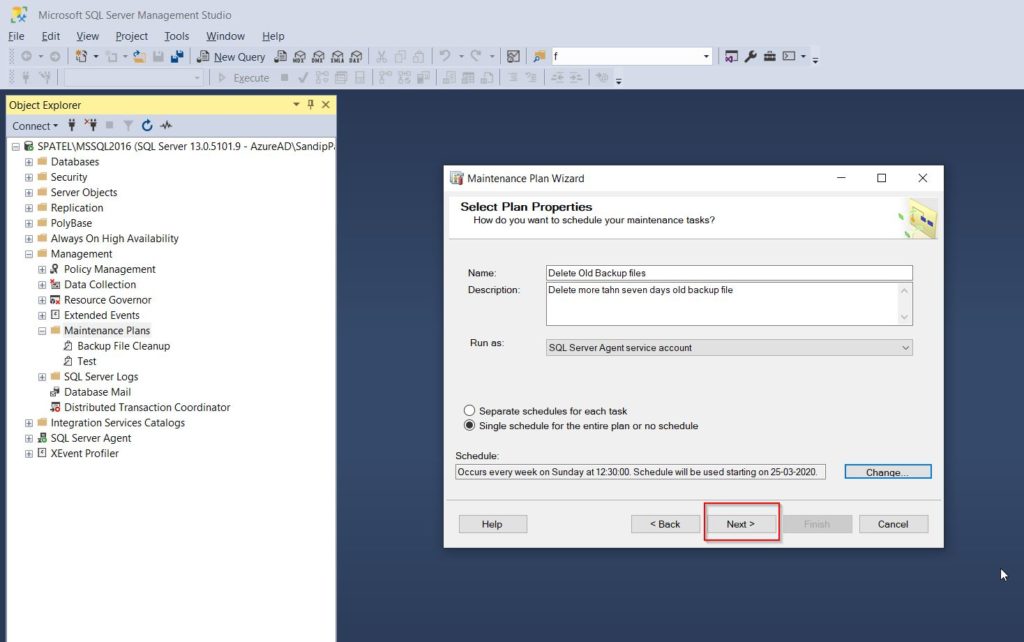
Step 3: Enter a meaningful name and, optionally, a description, and in the bottom right click on Change..
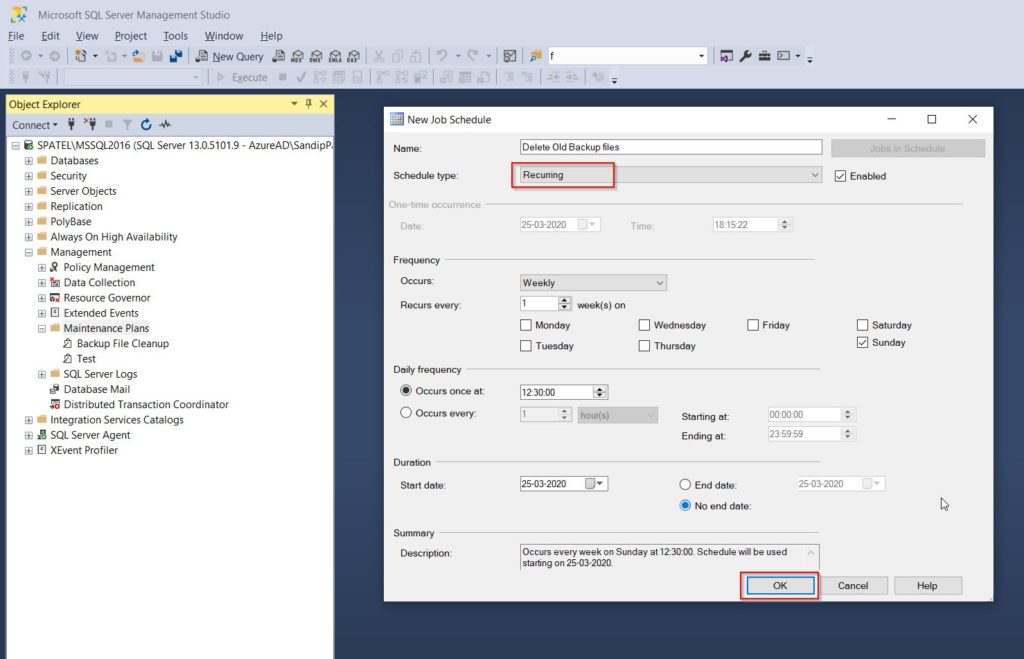
Step 4: When the new job schedule window pops up, check if the Schedule type is set to Recurring. After that, we can set up the schedule using the option below. After that click OK.
Step 5: Check if everything is correct before clicking on Next.
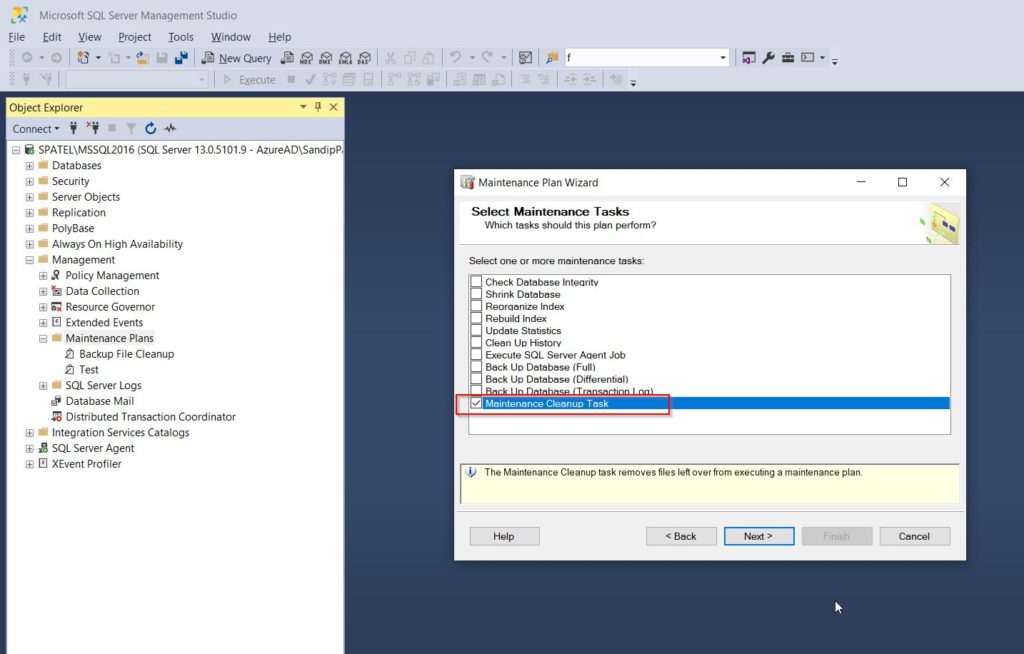
Step 6: In the next window, check Maintenance Cleanup Task and click on Next.
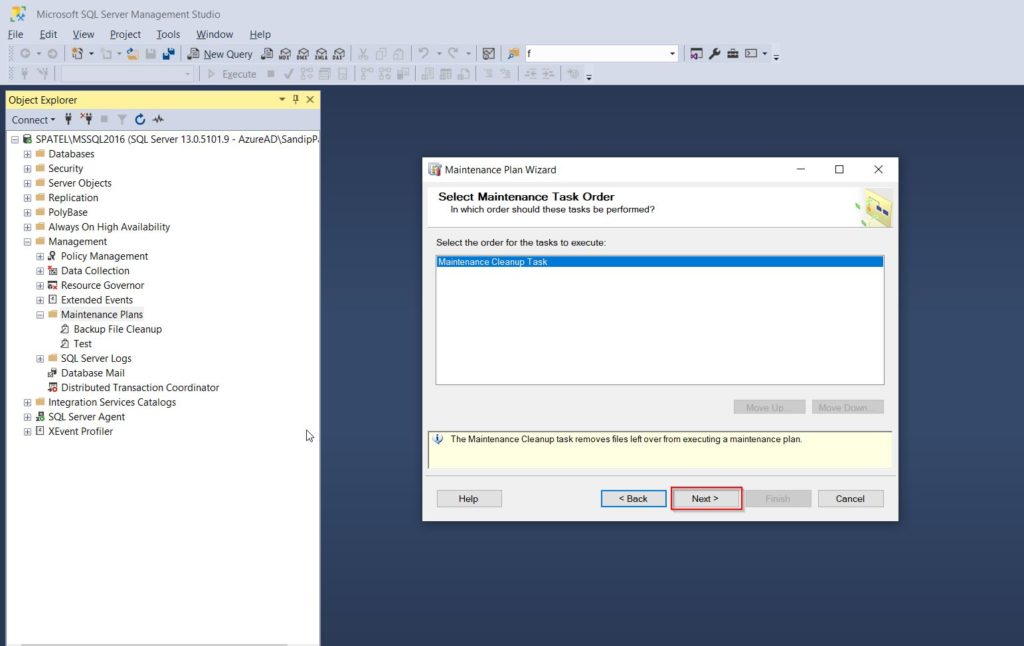
Step 7: In the following window, because we have only one task, there is no ordering, so we proceed by clicking on Next.
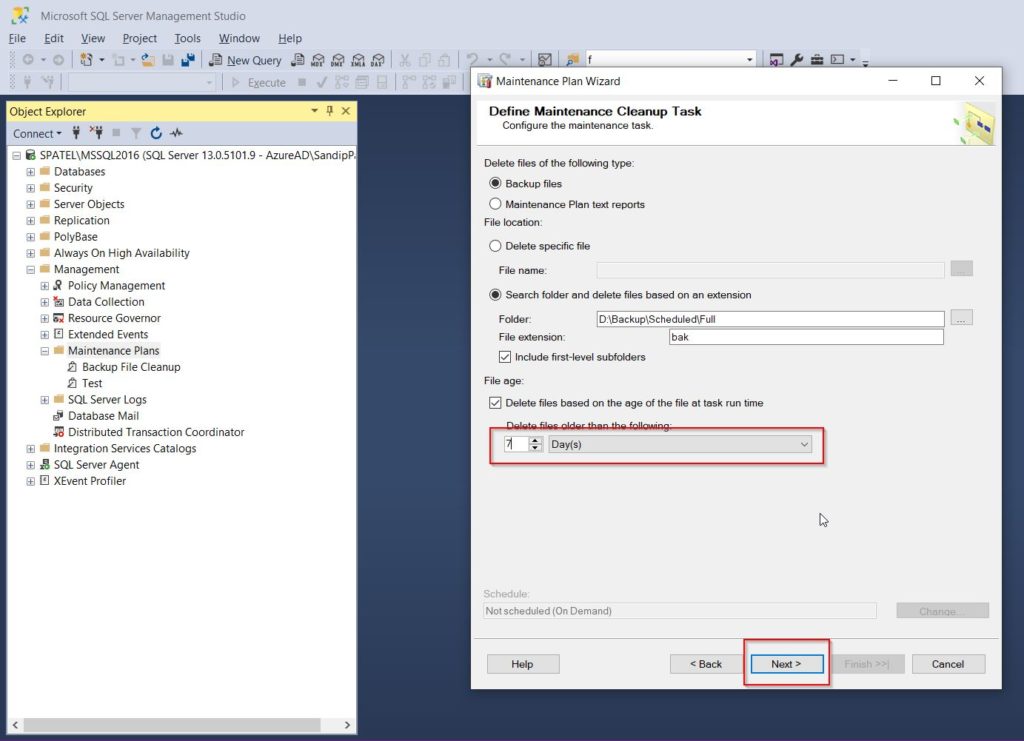
Step 8: In the following window
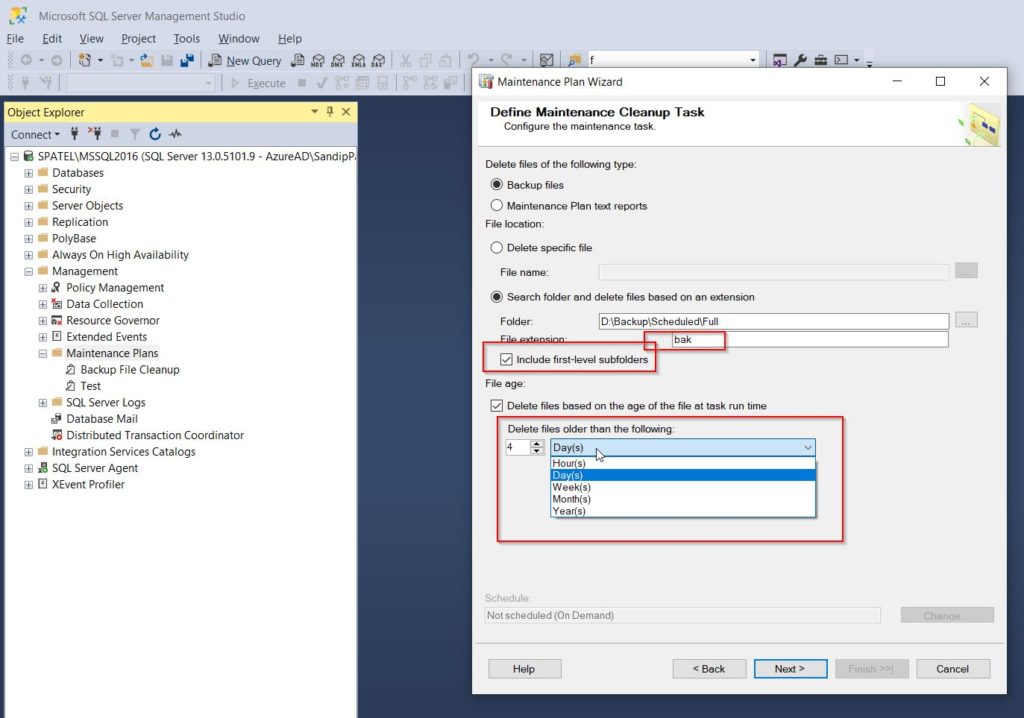
- Under Delete files of the following type: we select Backup files by clicking on the radio button.
- Under File location: we select Search folder and delete files based on an extension. Under that, we specify where to search for the folders and what type of an extension to look for. Also, we can check the Include first-level subfolders option if the backups are stored in separate subfolders.
Note : The file extension we input must not contain dot (‘.’) – ‘.bak’ is incorrect, ‘bak’ is correct
- Under File age: we check the option Delete files based on the age of the file at task run time and specify the age of the files below
After checking that everything is correct, we proceed by clicking Next:
Here you have the list of time frame options like Hour(s), Day(s), Week(s), Month(s) and Year(s). You can select accordingly your requirements.
Step 9: In the next window, we may select that a report is written and/or mailed to the email address we input every time the Maintenance plan runs.

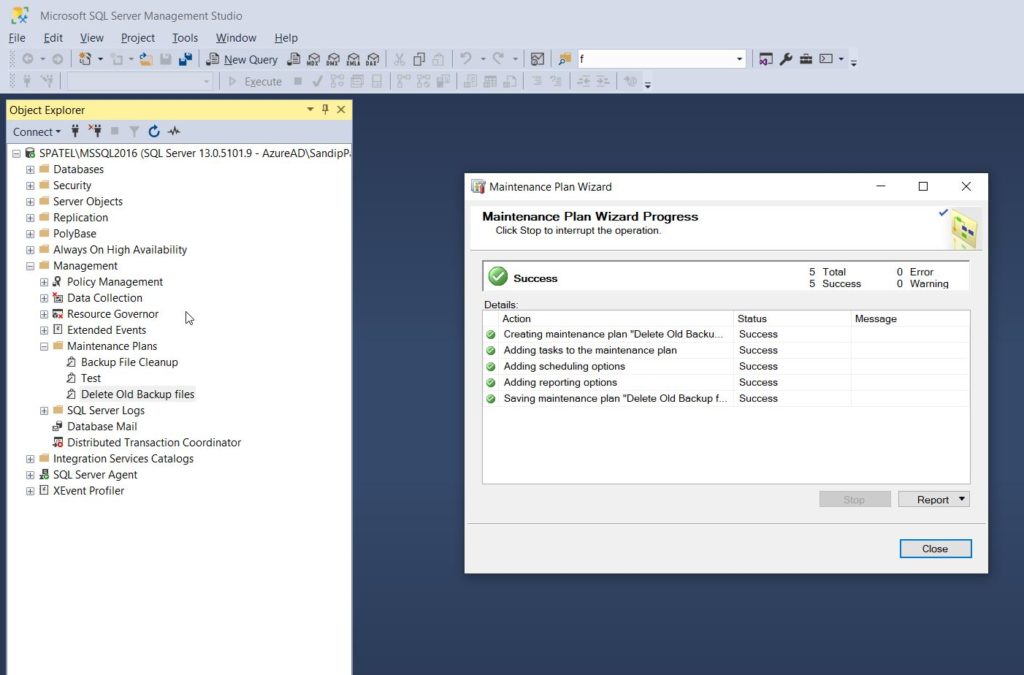
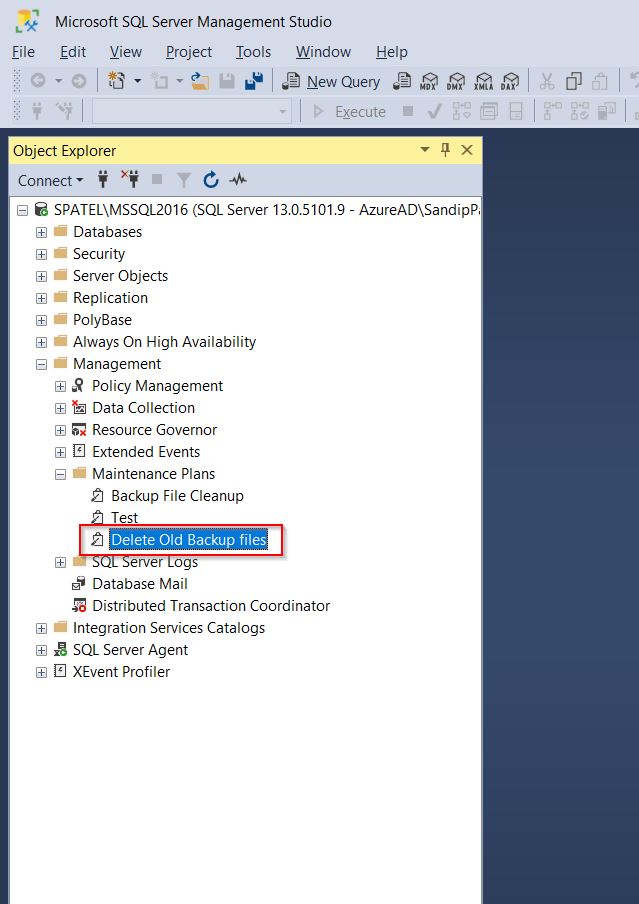
Step 10: In the next window we press Finish to complete the creation of our Maintenance Plan. After that we can check under Management -> Maintenance Plans for our newly created plan:
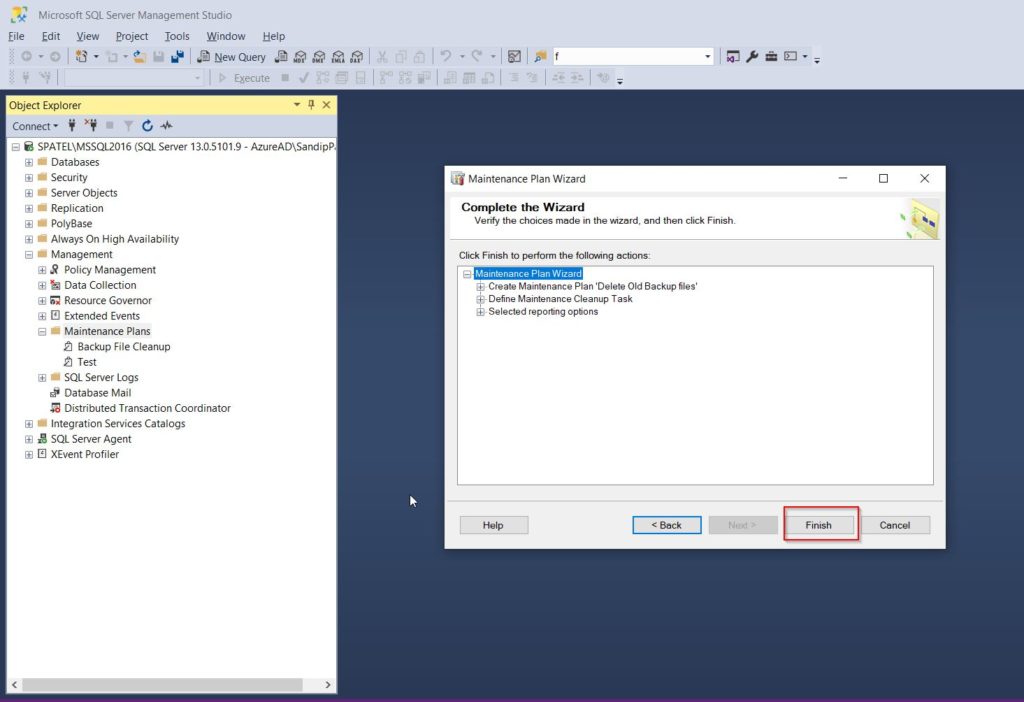
Click on Finish button.
Hope this helps!